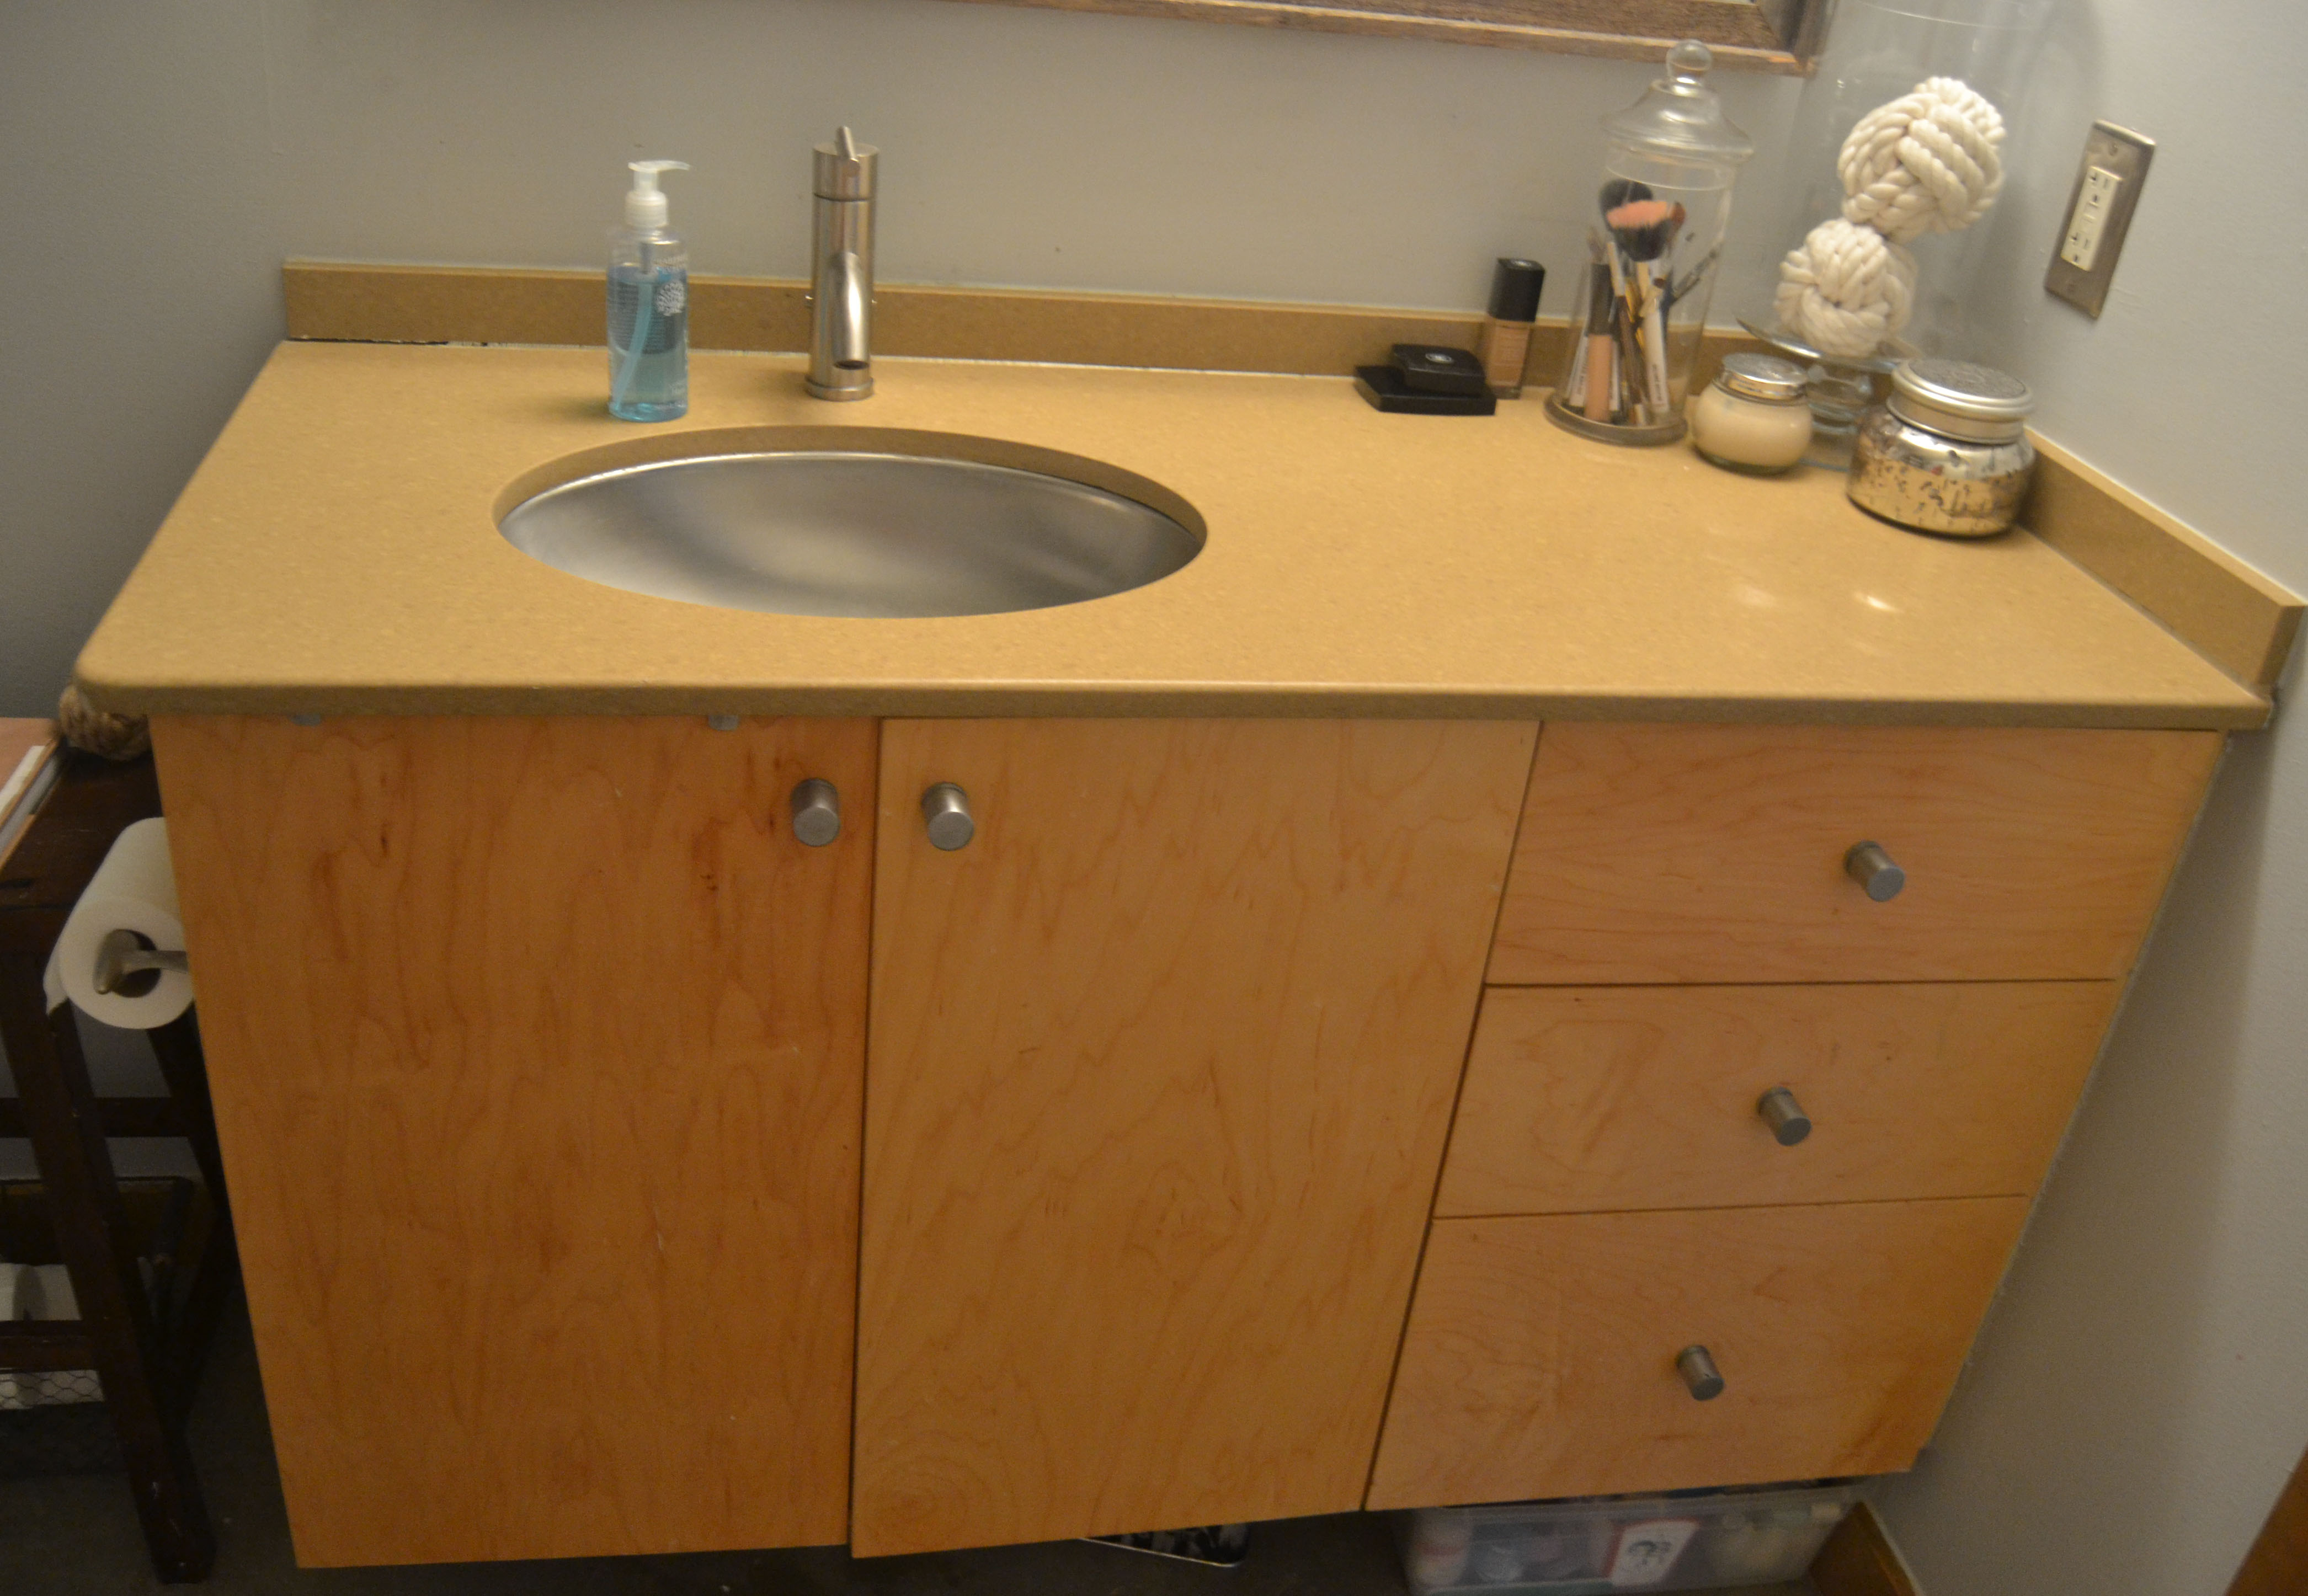
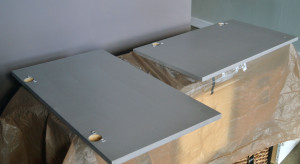
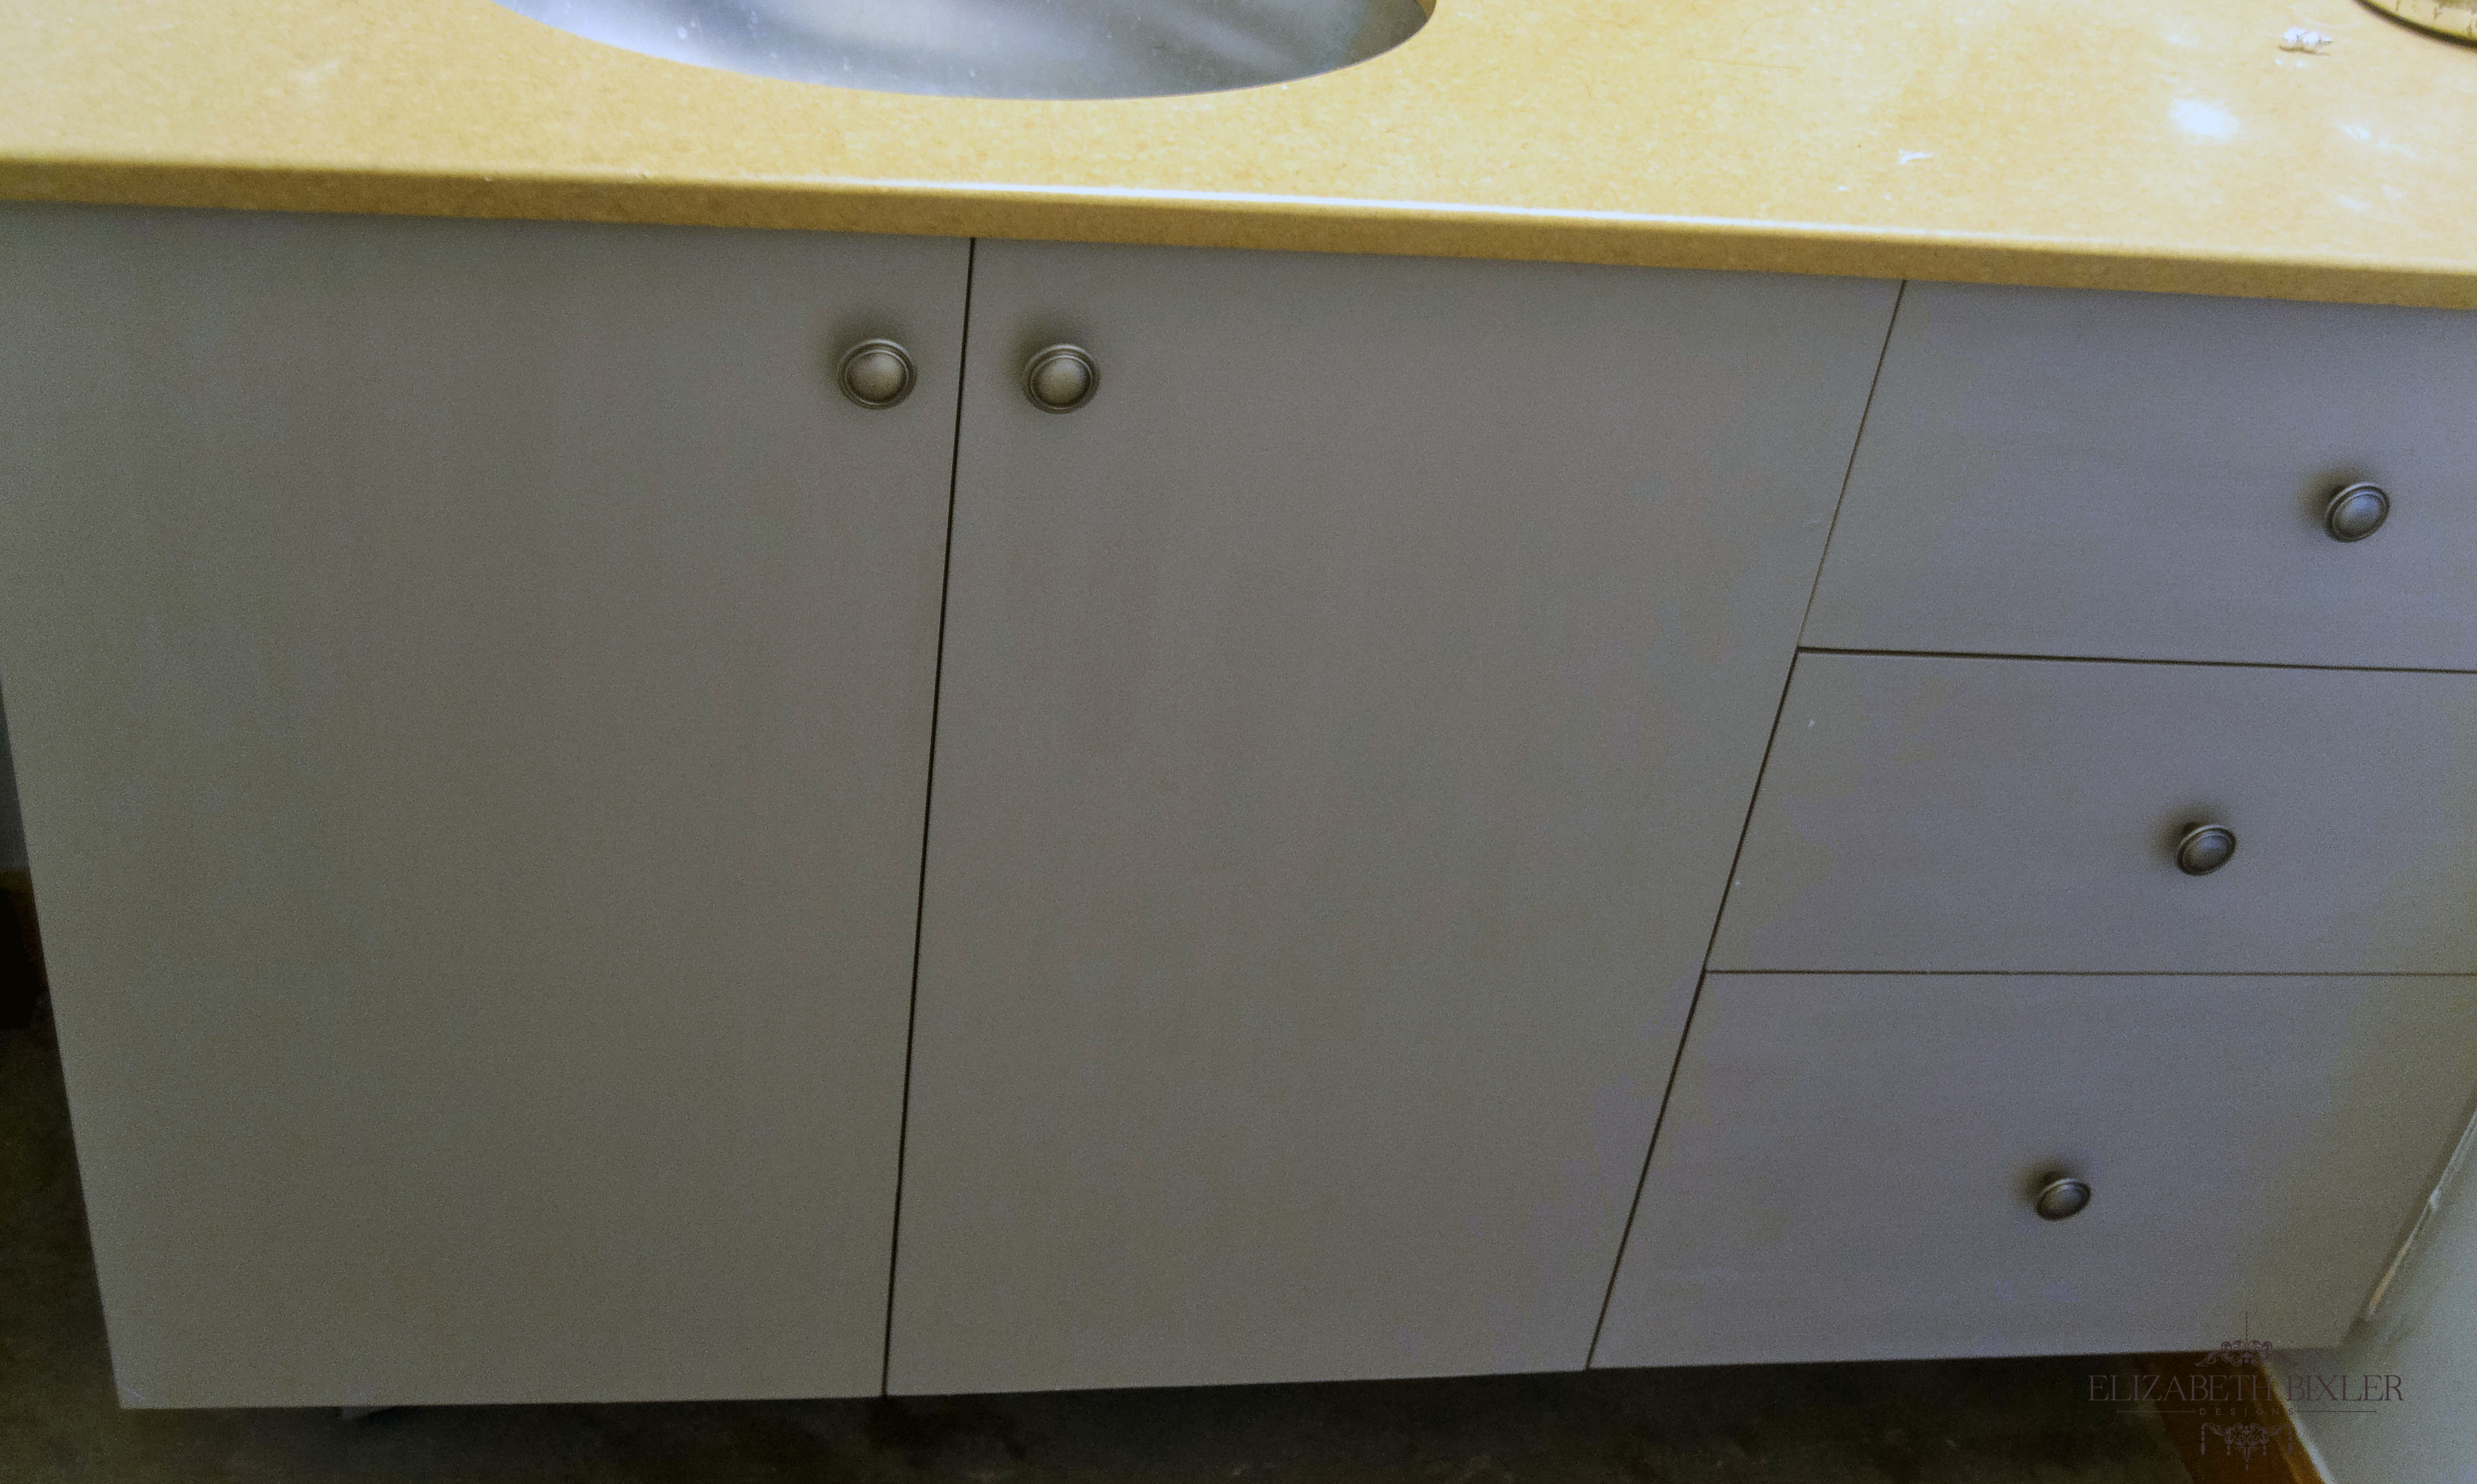
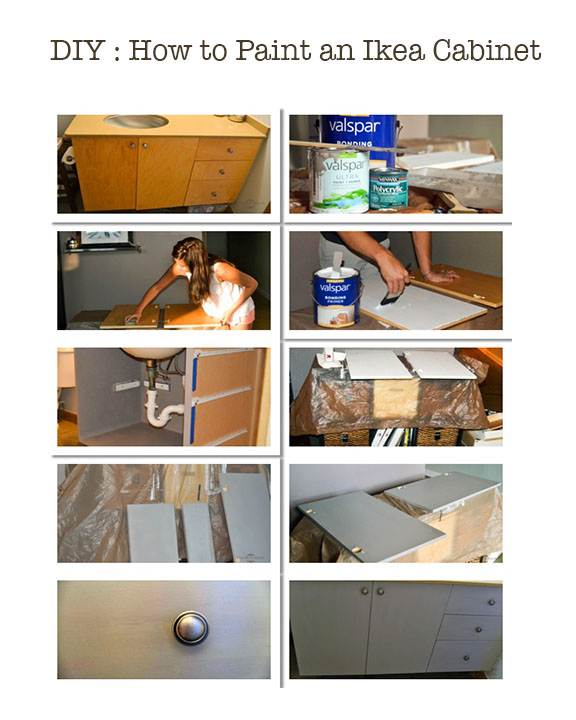
We really needed to update our bathroom countertops and cabinets!! Let’s start with the cabinets. These are the original cabinets, and it seems to look like an ikea type cabinet. My husband LOVES nautical themes which is why we are slowly transitioning our bland bathroom to a sailor’s dream. This DIY will show you how to paint ikea cabinets.
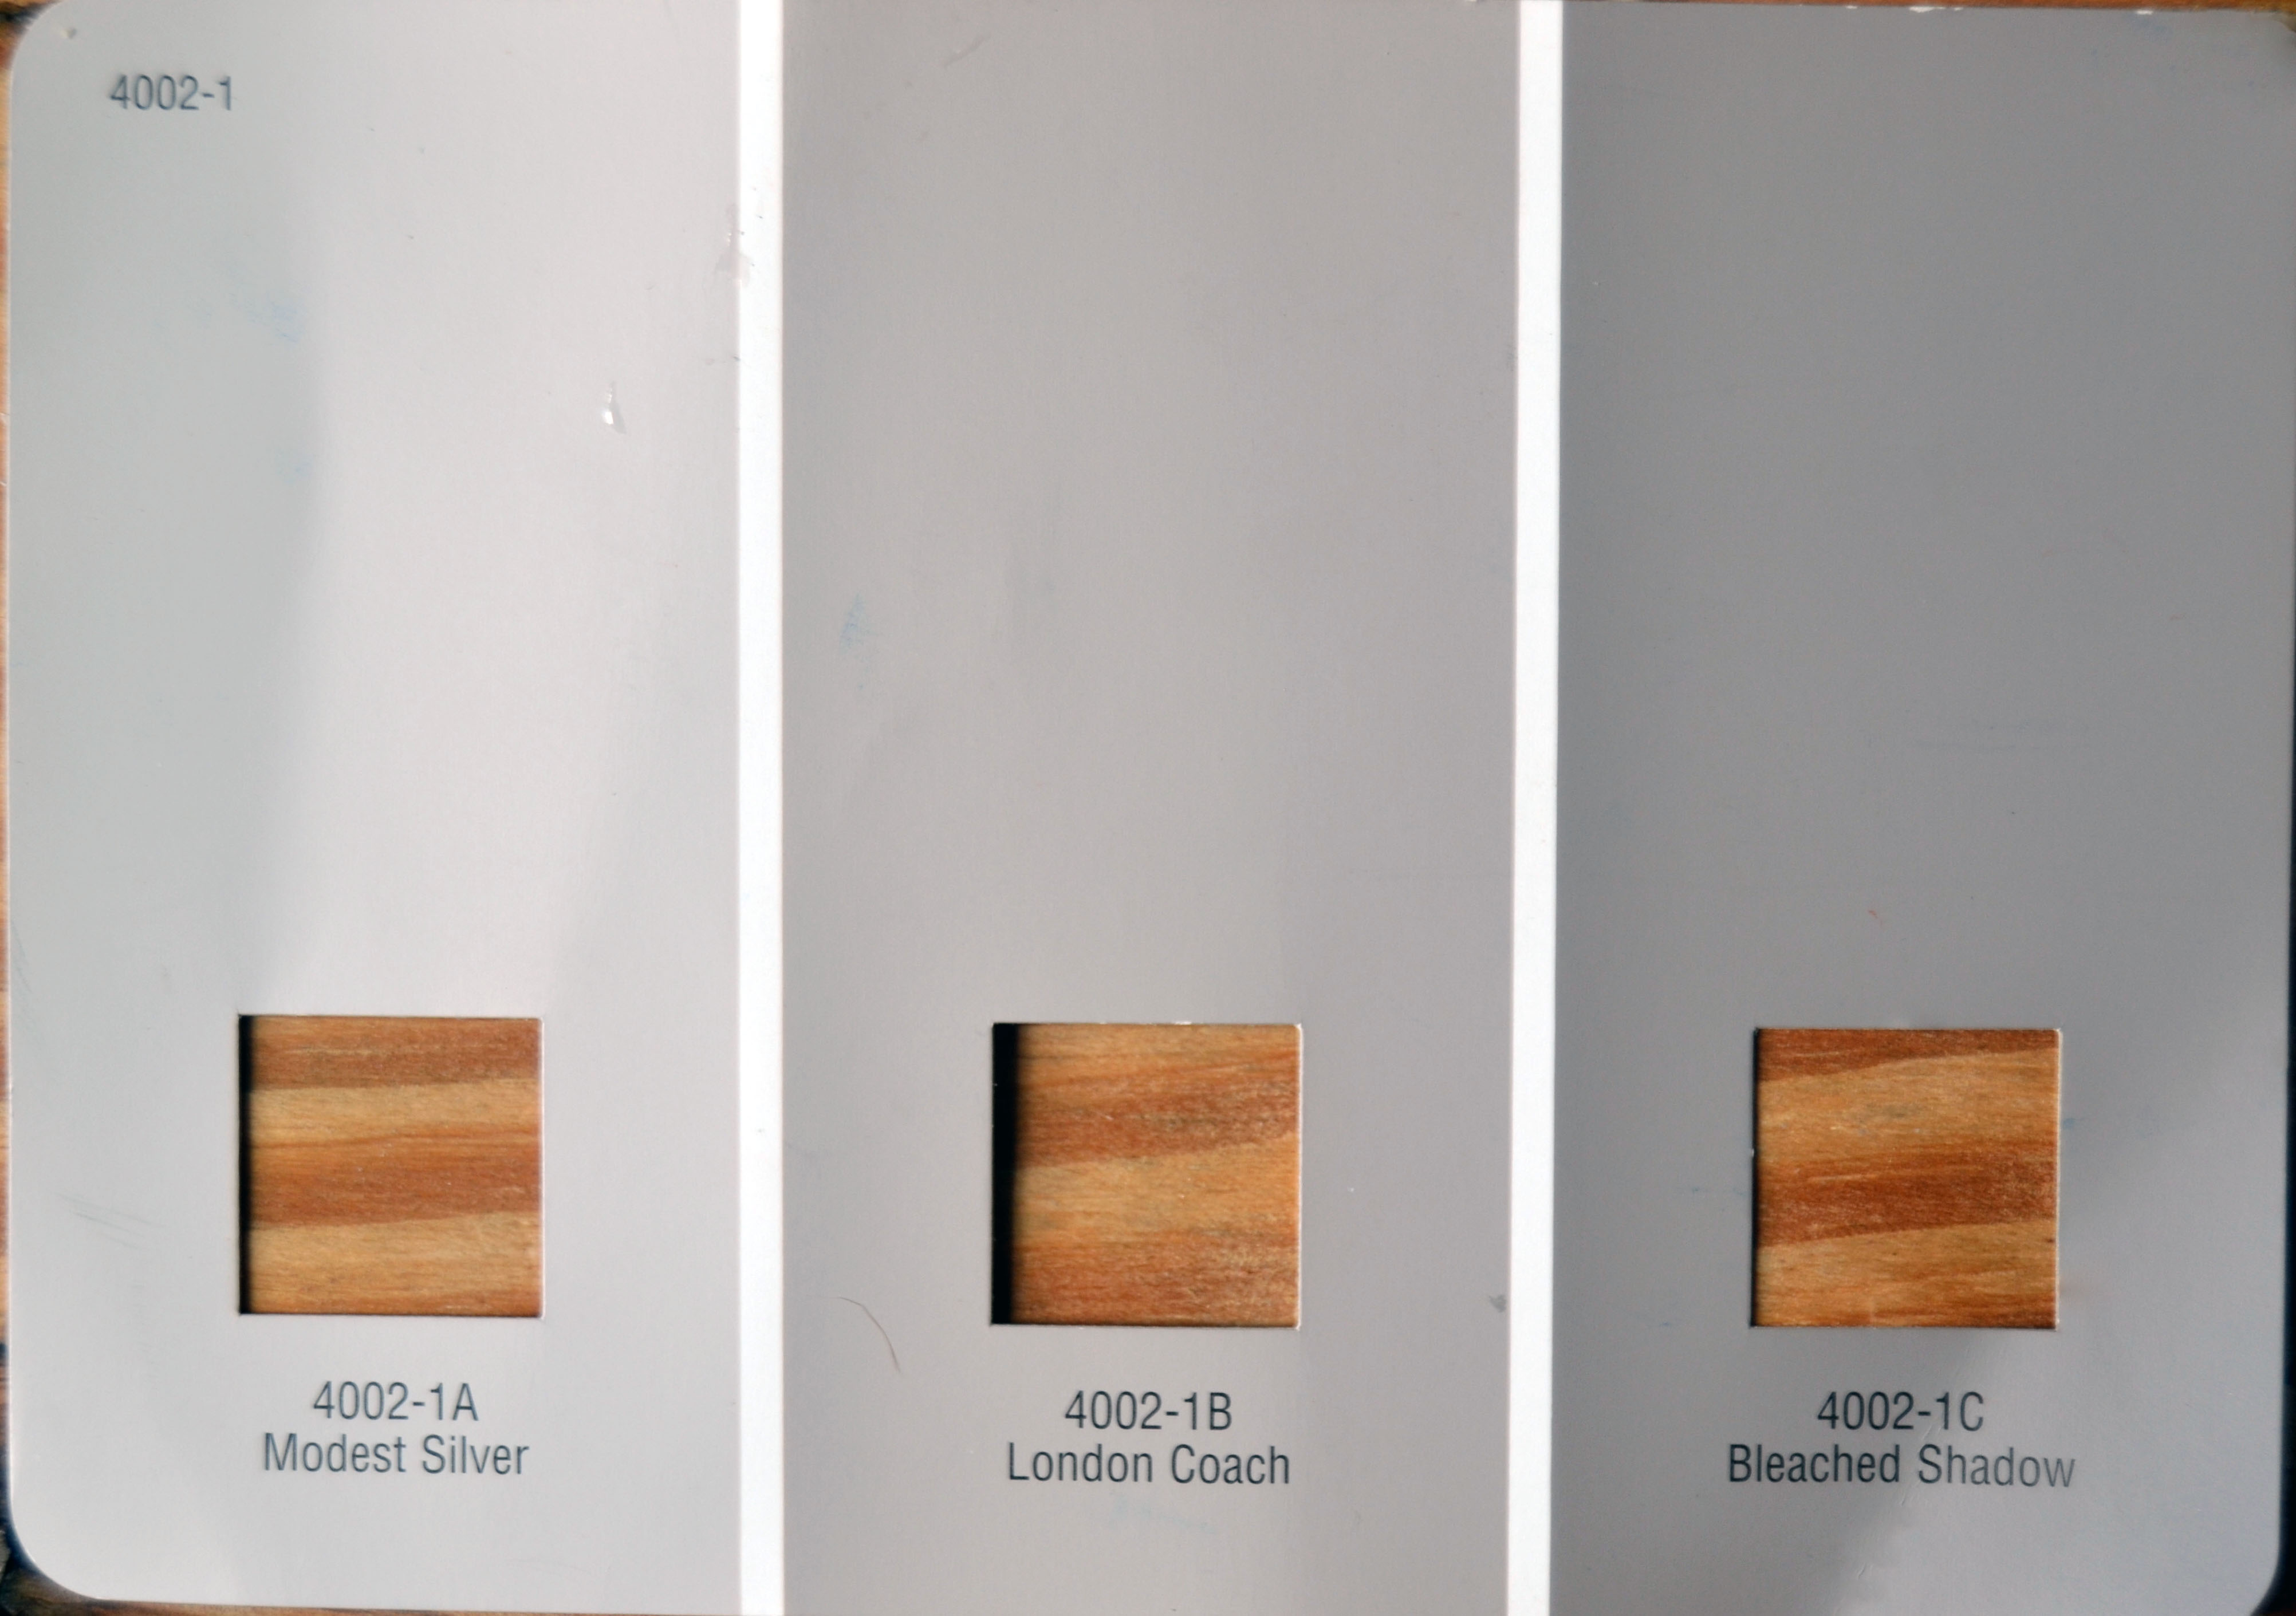
Valspar Bleached Shadow
Preparation and Materials
Cost: Approximately $130
Time: 1-2 weeks
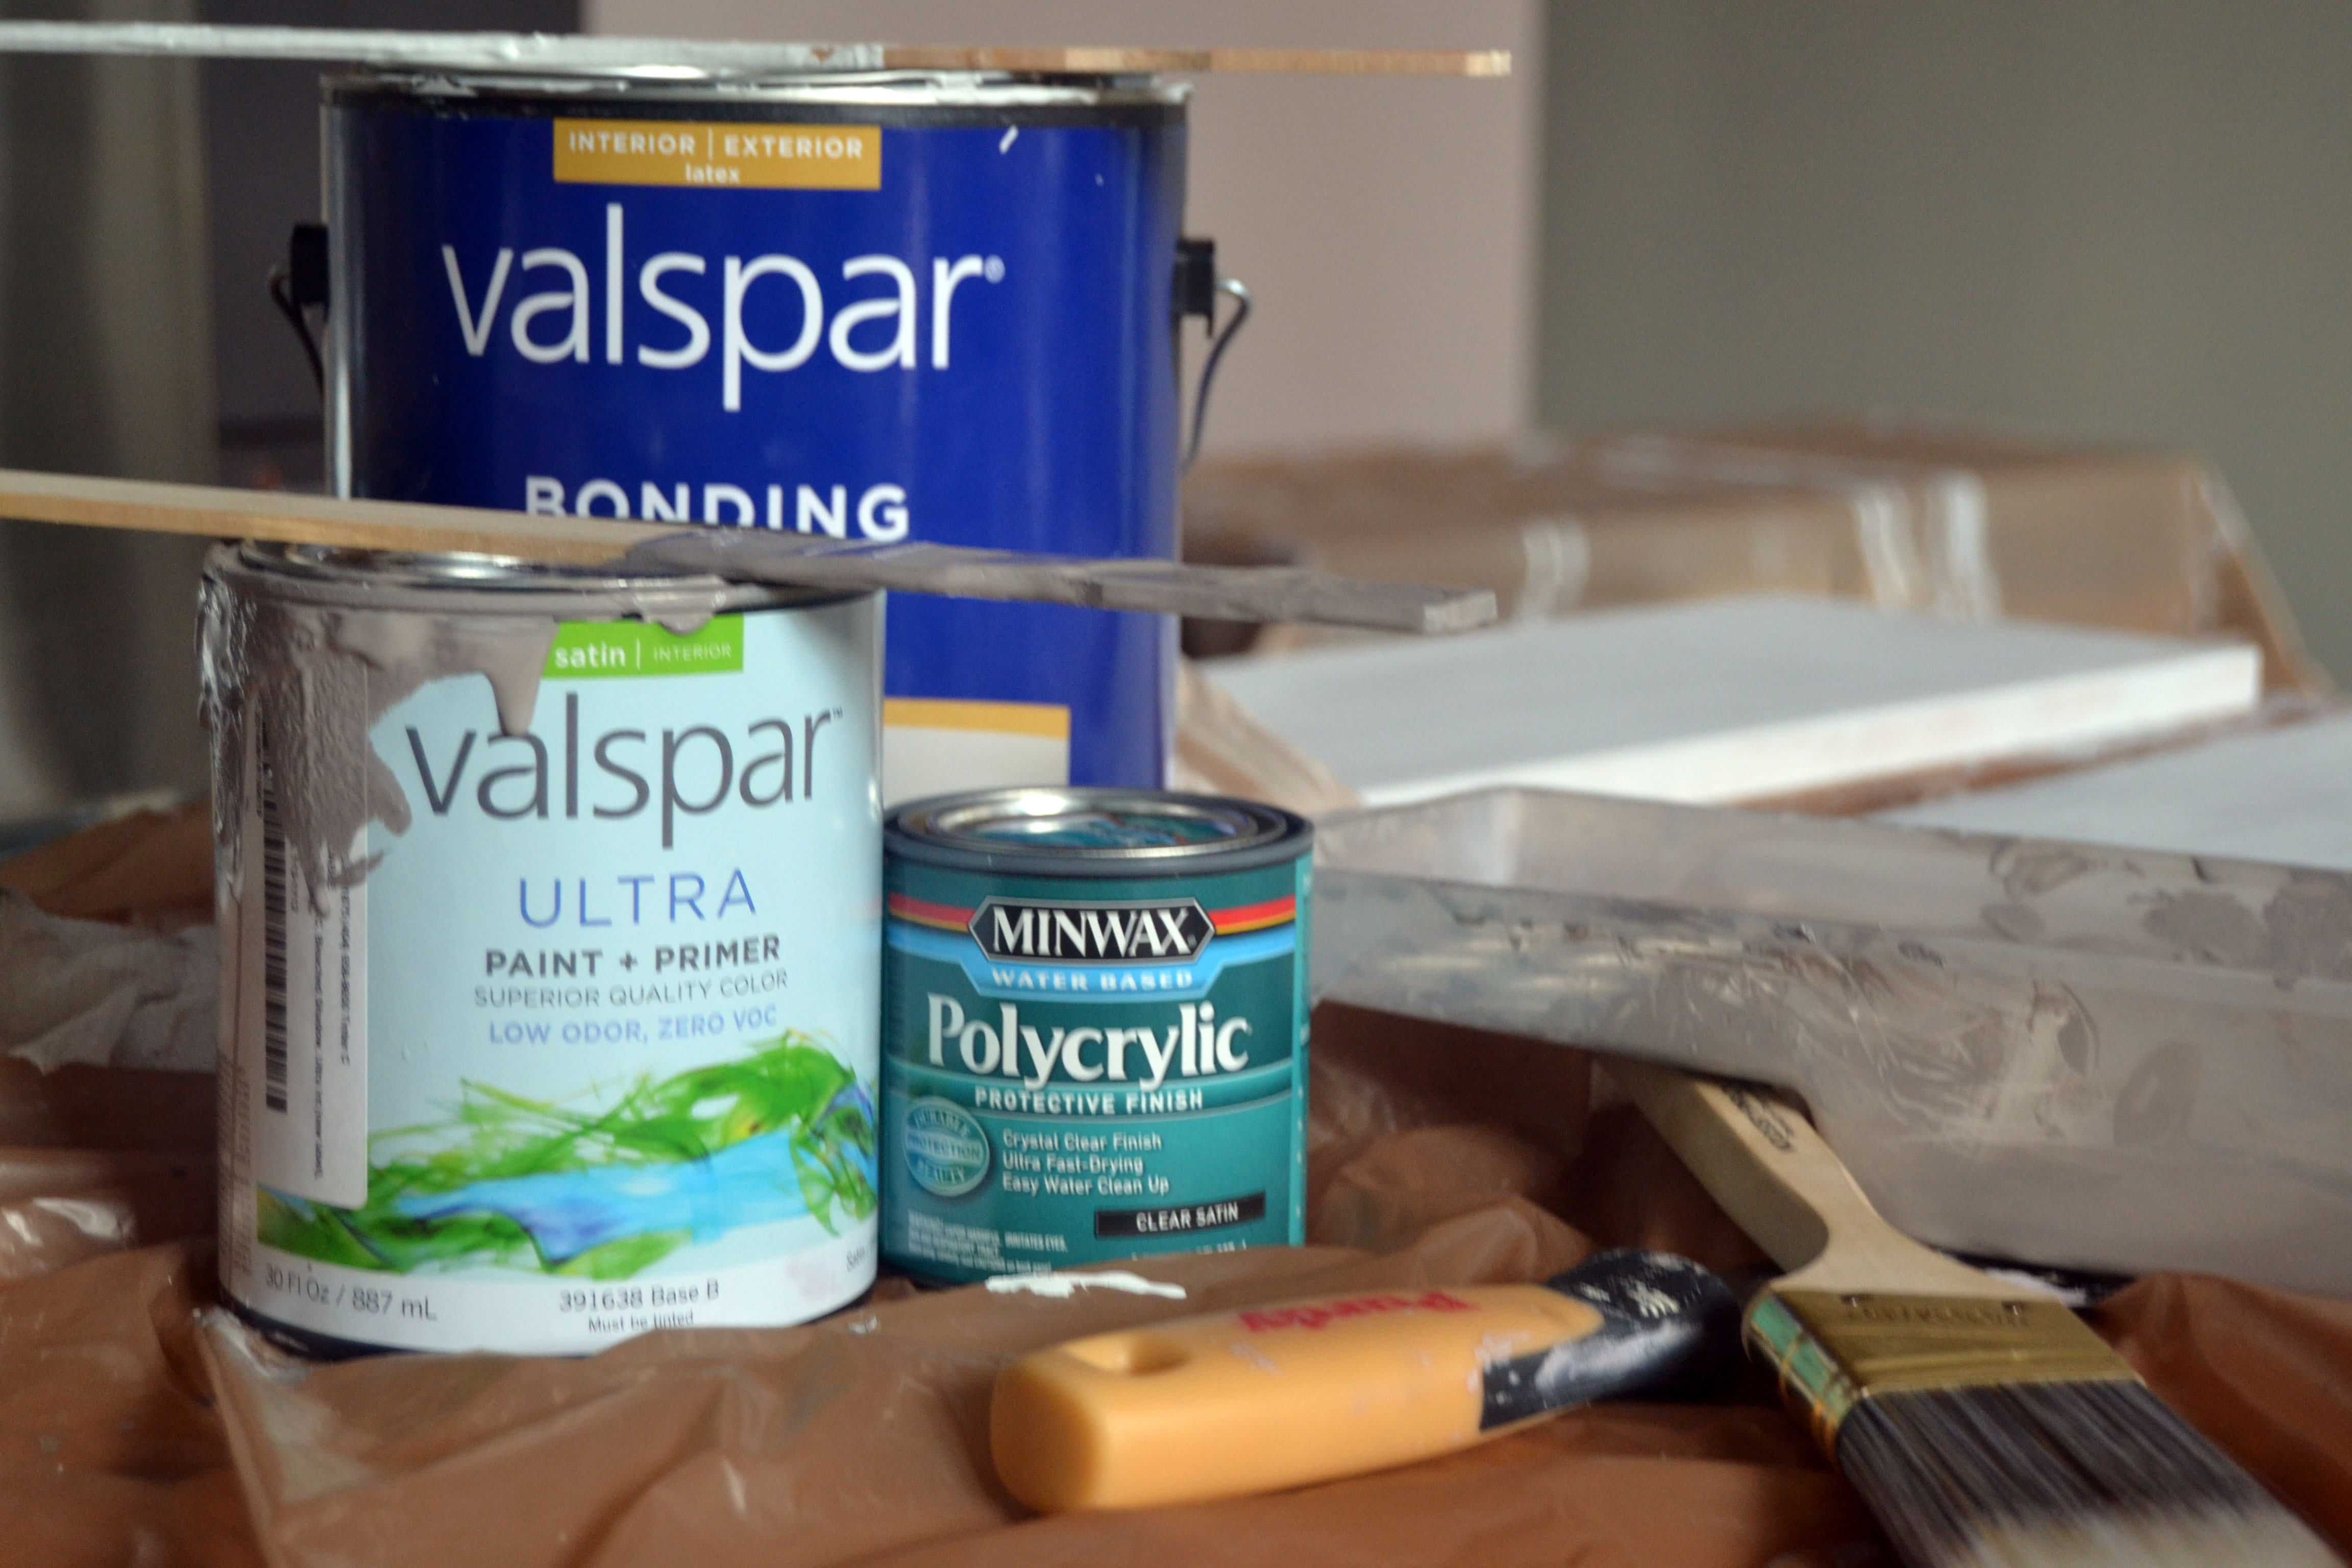
Paint and Supplies
Pre-Paint Items (Linked each Item in Grey)
- Craft Table: Already Owned
- Bags at Lowes to protect table : Free at the “exit”
- 10 year old Rainbow Vacuum to eliminate any hair or particles around paint: Already Owned
- Sanding Block Medium to Fine Grit: $2
- MicroFiber Rags: $7
- Tack Cloths: $2
- Alcohol to take off the soft cabinet stoppers and clean (any will work) : $7
- Cabinet stoppers: $3
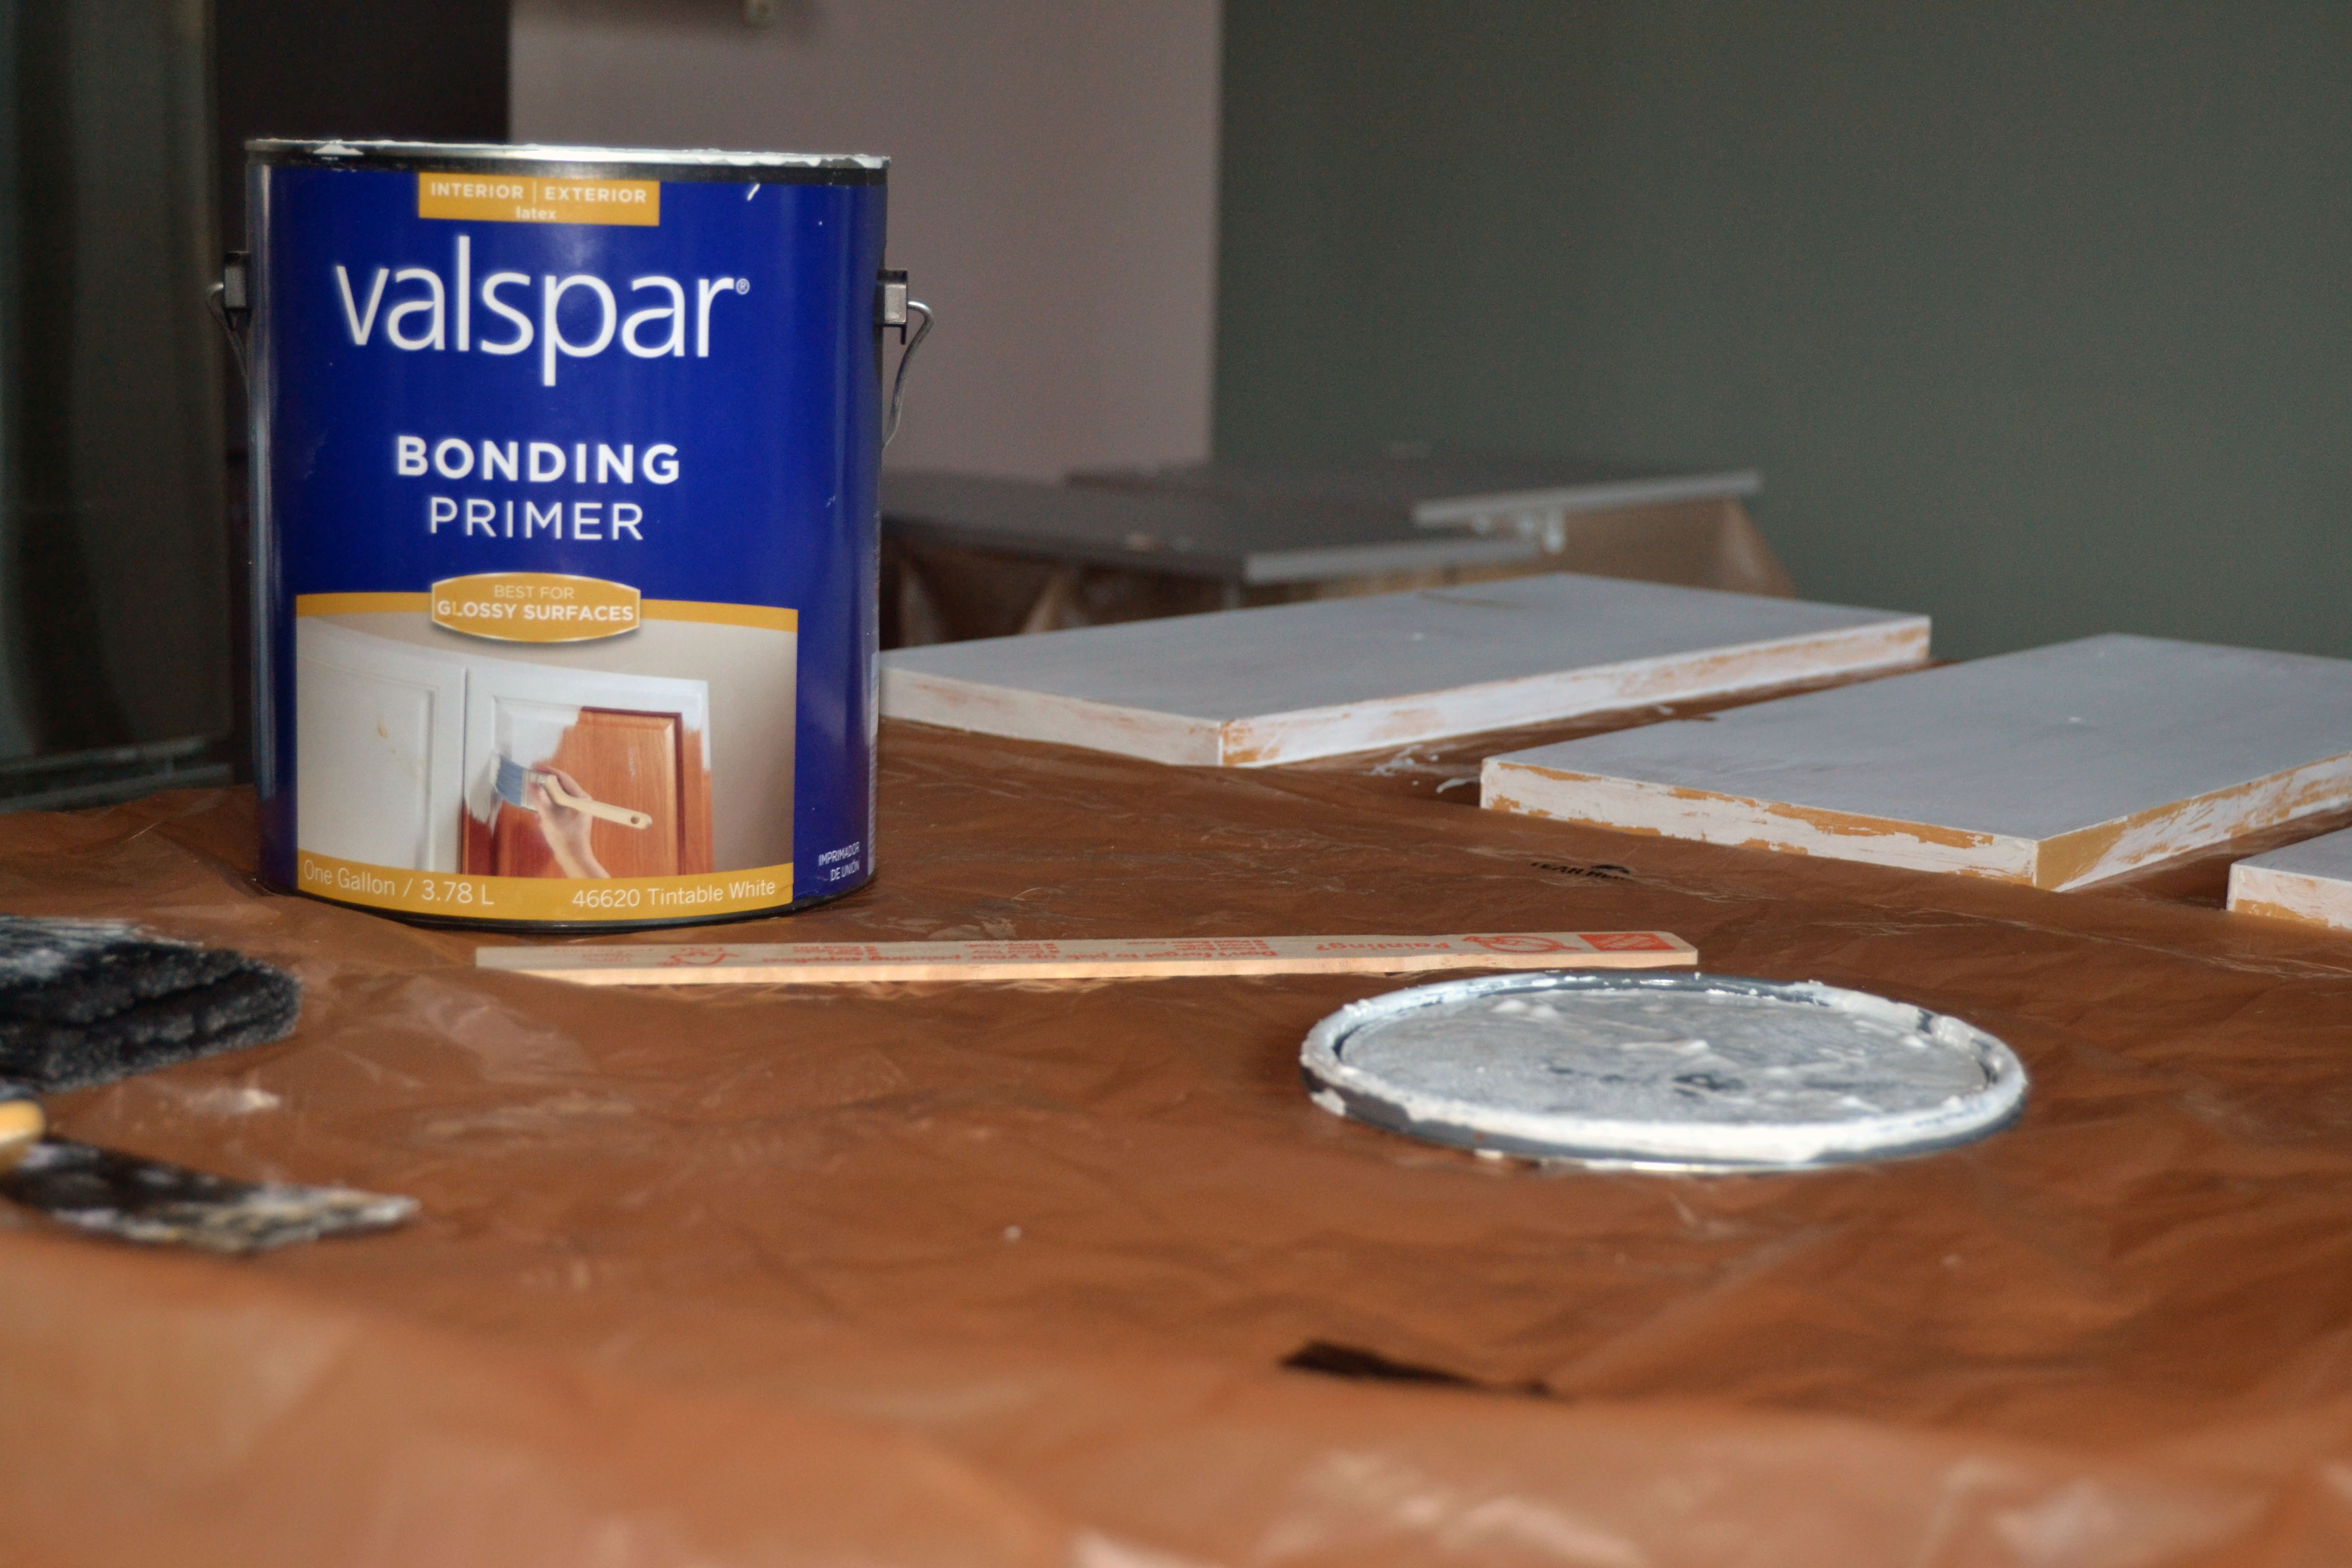
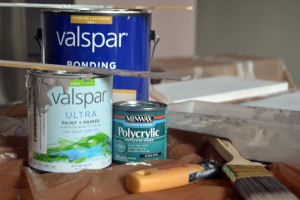
- Valspar Bonding Primer : $21
- Valspar Ultra 32 Fl Oz Kitchen and Bath in Bleached Shadow – $16
- Minwax Polycrylic Protective Finish in Satin (optional) – $10
- 2 2″ Wooster All Latex Paint Brushes (for Primer and Paint): $20
- Whizz Cabinet and Door Kit Roller – $6
- Painter’s tape: $8
- Purdy 2″ Putty Knife (for cleaning up edge drips) – $10
- Paper Towels
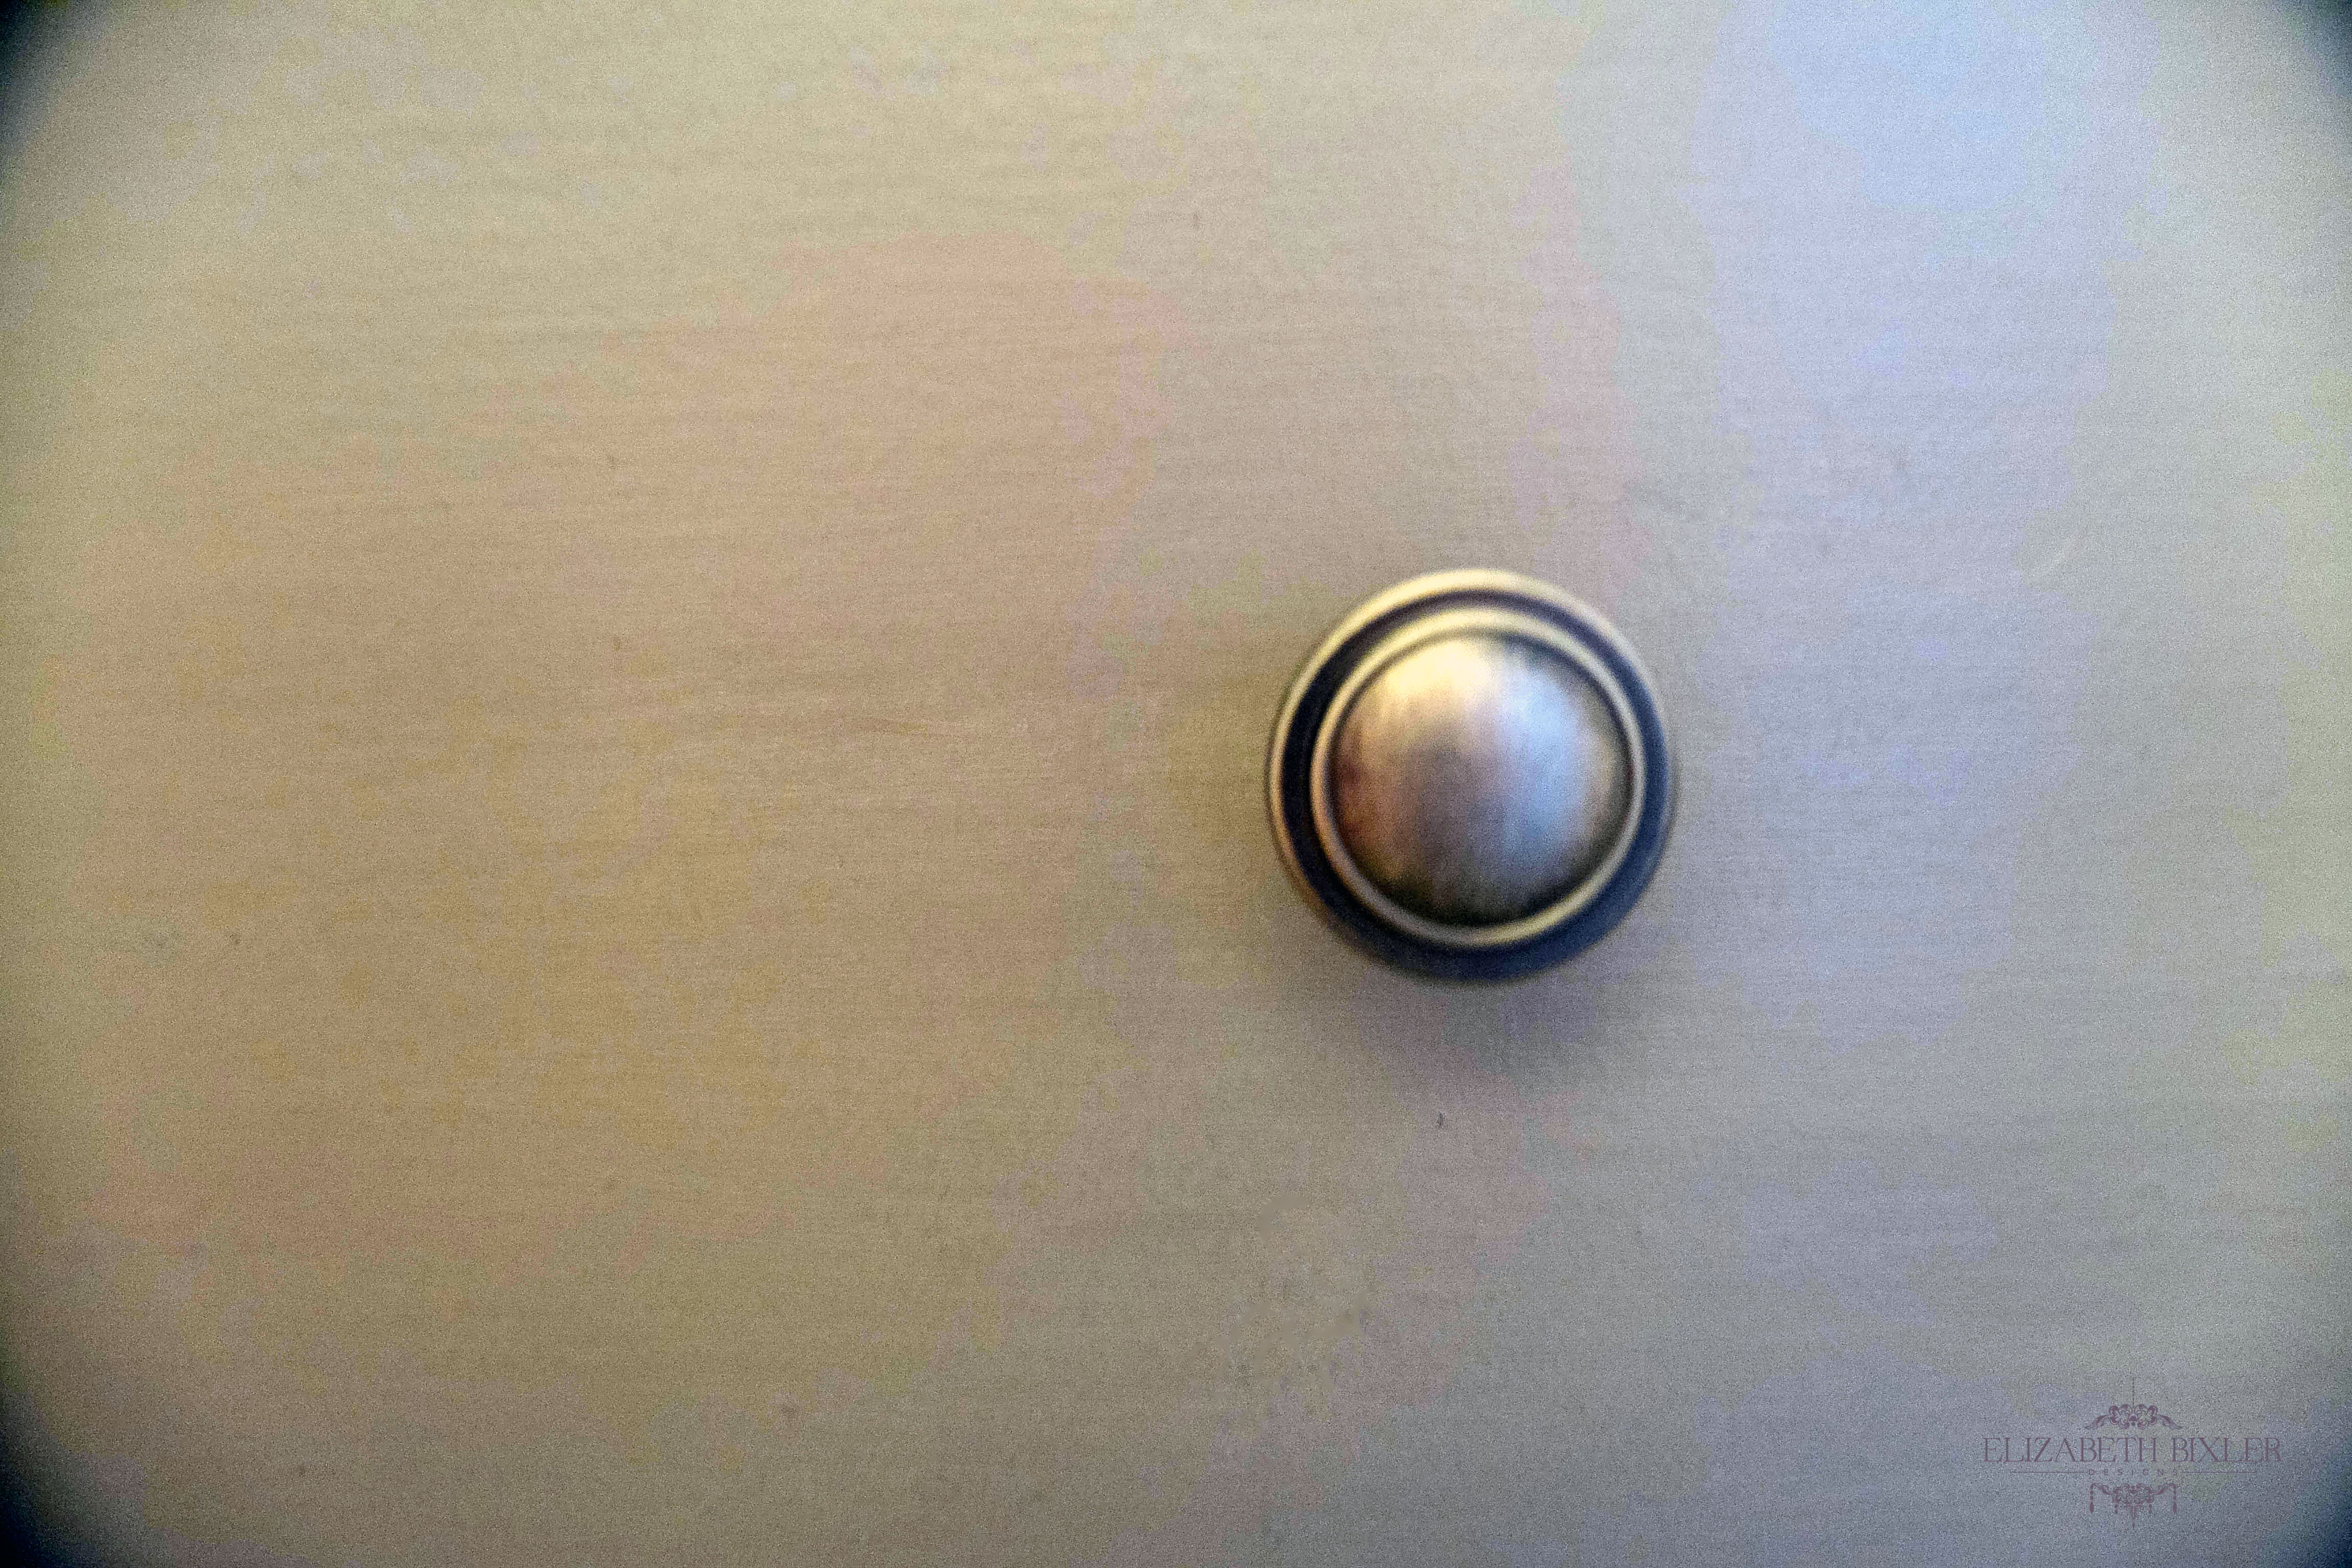
- Handles (because look at these..yuck!): $15 ..Thanks Home Depot!
To Paint
Day 1:
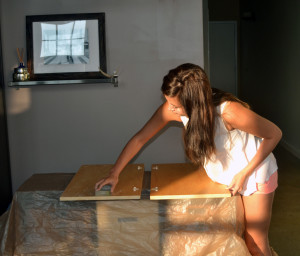
- Clean area around the place you want to start painting your cabinets. I suggest a well lit area and vacuum any dust or hair around it. You do not want to get any particles on your freshly painted cabinets! I started with just one cabinet door to test how I liked the paint color and if it even would set correctly. It is also a good idea to clear out and take off your doors before you shop for all your supplies. The traffic around my house is horrible, and the last thing I want to do is make multiple trips anywhere! I also suggest taking off the little stickies (that prevent the door from slamming) on the cabinet with alcohol.
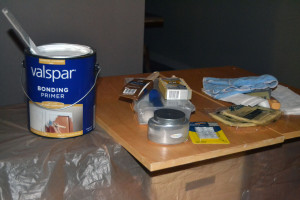
- Bring out the supplies! Take out your microfiber cloth, tack cloths, paper towels (just incase), sanding block, alcohol, primer paint, paint roller, paint brush, two paint trays (Used one for Primer and one for paint)
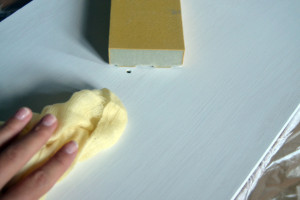
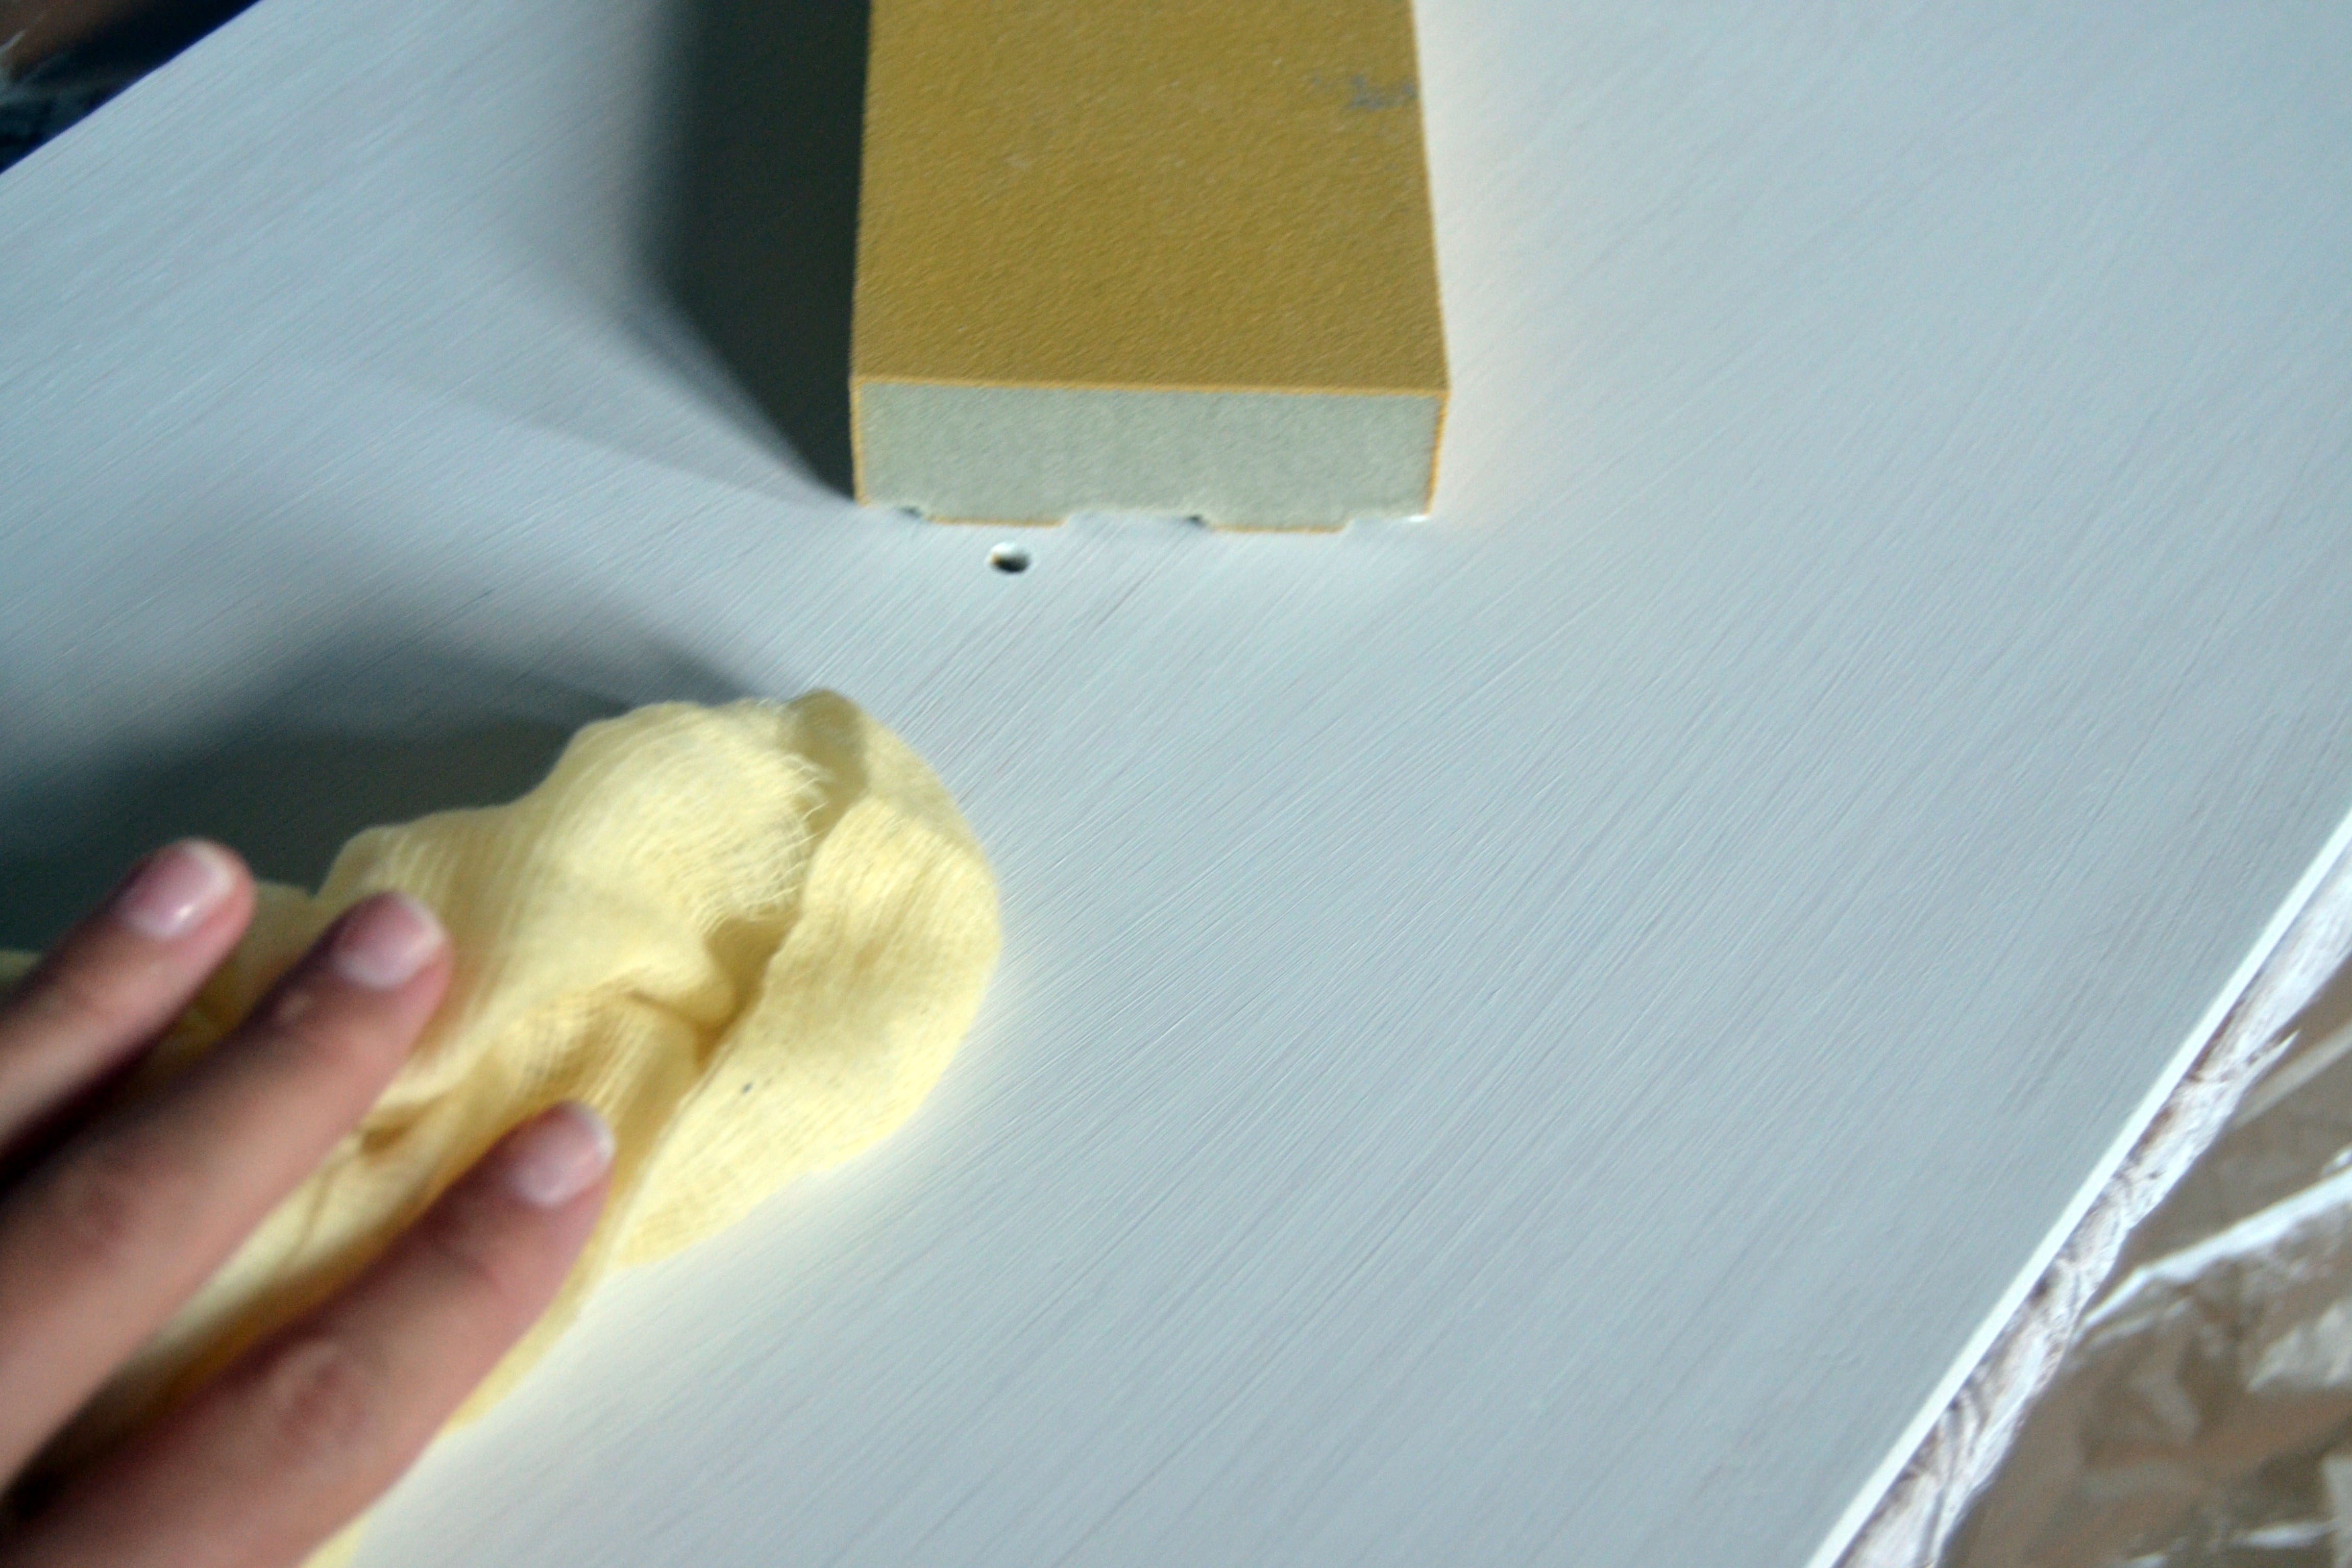
- Sand doors with a medium to fine grit. Be careful not to sand edges. Sand with the lines of the wood.
- Remove sand with alcohol. I used a microfiber cloth to do this then used a tack cloth to finish.
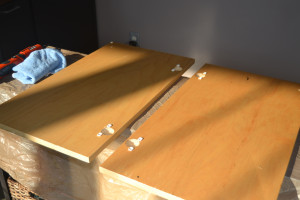
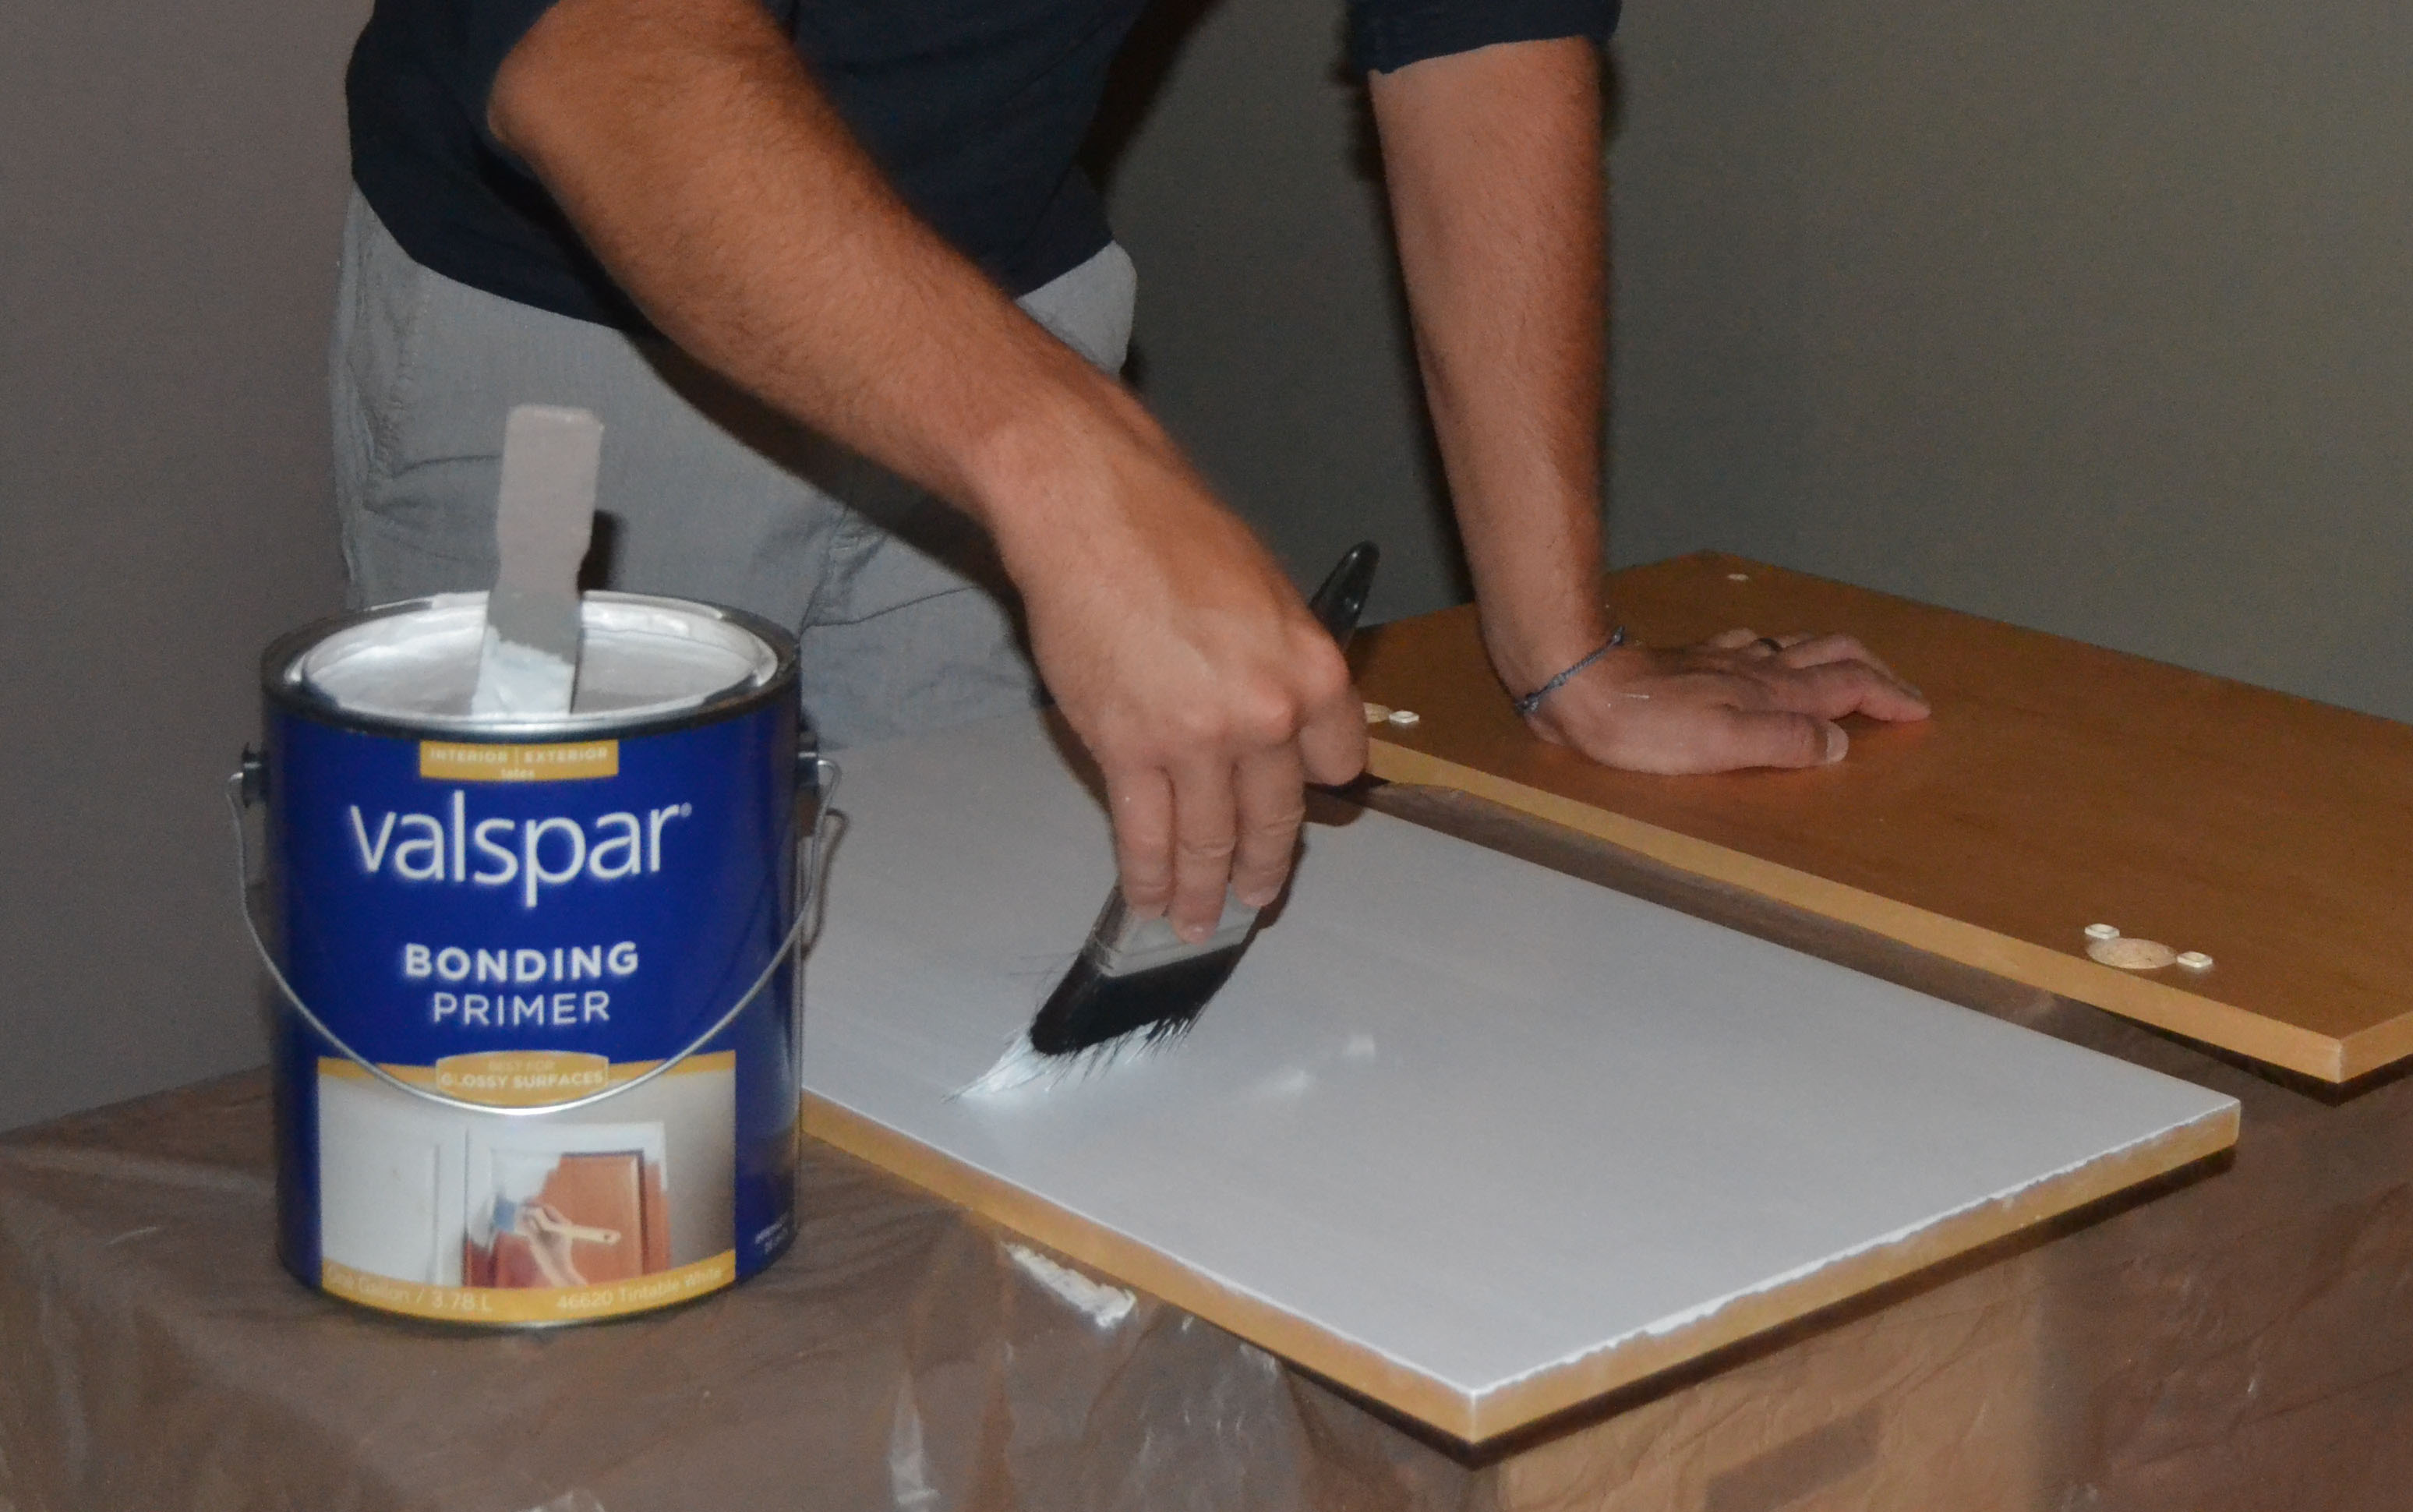
- Prime! Brush on your Valspar Bonding Primer on one side of the cabinet and edges. We waited all night for it to dry. We also lifted it up after an hour into the drying process just to make sure it did not stick anything.


Day 2:
- Prime other side . Wait. Sand. Clean. Wait 12 hours before scraping drips and lightly sanding the first coat of primer. Clean with alcohol soaks microfiber cloth or paper towel and wipe down with tack cloth.
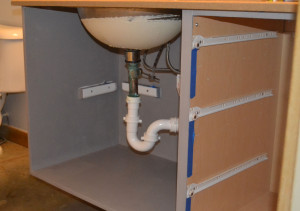
- While waiting .. I clean out my cabinets and remove the drawers, tape the edges, start sanding, and priming the rest of the cabinets …isn’t this fun and totally not in the way of everyday life?!
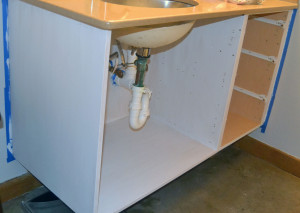
Priming under the cabinet gorgeousness!
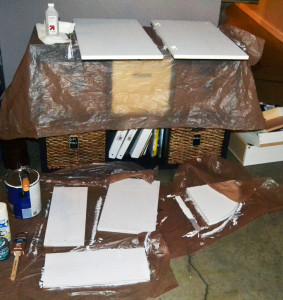
The Messy Messy


Day 3:
- Repeat steps 5 and 6… wait 🙁 While I am waiting, I start taking out newspapers, mask, gloves, and prep for Valspar Ultra Kitchen And Bath (Prime+Paint)- Bleached Shadow and now I can show you what we will be working with :

Day 4:
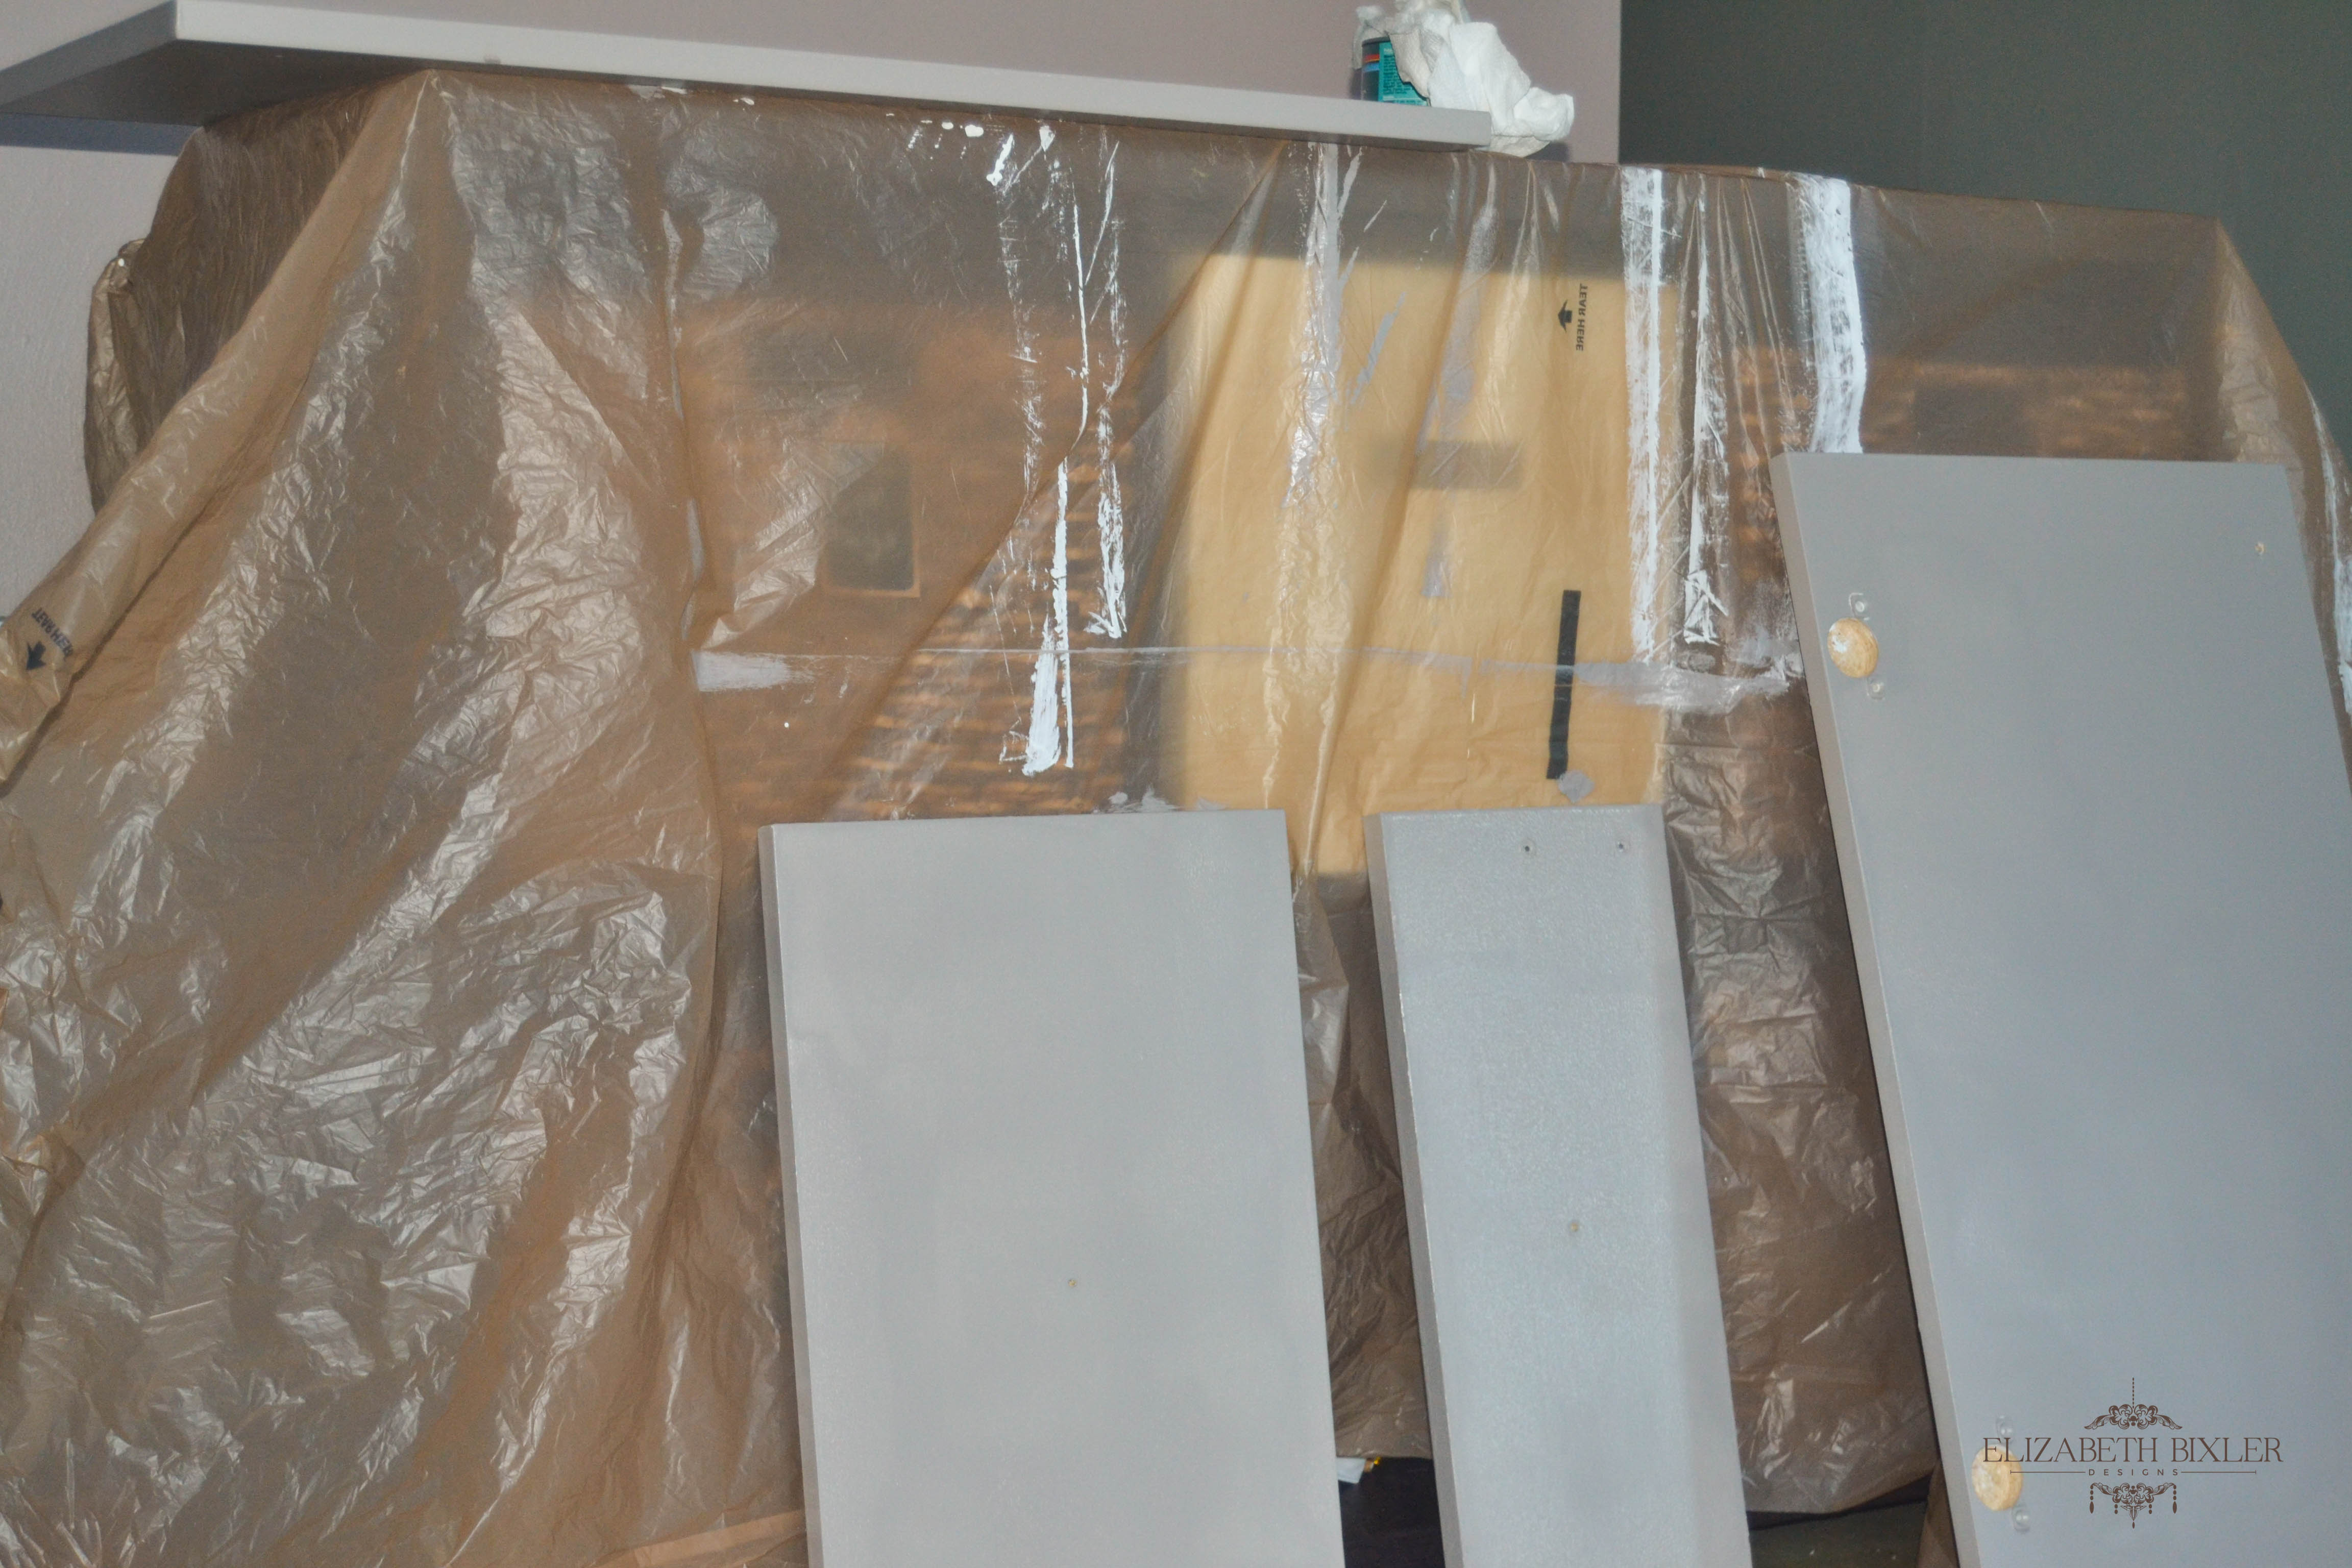
- Start by making sure your surface and all around you is free from debris. It is also a good idea to cover everything!!
- Use the Whizz foam roller for a more even coat of the Valspar Ultra Kitchen And Bath (Prime+Paint) – Bleached Shadow . I only painted one side and the sides of the cabinet.Make sure to paint the large surface first before painting the edge. A Tip: While working with edges, make sure to drag your brush along the can or pan to remove excess paint. This helps prevent drips on the edges of the doors.
- While waiting, I cheated with only one coat of primer and painted the inside of the cabinet with the Bleached Shadow as a test.


Day 5:
- Very lightly sand the first coat with a 220 fine sanding block . Wipe with a rag then finish with a tack cloth.
- Paint other side of cabinets and the frame of vanity with a second coat of Valspar Ultra Kitchen and Bath (Paint+Prime) – Bleached Shadow. Use your foam roller and use your brush in corners. Let it dry for 24 hours.
Day 6:
- Paint final Coat of the Valspar Ultra Kitchen and Bath (Paint and Prime)– Bleached Shadow on the first side of cabinet fronts.

- Wait 24 hours.
- Paint final coat on second side.
- Wait 24 hours.
Day 7:
- Wait .. it seemed to take forever for the paint not to feel tacky so we turned on the fan all day.
Day 8:
- Protect paint with Minwax Polycrylic Finish . We wanted a more matte than gloss finish so we chose satin. We used a paint brush for a very thin coat. Also make sure to drag the brush over the can or pan again to prevent dripping onto edge.
- Wait at least 2 hours then lightly sand with a 220 grit and use a tack cloth to wipe excess.
- Paint another very thin layer of Polycrylic Finish before calling it a day!
- Wait 24 hours before installation.
Day 9:
FINISHED !!!


Check back for the countertop installation!
[comment-guestbook]