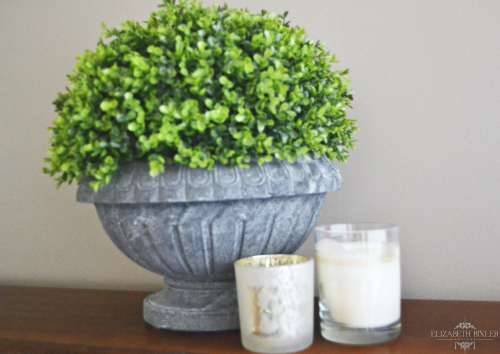
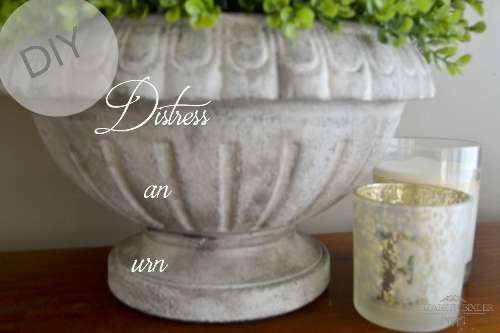
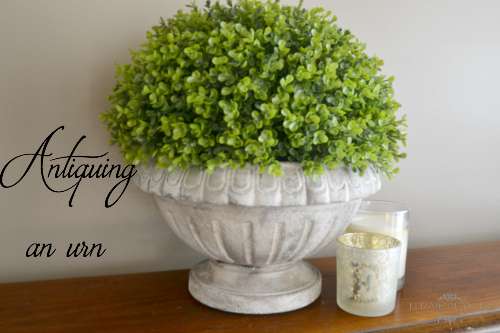
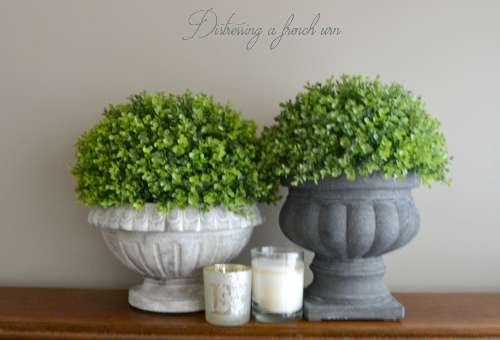
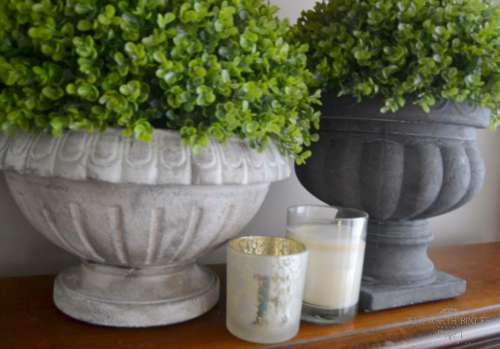
We bought a two french urns at Marshalls a few weeks ago for a great deal of $20 a piece! They were basically hard plastic, but we did not care. I love the shape and feel it gives to any room. Also, the boxwood gives the room a fresh look to a vintage piece.
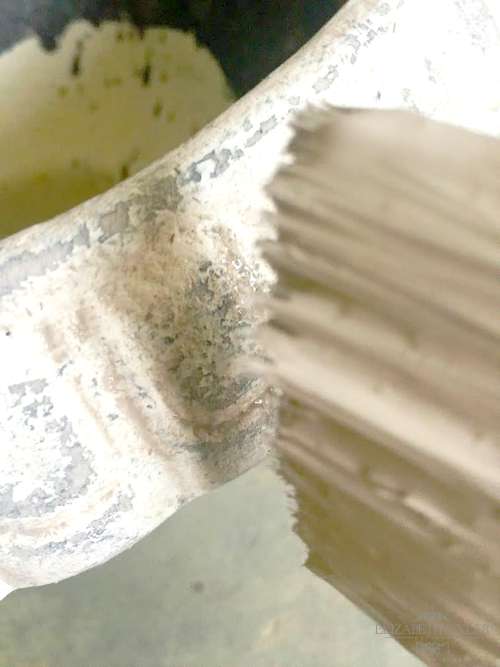
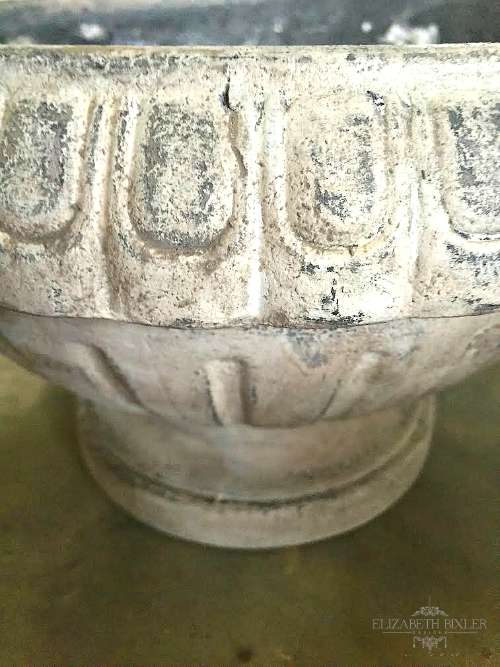
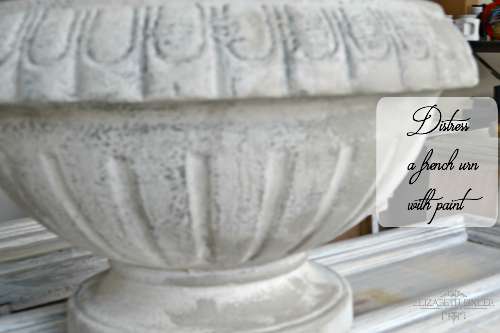
I LOVE the aged look, but I wanted something a little lighter. This already looks beautiful with the greige background, but I wanted test out a few methods of painting anyway. I tried to find a few white urns online, and some were upwards of $400! I am sure it was a better material. but I did not have a lot of none to spend. I needed to duplicate this look inexpensively and paint seemed to do the trick! In four easy steps, I distressed a french urn with paint.
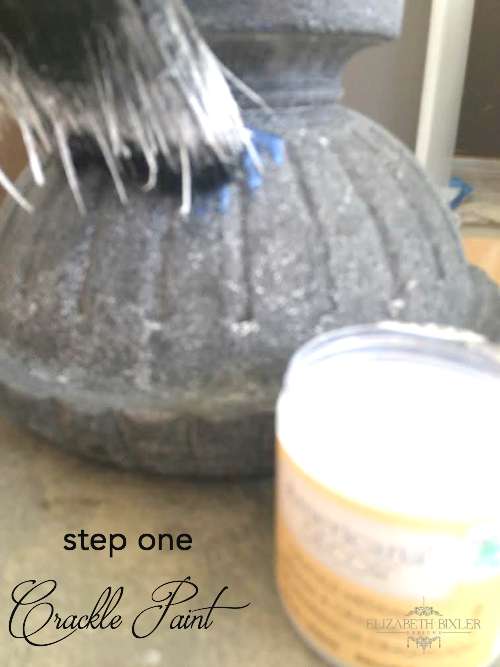
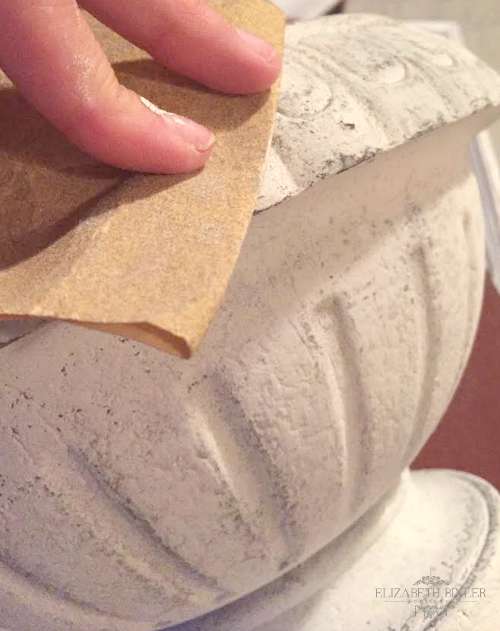
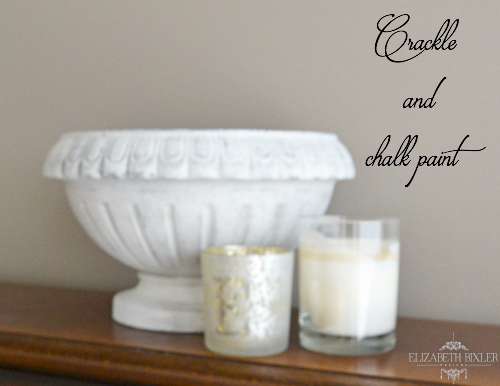
I first tried a layer of crackle paint, let it dry, then applied chalk paint. It looks great but a little too white. I even used a little sand paper, and it was still a bit too white.
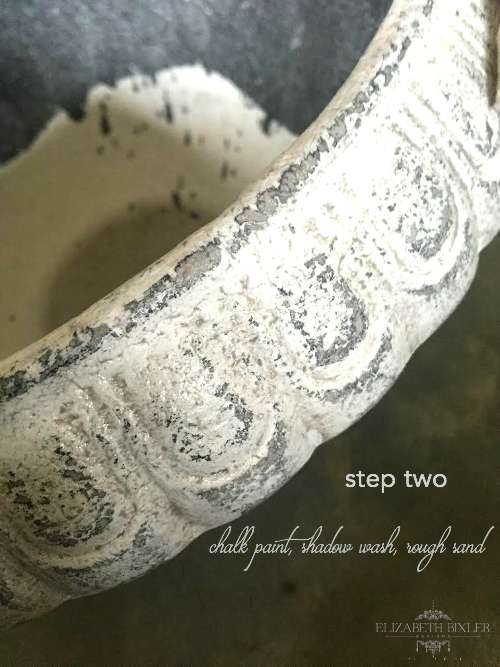
The second way I tried to antique this urn was a white chalk paint, a darker brown (bleached shadow) wash, and rough grit sanding. I love it! This urn is definitely getting better.
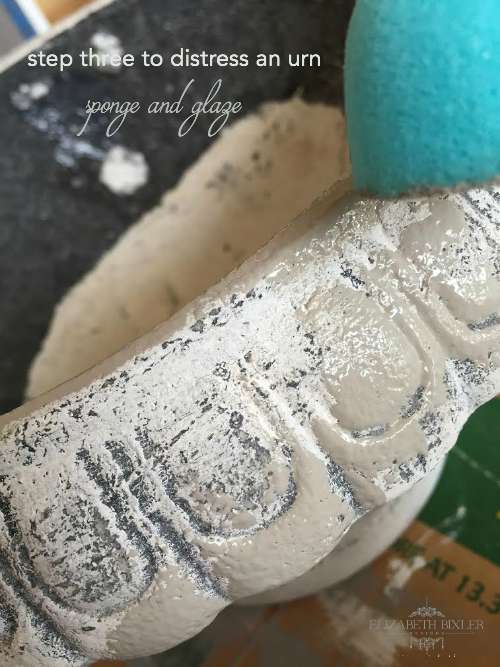
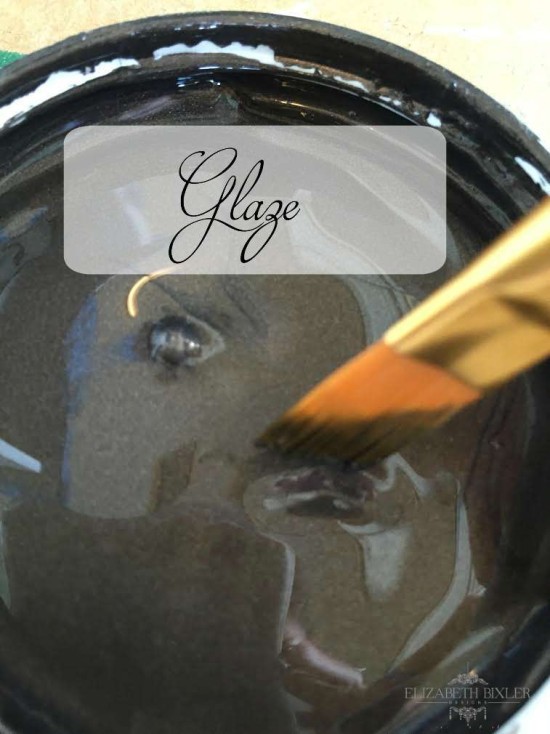
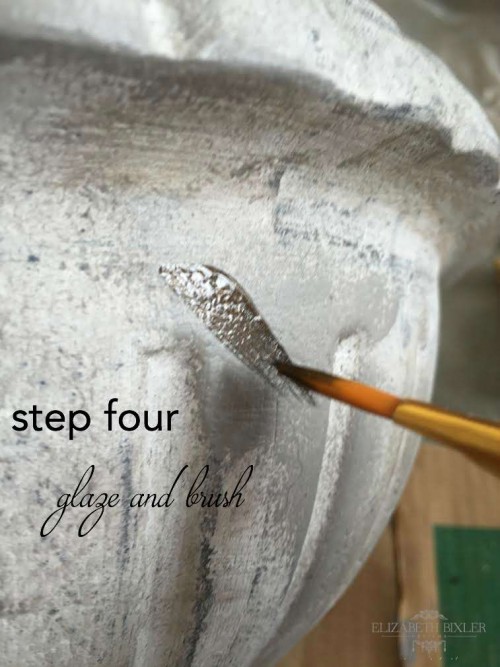
I LOVE how distressed this urn is getting! I still wanted to do more so I sponged on a warm gray and lightly brushed on a dark brown glaze and blended it with a rag.
The glazing was the scariest part until I saw how beautiful it turned out. I always get nervous when adding a lot of paint in a particular spot. I have to keep reminding myself that aged items aren’t naturally blended.
There really is no wrong way to age an urn or container. You can play with a lot of colors and see what you like best. Get creative! Follow me on Pinterest to see my other DIYs or check out my gallery here.
This urn even adds flavor to this very dated roll-top desk. Looks like I have another DIY in store for me!
