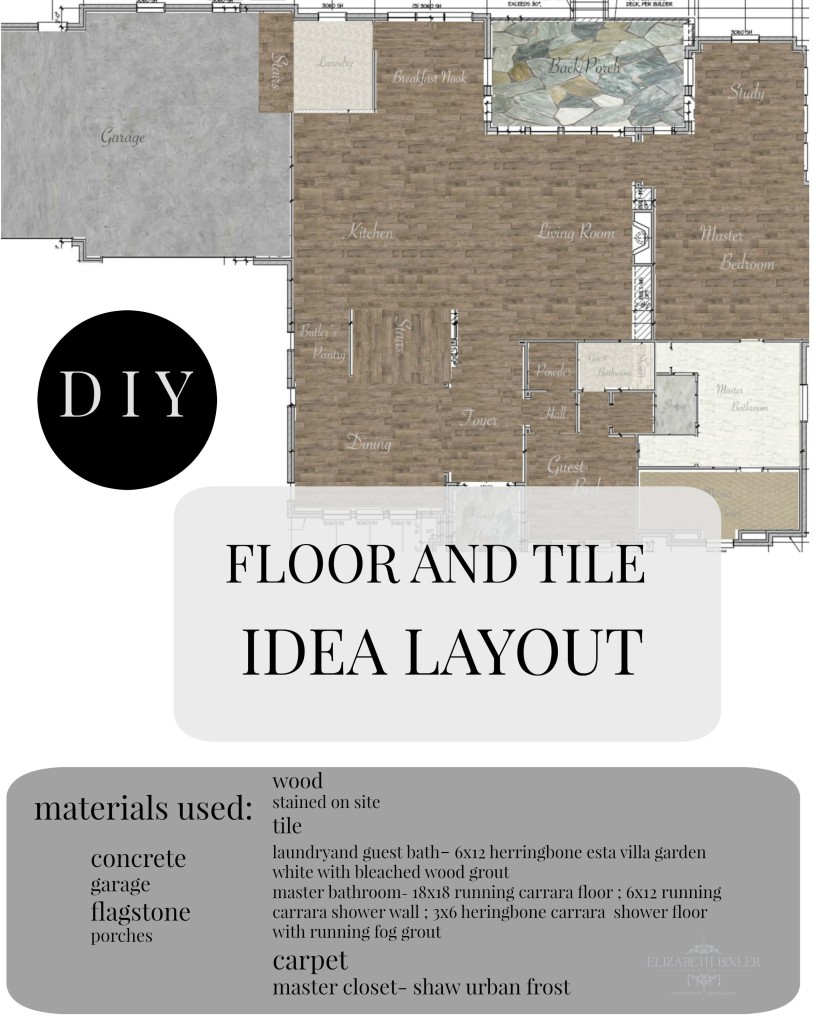
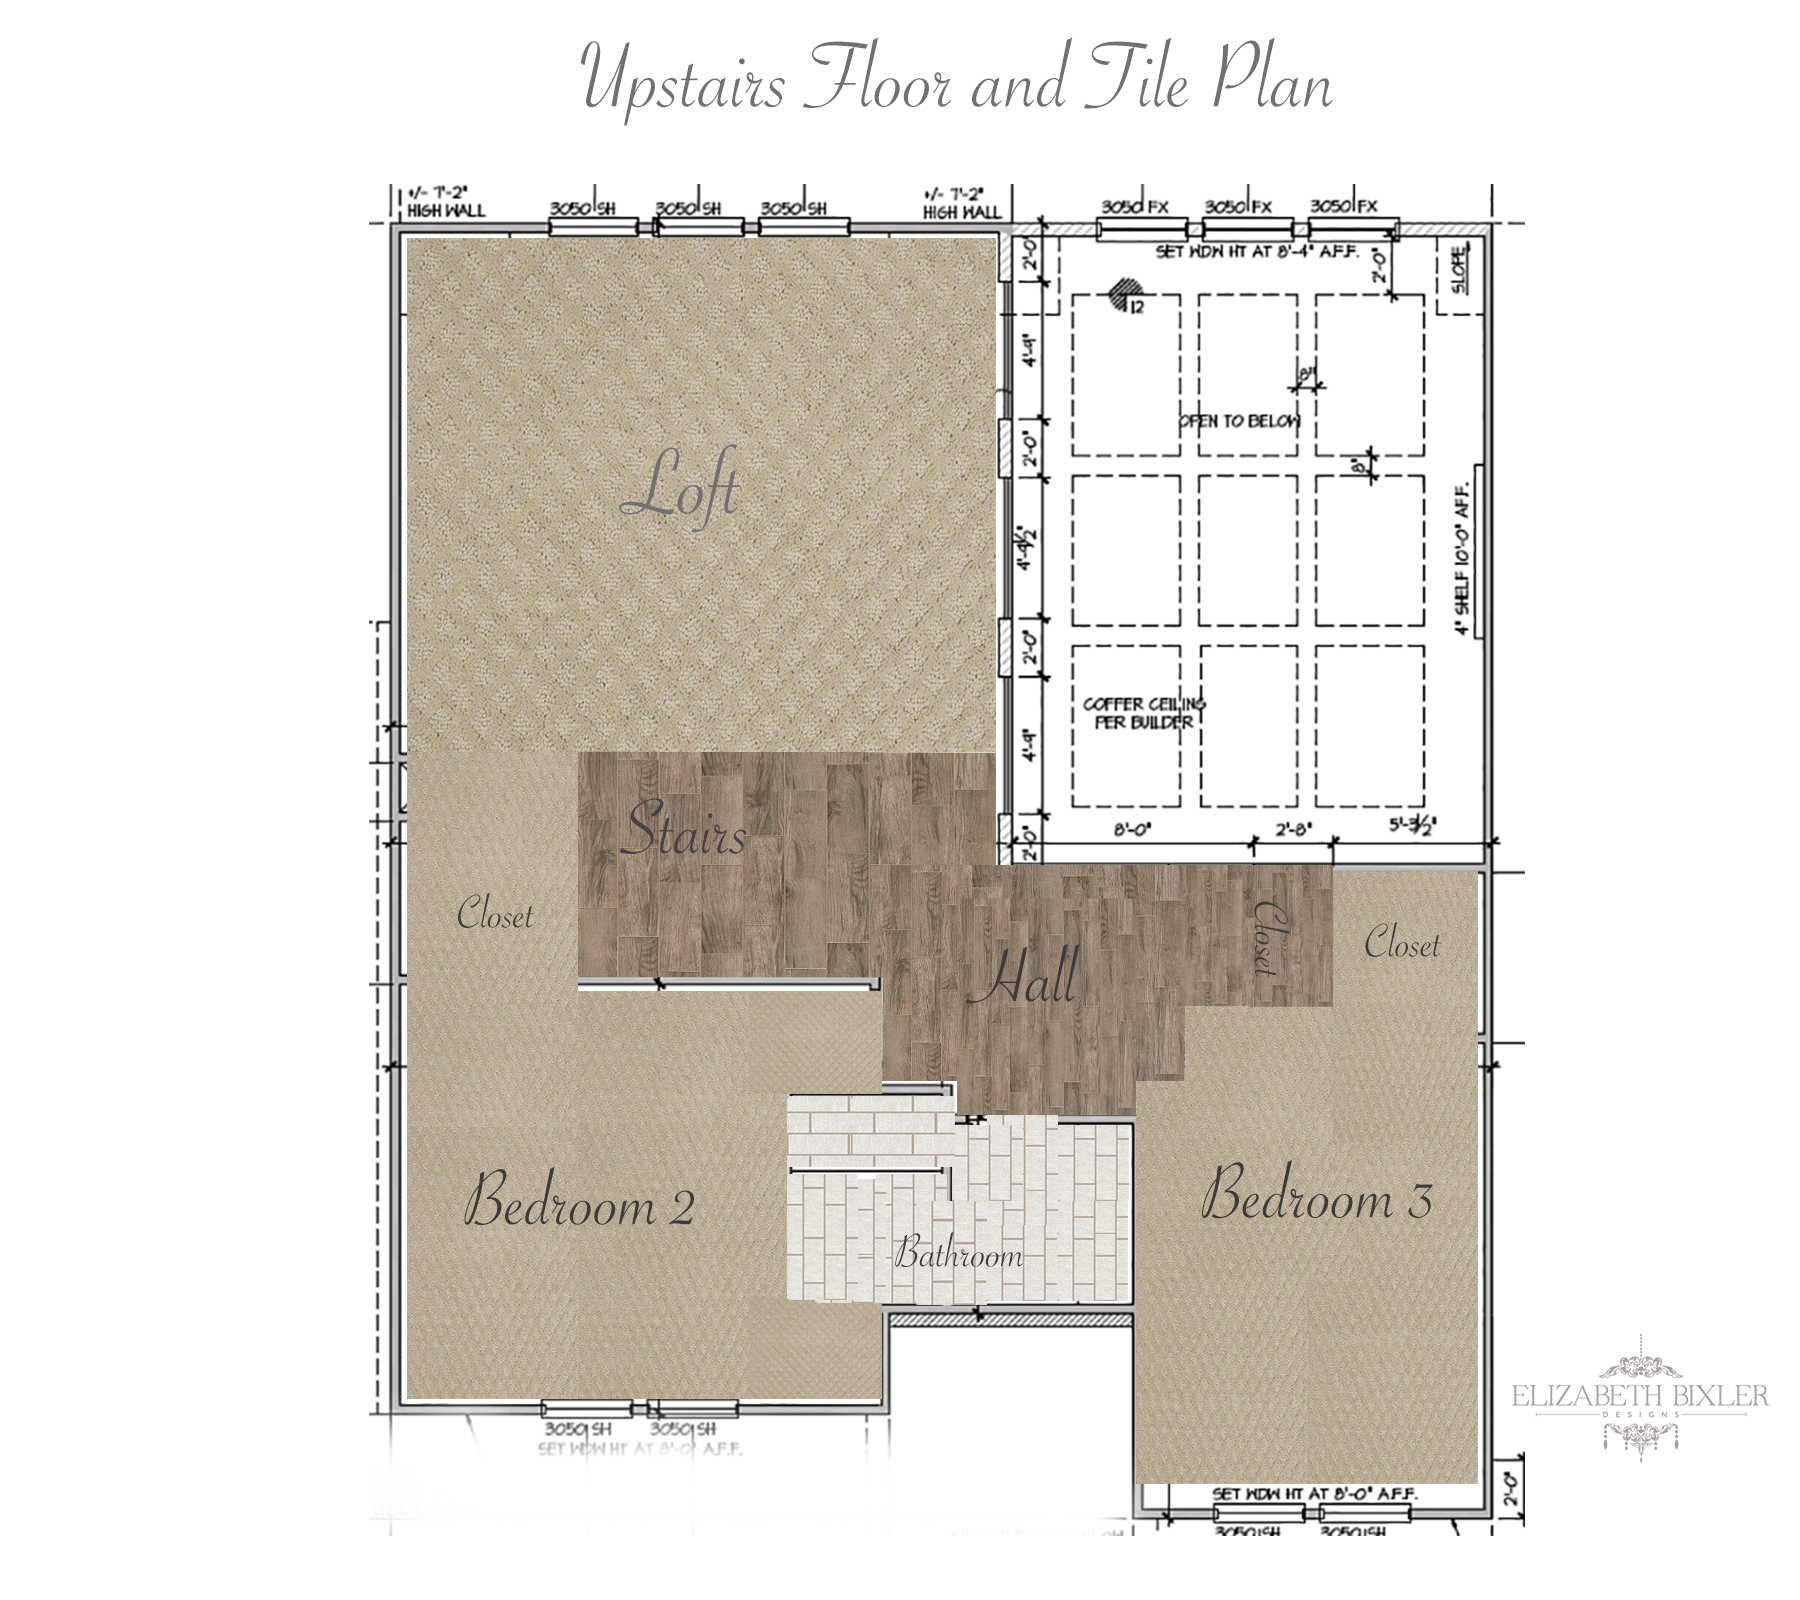
Today – after some wonderful tips from our builders and friends – we nailed down our decisions on electrical outlets and lighting. We also signed off on the tile so thank God that is over!! I wanted to see what the floor plan would look like. This is not exact but it gives us a really good idea of how our plan will flow and if we want to change it. Do not judge my Photoshop skills. It’s definitely a been learning process for me.
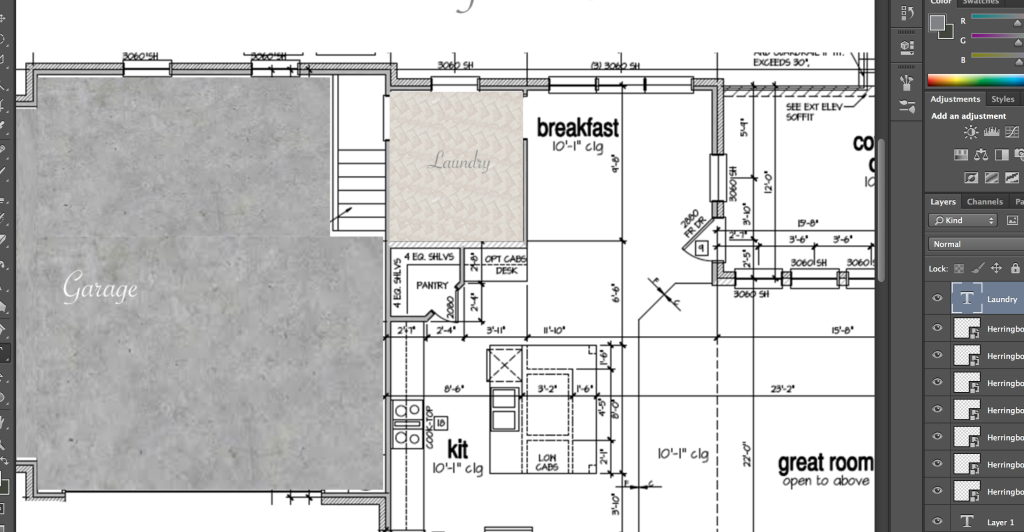
For example the laundry room:
I first had to decide how many pieces of tile would go on the floor keeping in mind it was herringbone pattern so it would use about 10% more.
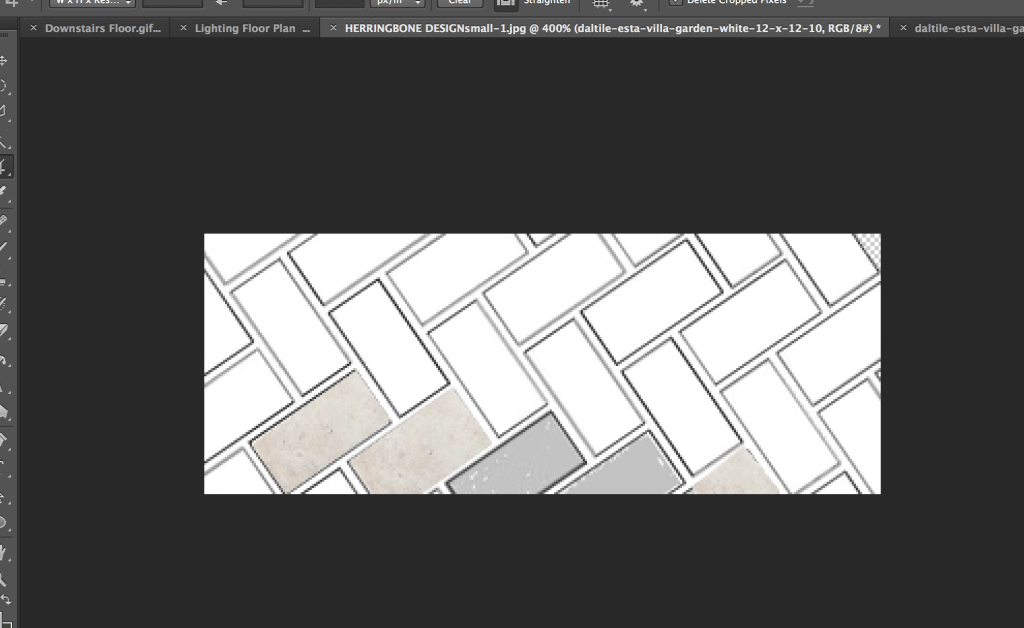
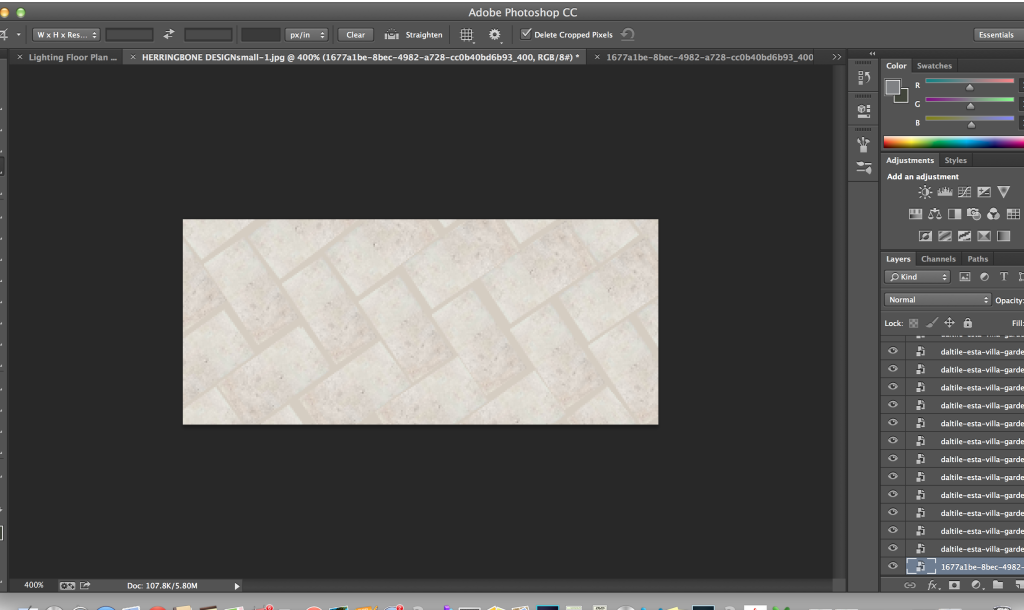
I found a sample color of our tile and sample of our grout. Found a 6×12 herringbone pattern online and started photoshopping away:
This color and style is exactly what we will be using in the laundry room. Now I can count and add the tiles to my laundry room floor plan.
I added the shower and tub tile walls because leaving the tub space was driving me crazy. Yes.. judge me for being crazy.
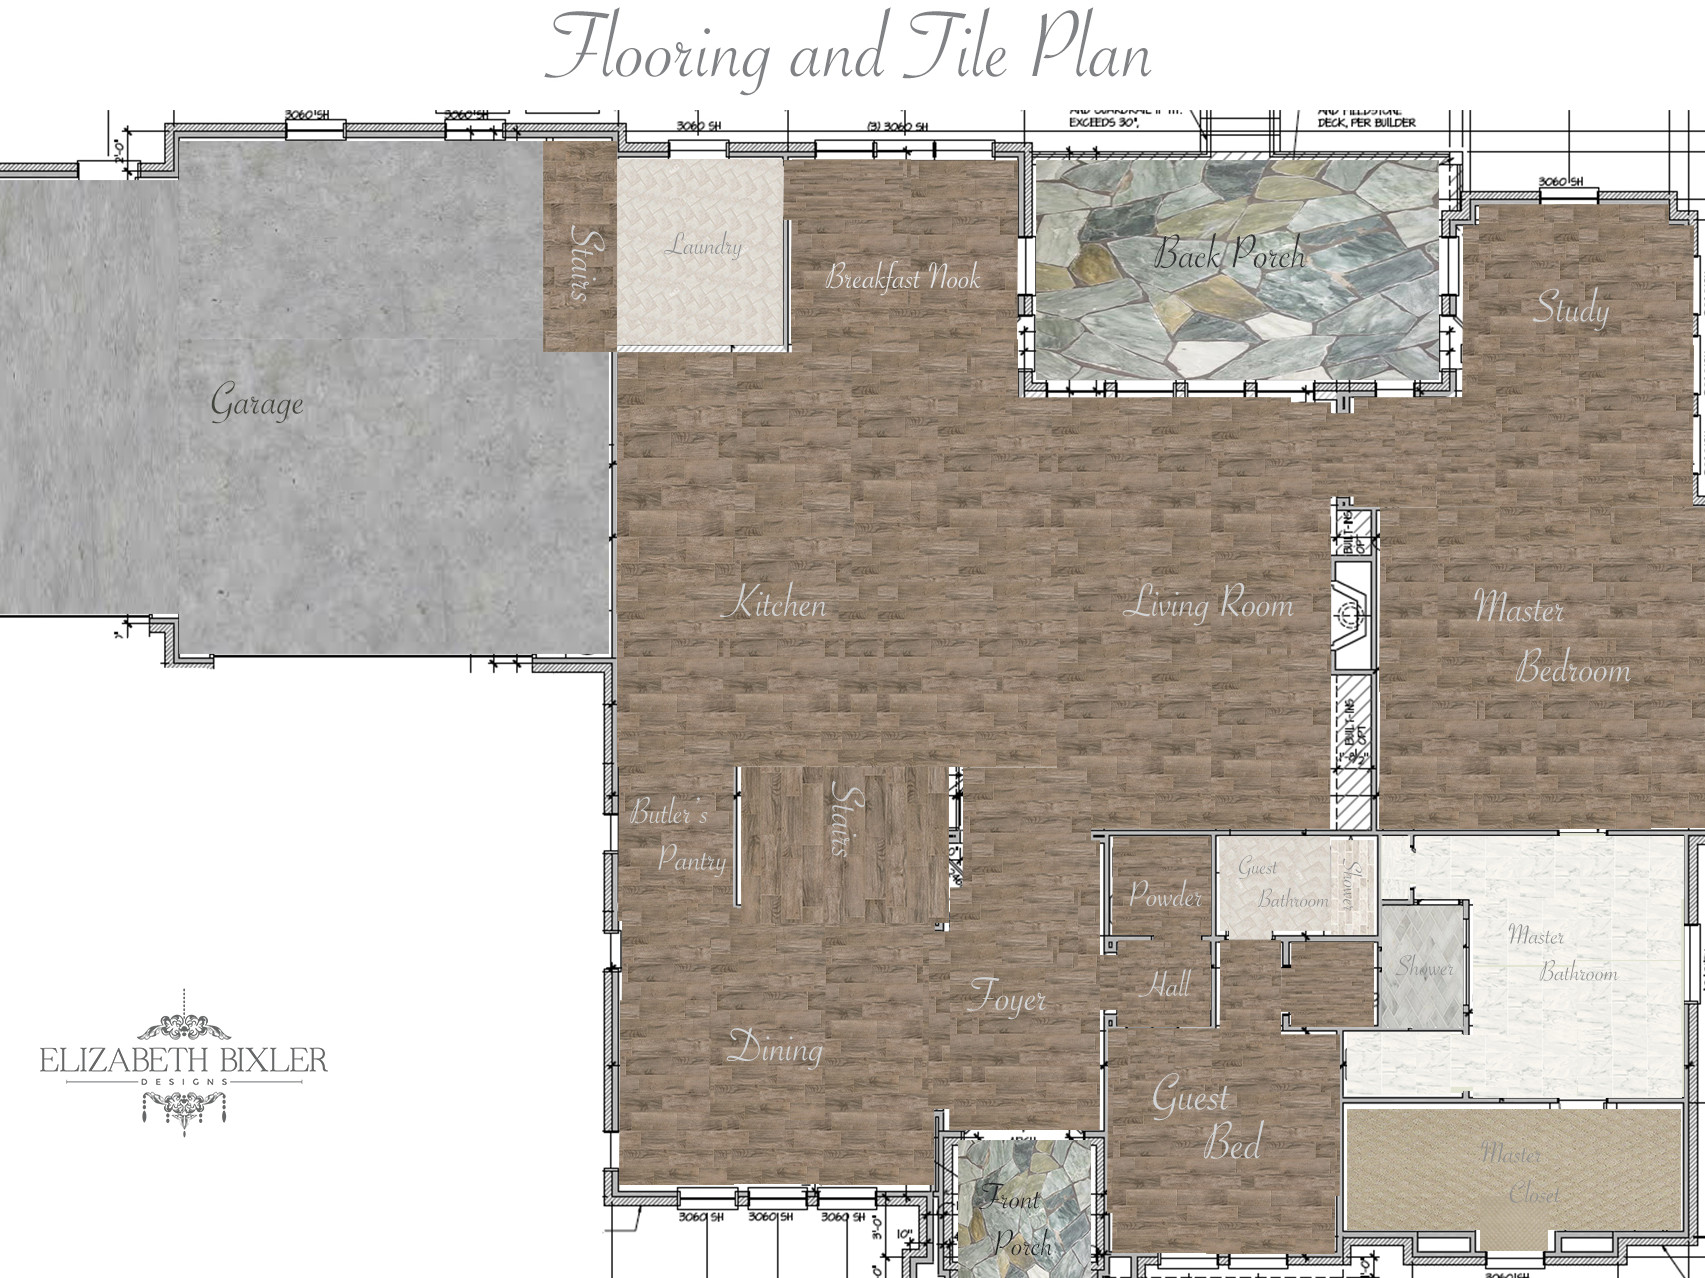 The Downstairs Room Designs are as follows:
Garage- Concrete
Stairs- Stained wood
Laundry- 6×12 Herringbone Design
Breakfast Nook, Kitchen, Guest Bed, Master Bed, Dining, Butler Pantry, Foyer, Study, Living room, and Stairs – Hardwood
Master Bathroom- 18×18 Running
Master Shower- 3×6 Herringbone
Master Closet- Shaw Urban Frost
Guest Bathroom-6×12 Herringbone
Front and Back Porch – Flagstone
Upstairs
Hallway- Hardwood Red Oak
Loft and both bedrooms- Shaw Urban Frost
Upstairs Bathroom- 12×24 Running
