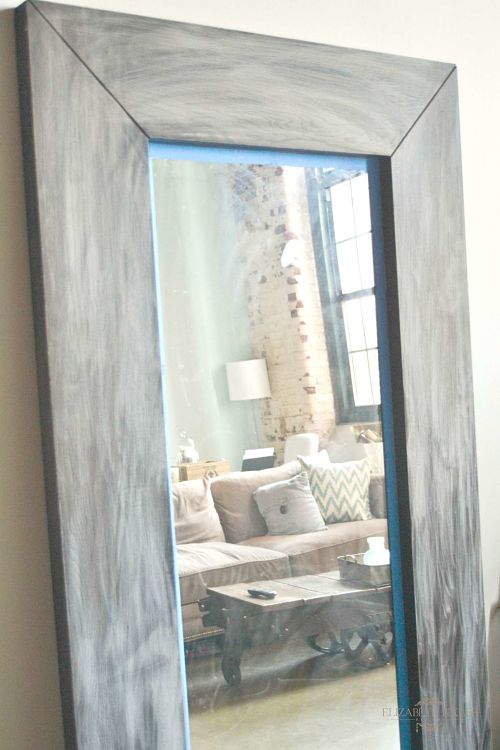
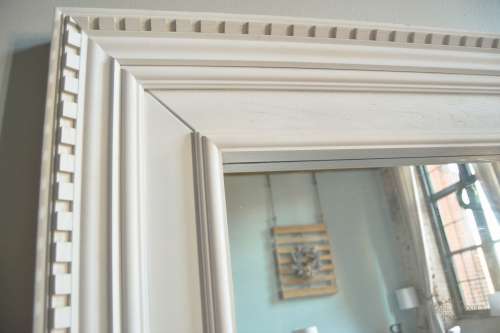
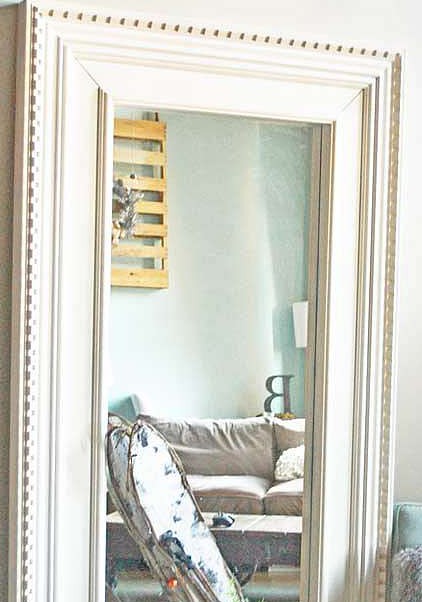
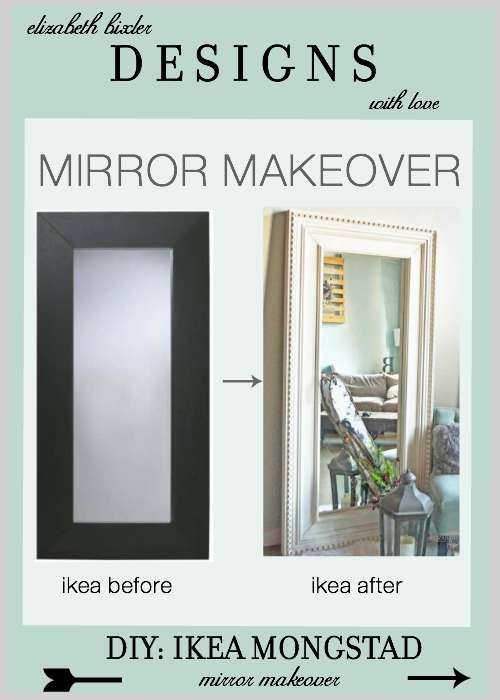
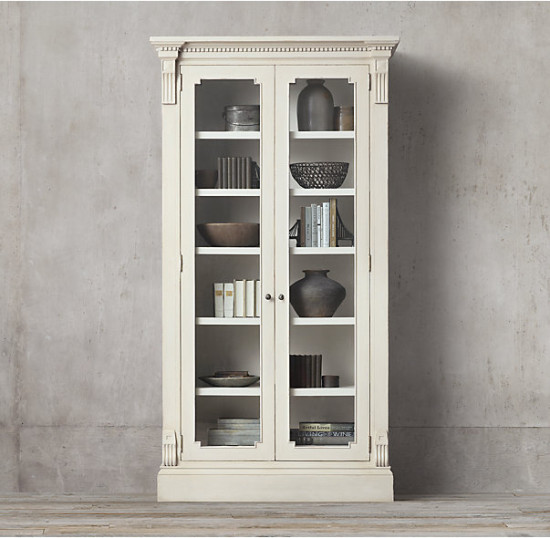
We decided to use it as a good time to do an Ikea Mongstad Mirror makeover. At first, I just wanted to paint the floor mirror. I decided I wanted it to flow with the rest of our new furniture so I thought we should add a little molding. We packed up our car and headed to work on our project at my parents’ house. Fair warning… this was not a cheap project. Also my dad and husband were an awesome help by cutting,sizing, and attaching all the wood! I was inspired by this look by Restoration Hardware:
Before Ikea Mongstad Mirror: 
Project Overview
Cost: around $125
Total Time: 2 weeks (we got a little side-tracked)
Project Supplies
Outer Most Layer Crown Molding (2 pieces 78″ and 2 pieces 37″..Dont follow this. Buy a foot more each to give yourself some room) – Home Depot Pine 91/6 x3-3/4 Pine. I could not find this particular piece on the Home Depot website but here is something similar.
Second and Third Layer of Molding (6 eight feet pieces) – Home Depot Door Trim $8.11each x 6 = $48.66
3M 120 Grit Fine Sand paper $3.47
Scotchblue 1.41 in x 60yrds $5.68
Liquid Nail Multi- Purpose Repair Adhesive $2.78
Wire Brads Tacts $1.47
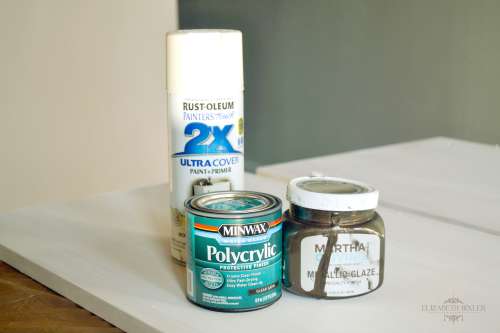
Rustoleum Painter’s Touch Paint and Primer Spray in Heirloom White $3.44 x 3 = $ 9.32
Martha Stewart Glaze in Black Coffee $10
Polycrylic Spray in Satin $8.66
Wood filler – $6.98
Duster/ tack towel $5.97
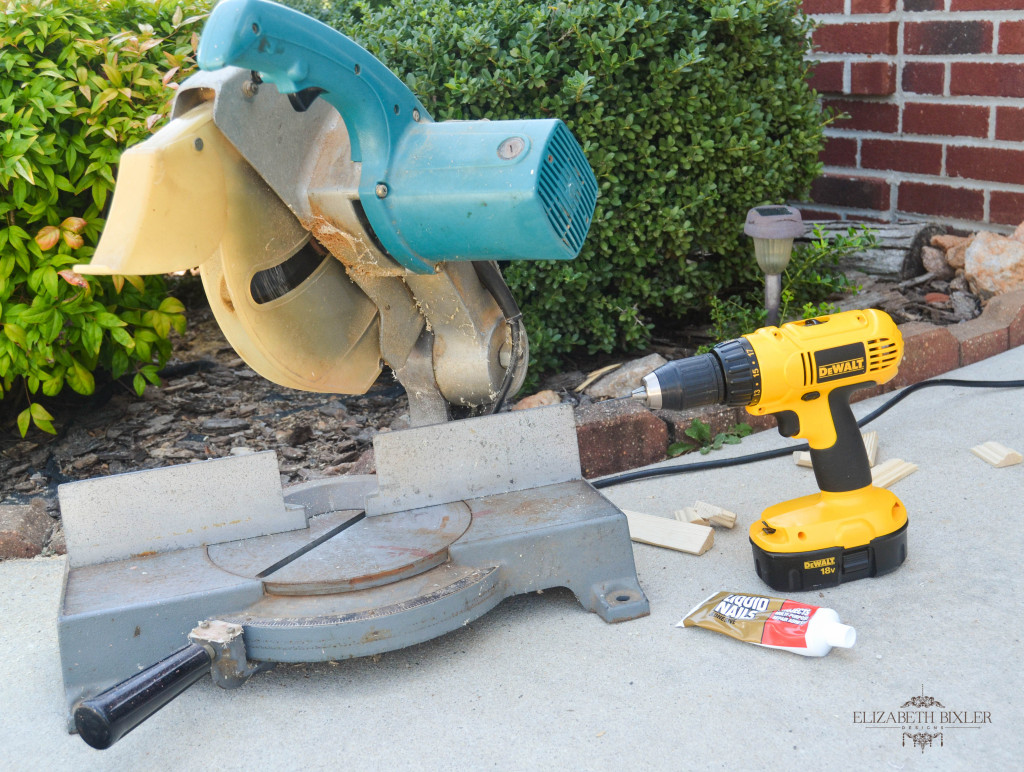
Extras- Power Mitar Saw (this is a must), Table Saw, Cordless Drill (1/16 inch bit), Hammer, Awl, C-Clamps to hold molding in place while Liquid Nails set, Paper Towels for glaze, Saw horses, Clipping from News papers (put the tape on first, then ad the paper, and tape on the tape)
Day 1 (2 hours)
Step 1 : I started with blue taping the inside of the mirror and sanding the frame.
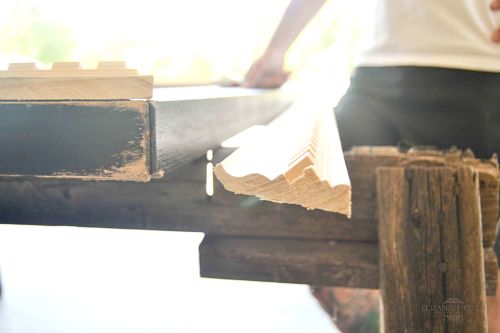
Step 2: Because my molding edge did not lay flat, use the table saw to rip 3/8″ of the edge straight down the crown molding. We had to do this because it is crown molding, and we wanted it to be a 90degree edge.
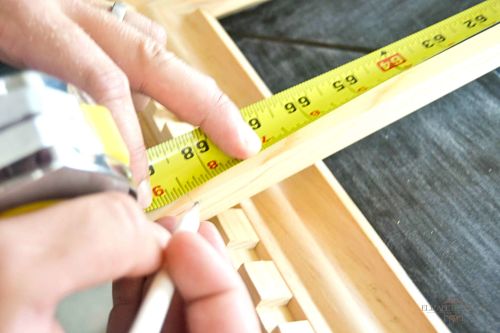
Step 3 : Measure and cut each pieces of molding at 45 degree angle .
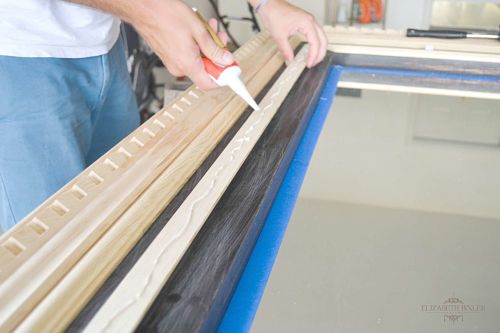
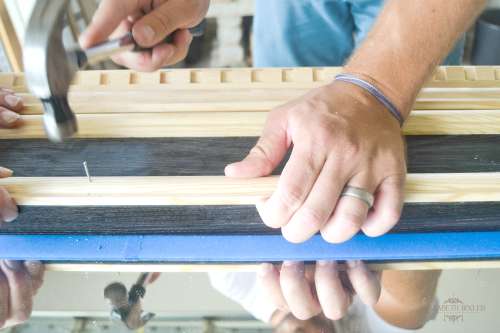
Step 4 : Use Liquid Nails and Tacts to hold molding in place.
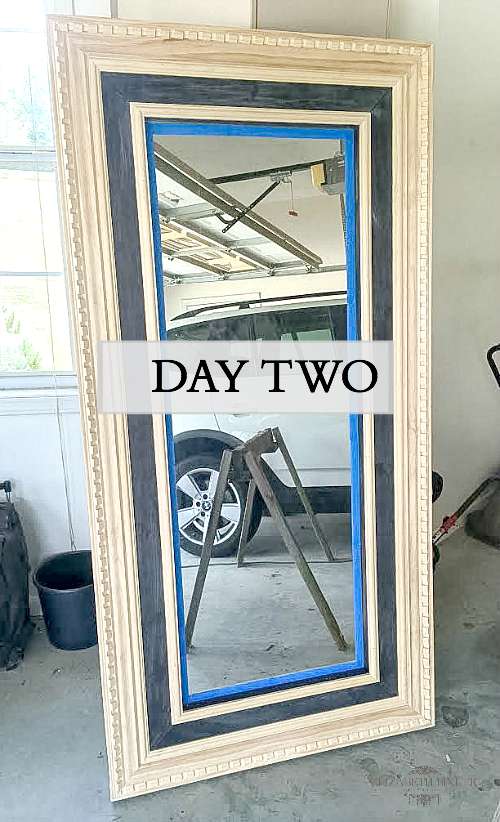
Day 2 (1-2 hours)
Step 5: Measure and cut each piece of the second layer of molding using Power Miter.
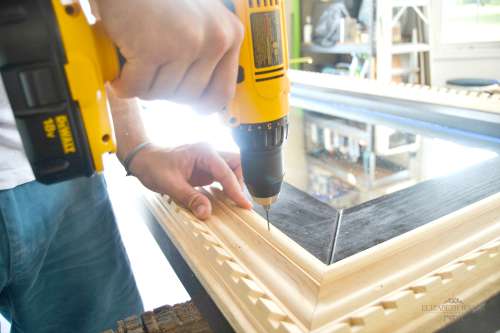
Step 6: Drill hole for tacts slightly smaller than nail so board will grip the nail but not crack wood. Use 4 tacts on each molding to attach slightly under the outer crown molding.
Step 7: Third layer of molding used on inside edge of mirror. Measure and cut each piece.
Step 8: Use Liquid Nails and Tacts to attach.
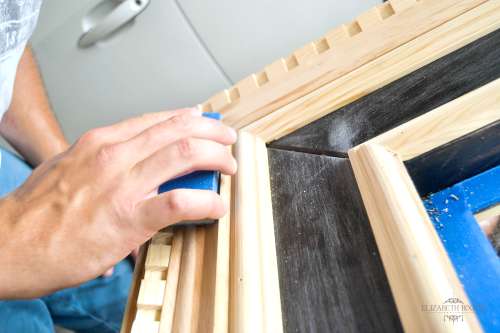
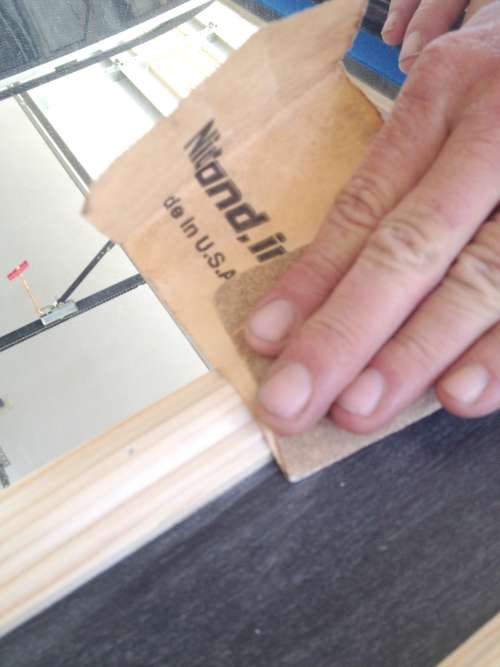
Step 9: Sand anything that has been cut with a 120 Grit Sanding Block.
After Day 2
Day 3
Step 10 : My Husband and I took a little vacation to California and now we are about to use our Wood Filler, wait, and sand with a 100 grit.
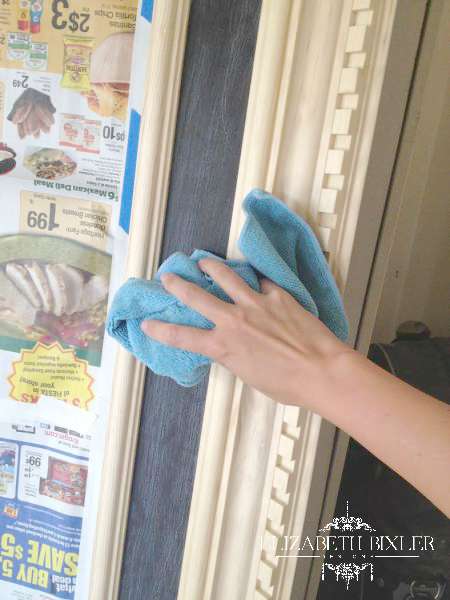
Step 11: Set up the mirror and dust. Please make sure you have a lint free duster. We did not , and there was dust everywhere!
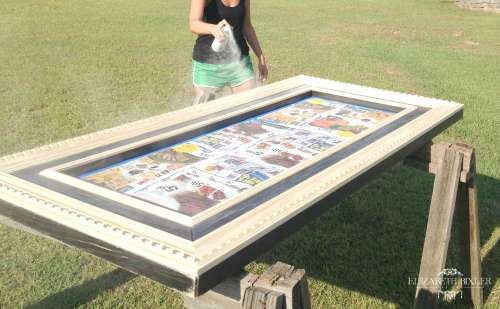
Step 12: Have wonderful people around you to prepare for the spray paint event.
Here is something you may need:
You are going to need around 3 cans of spray paint, and spray Polycrlic to seal. The Martha Stewart glaze is great if you want to add a more vintage feel.
Set it up!
LET’S SPRAY!
Rustoleum Painter’s Touch Paint and Primer Spray in Heirloom White $3.44 x 3 = $ 9.32
