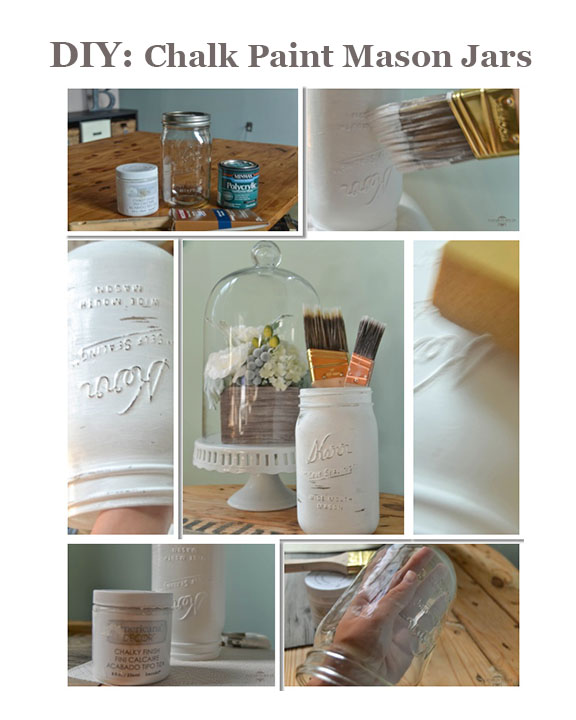
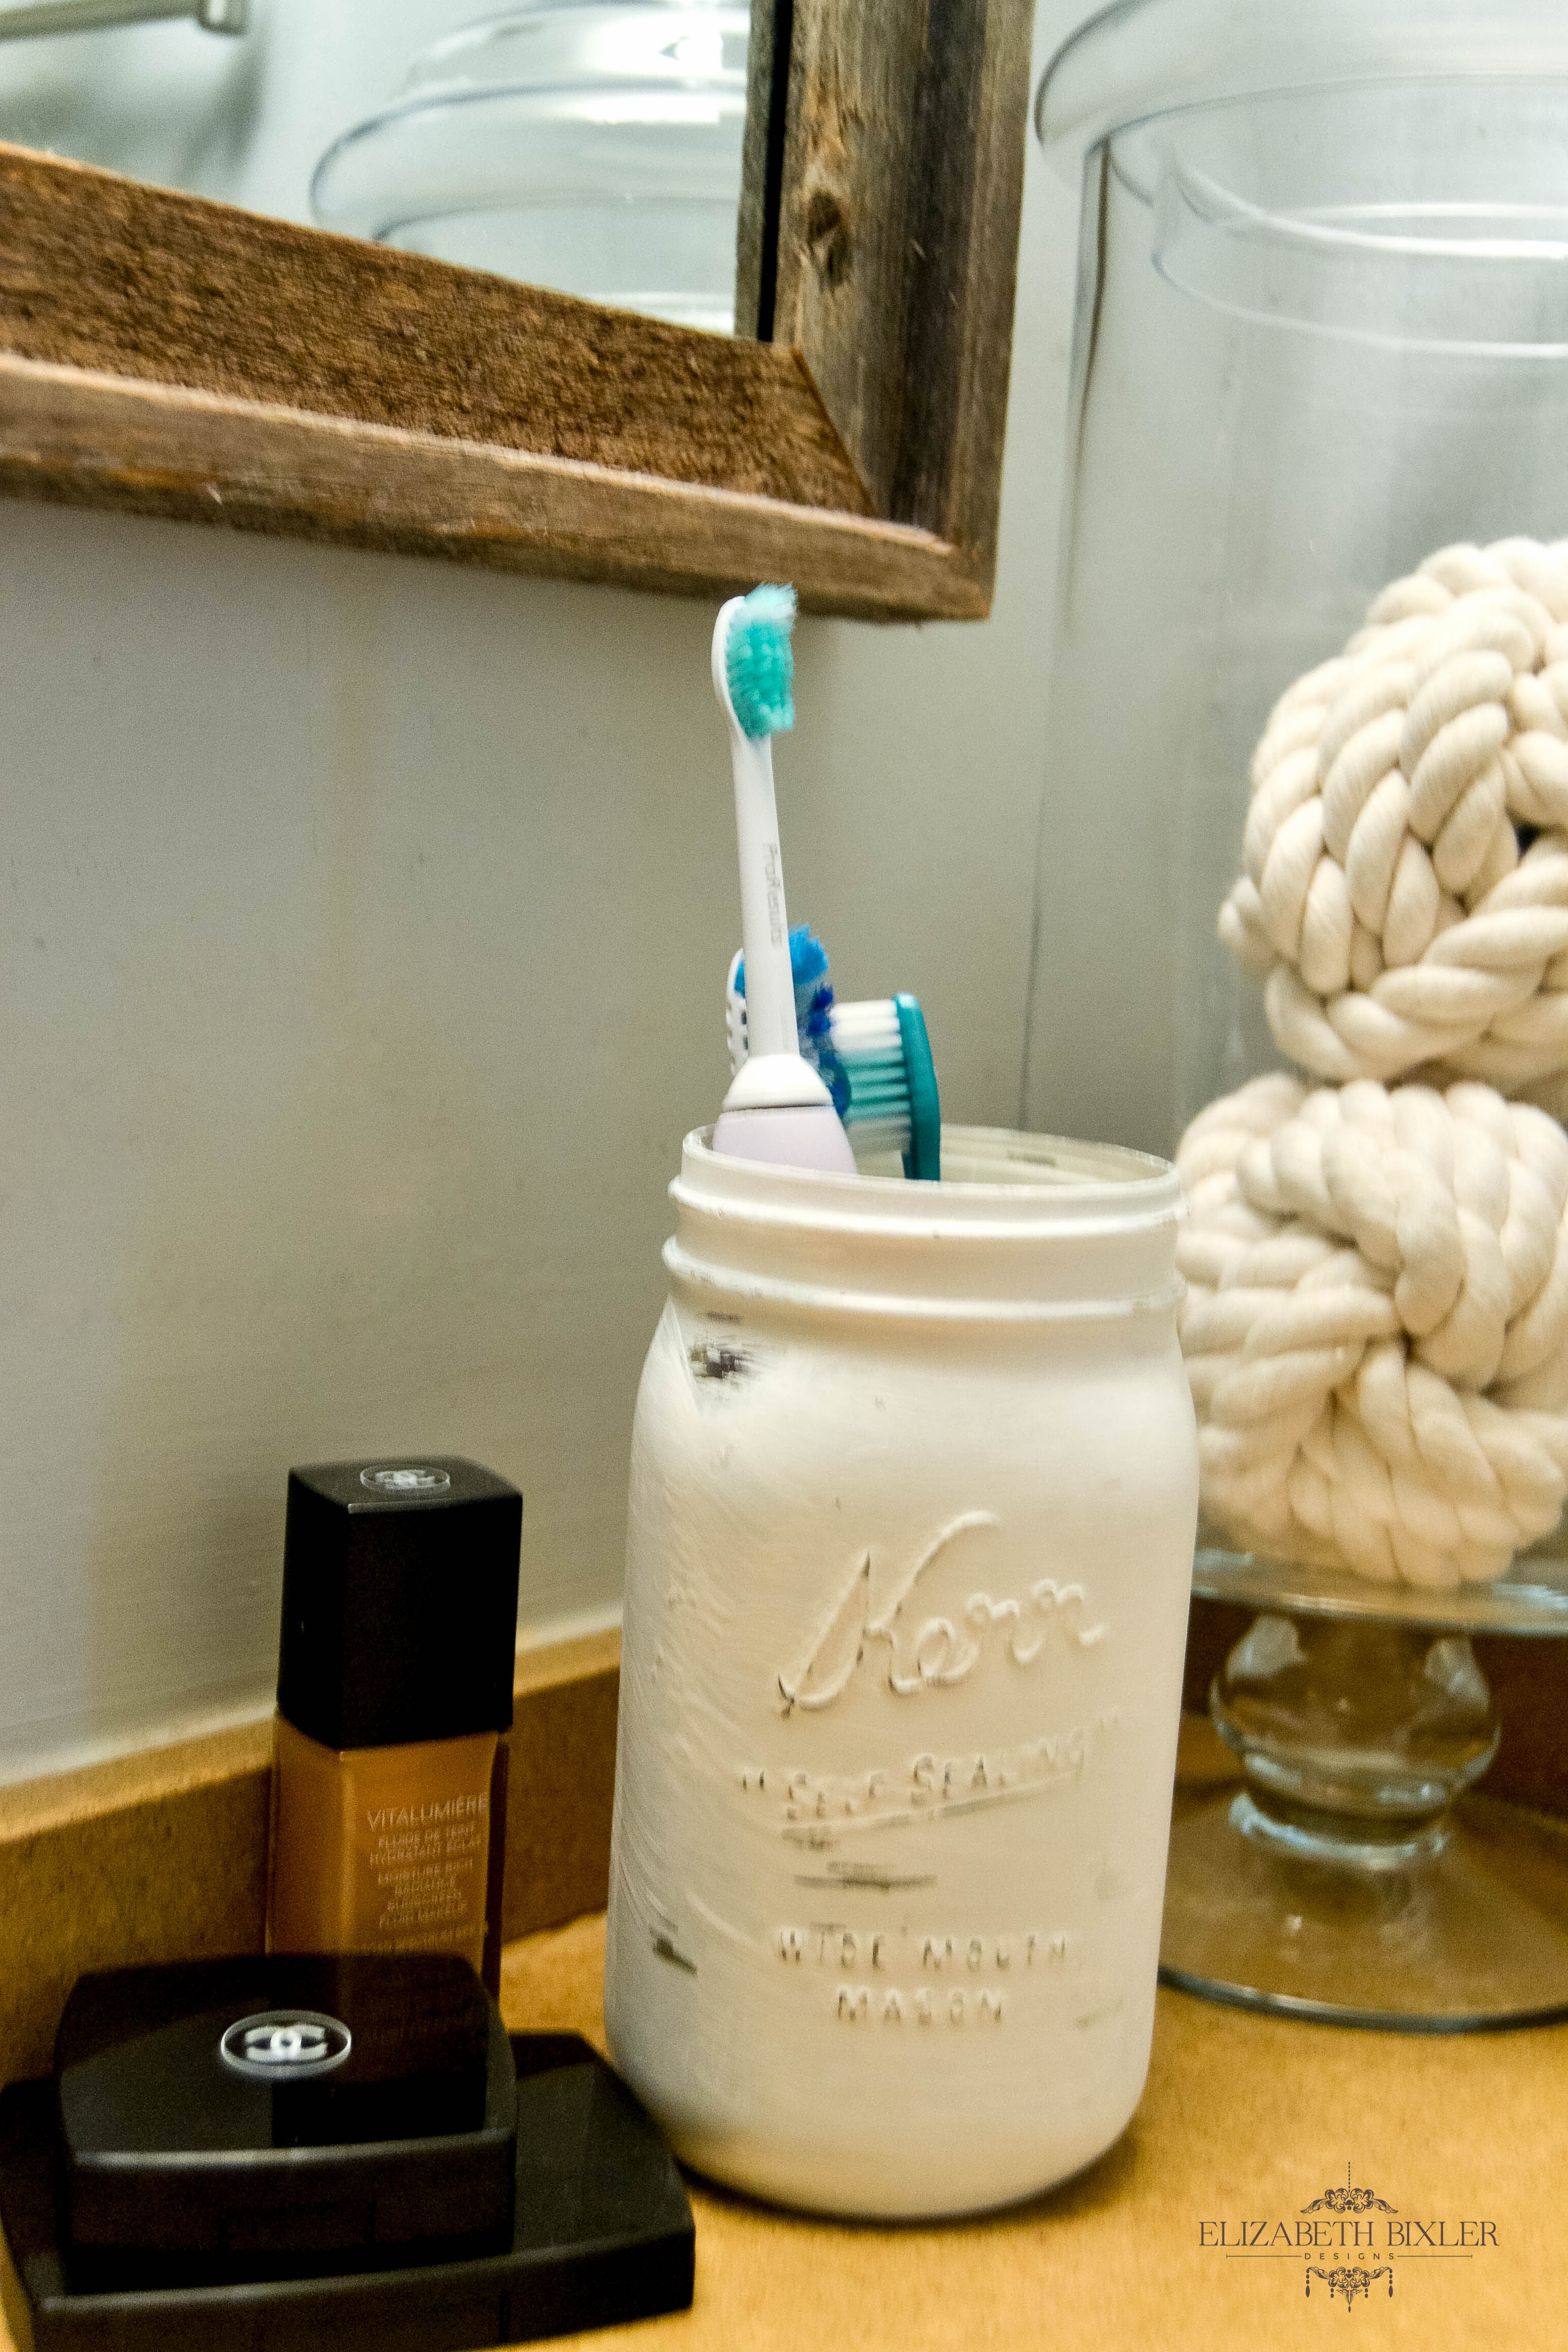
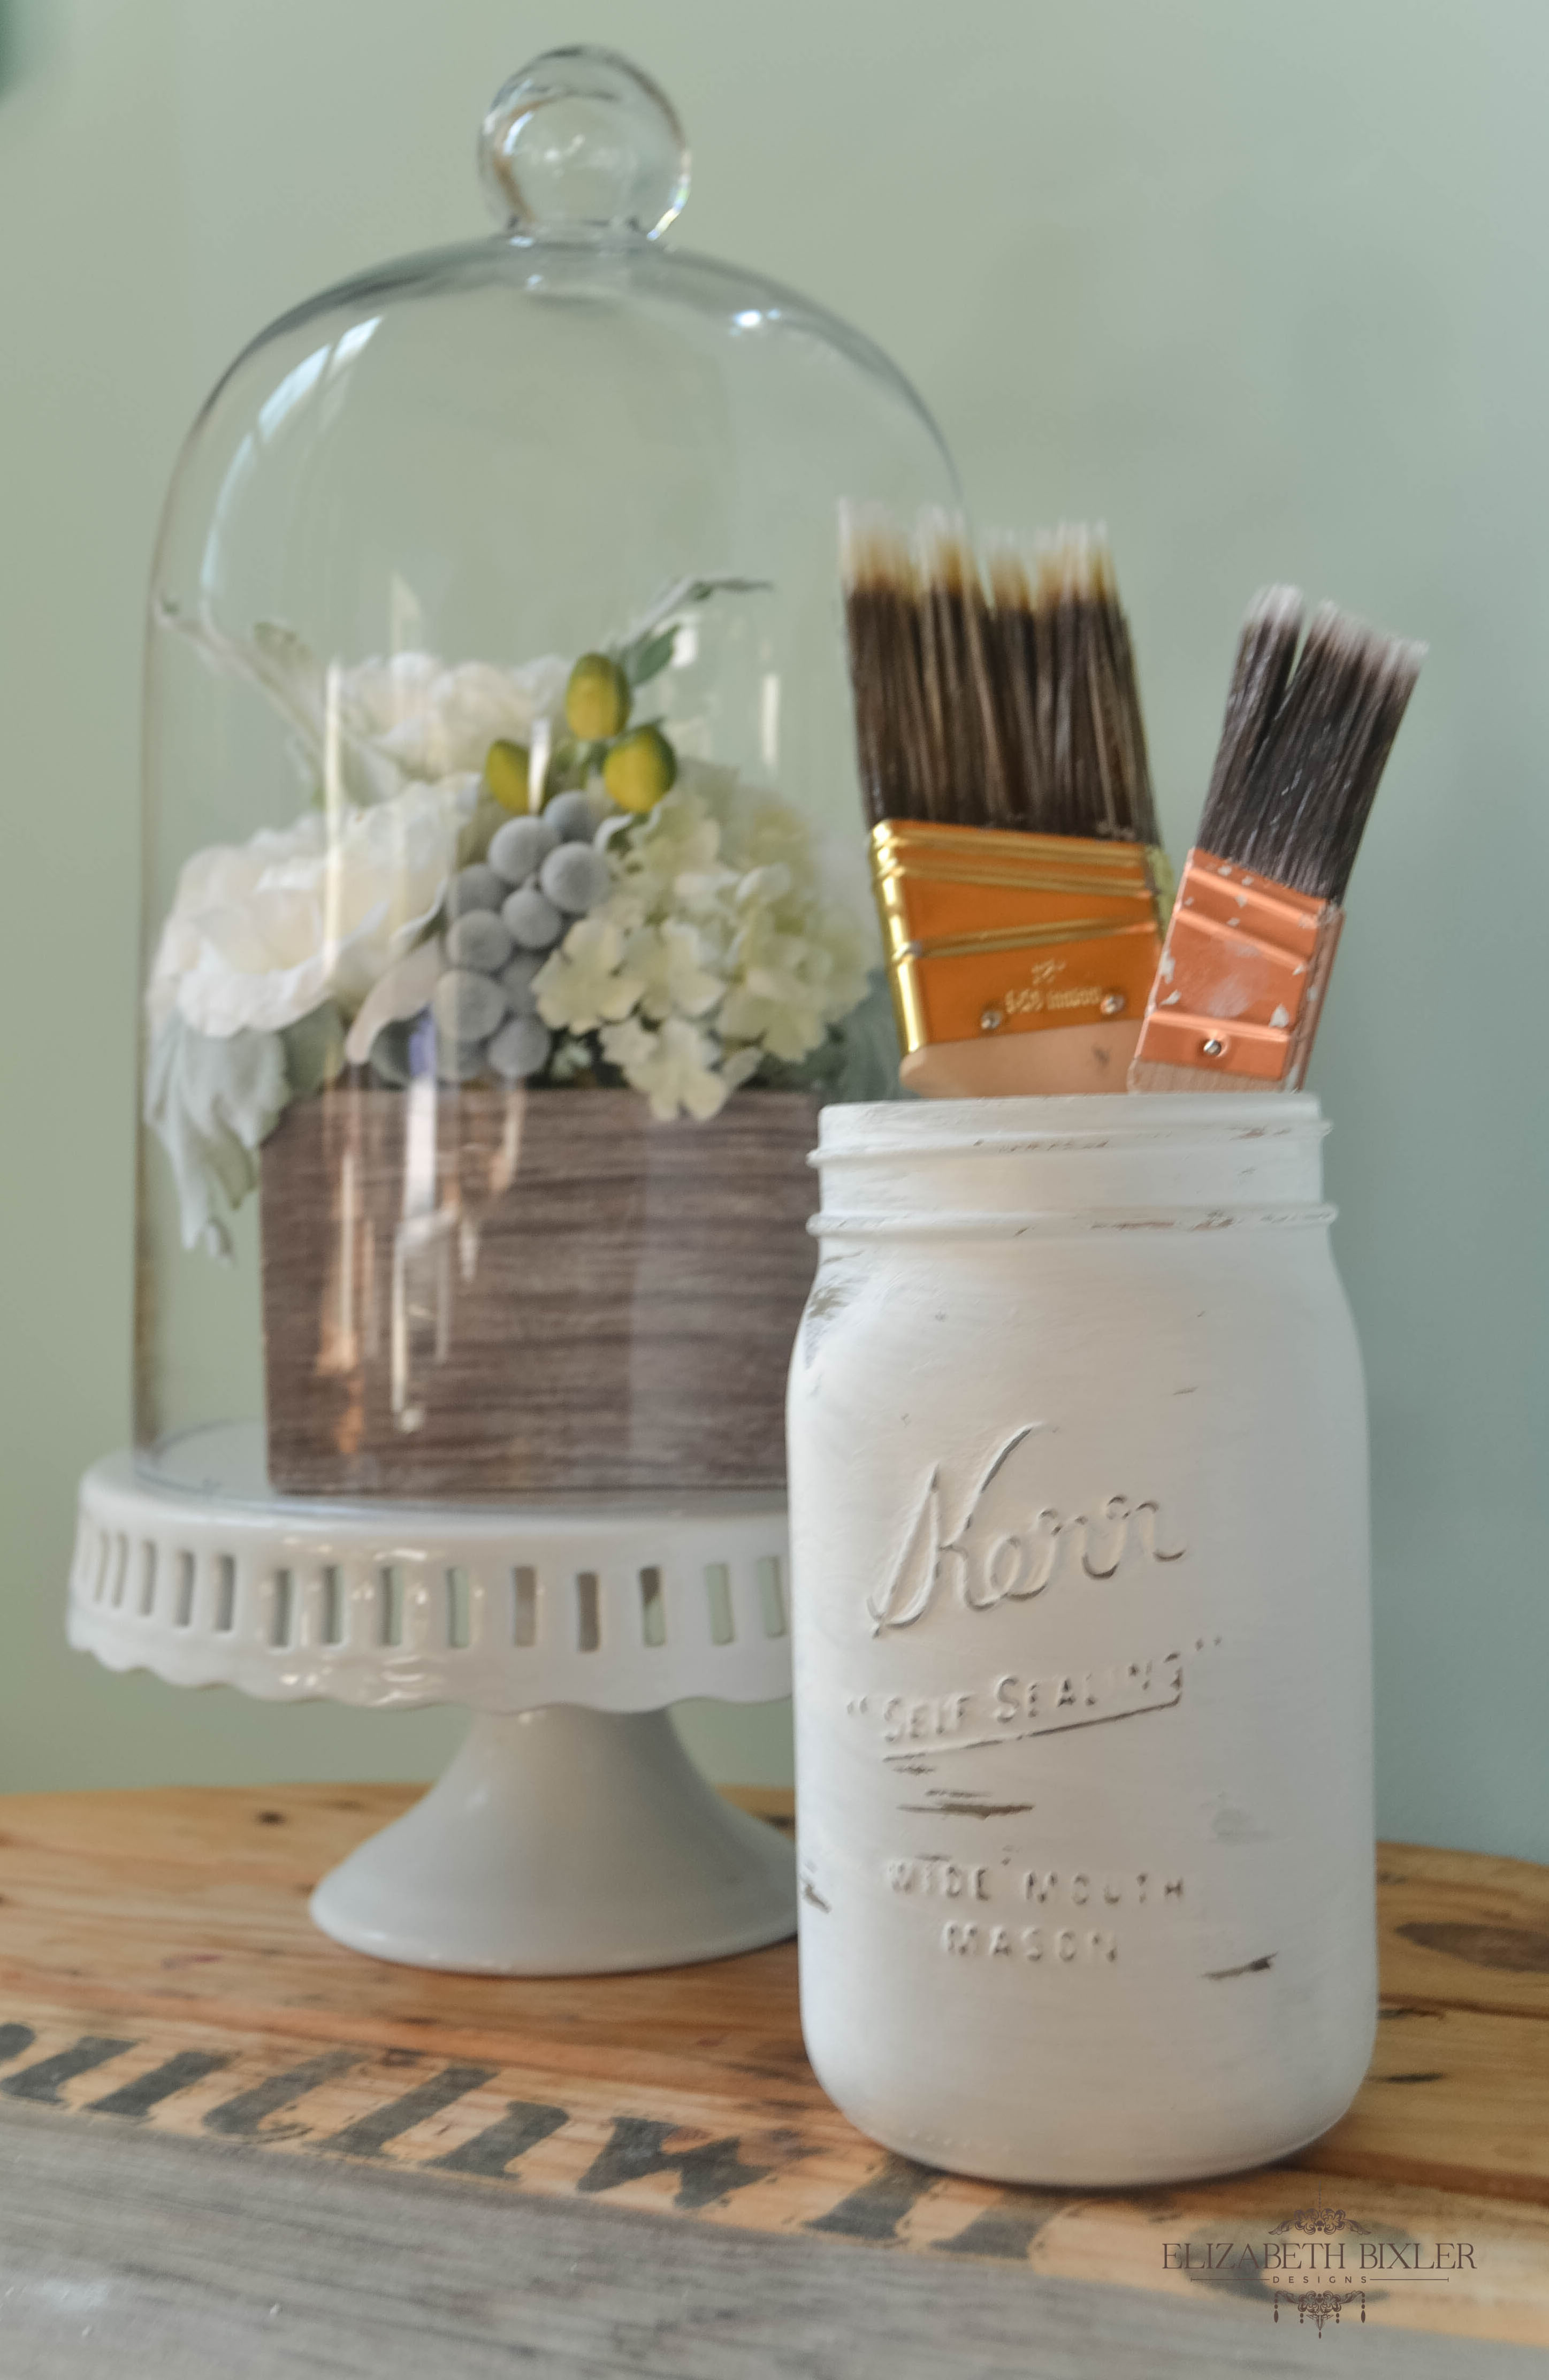
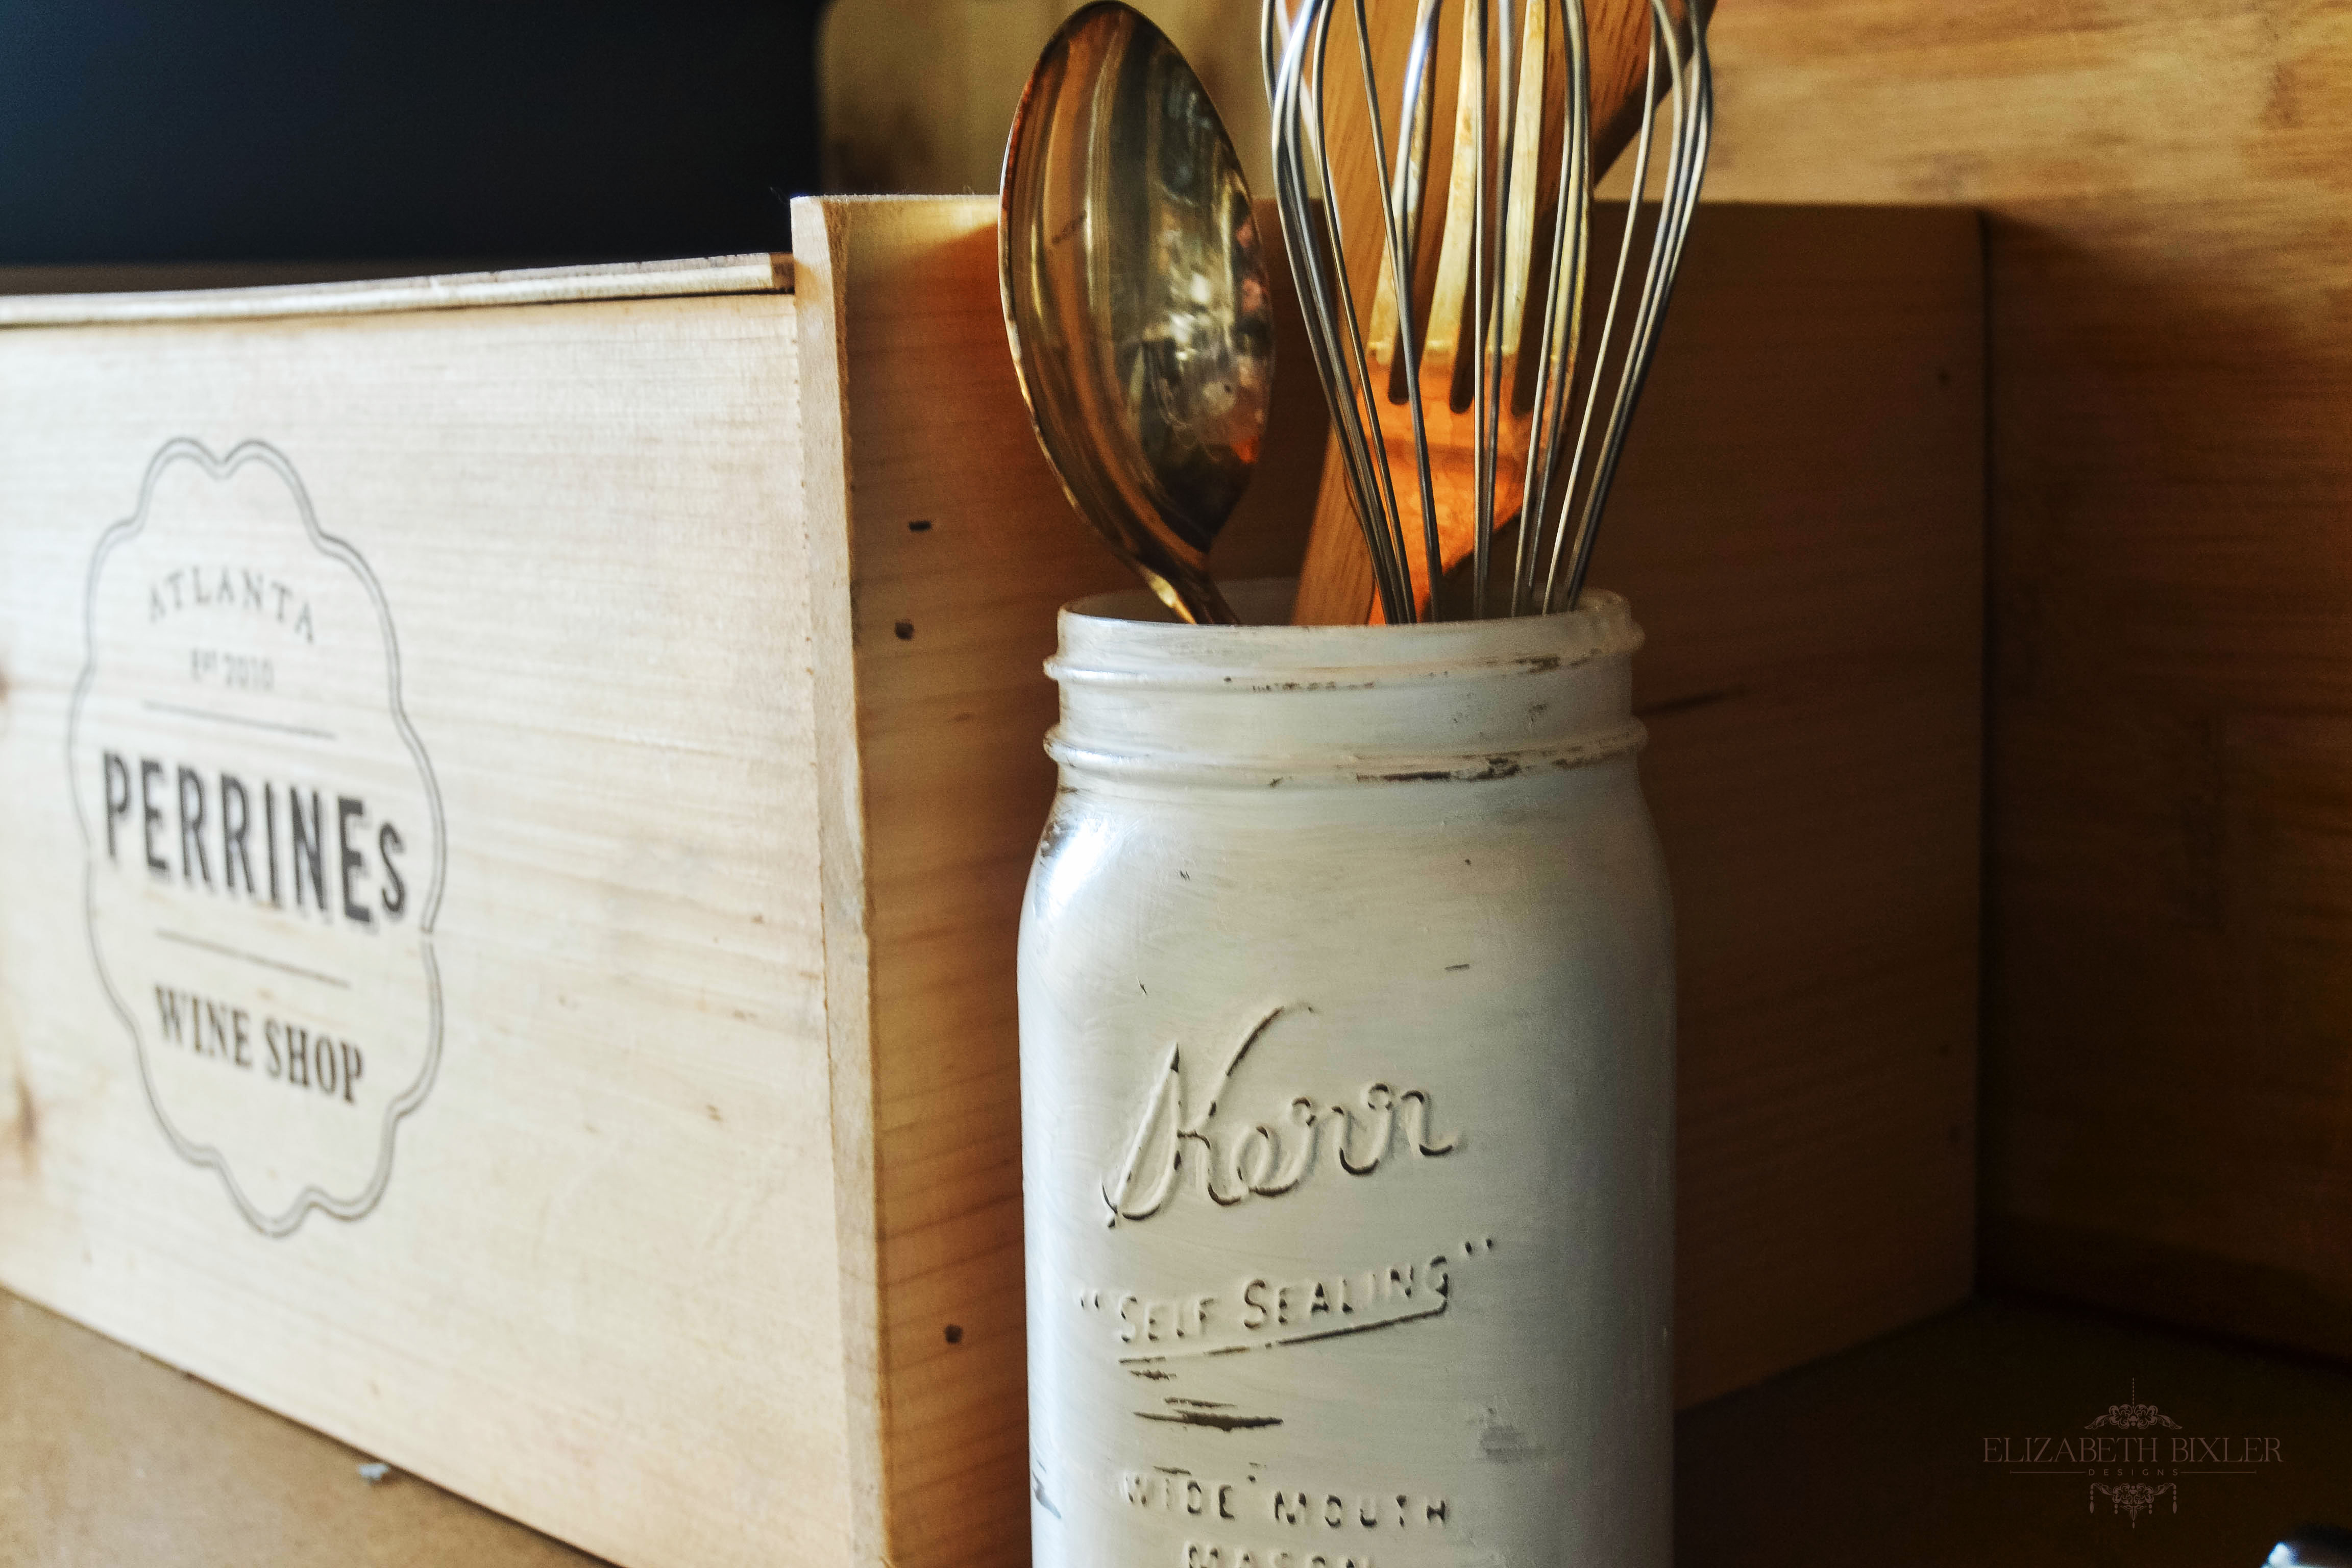
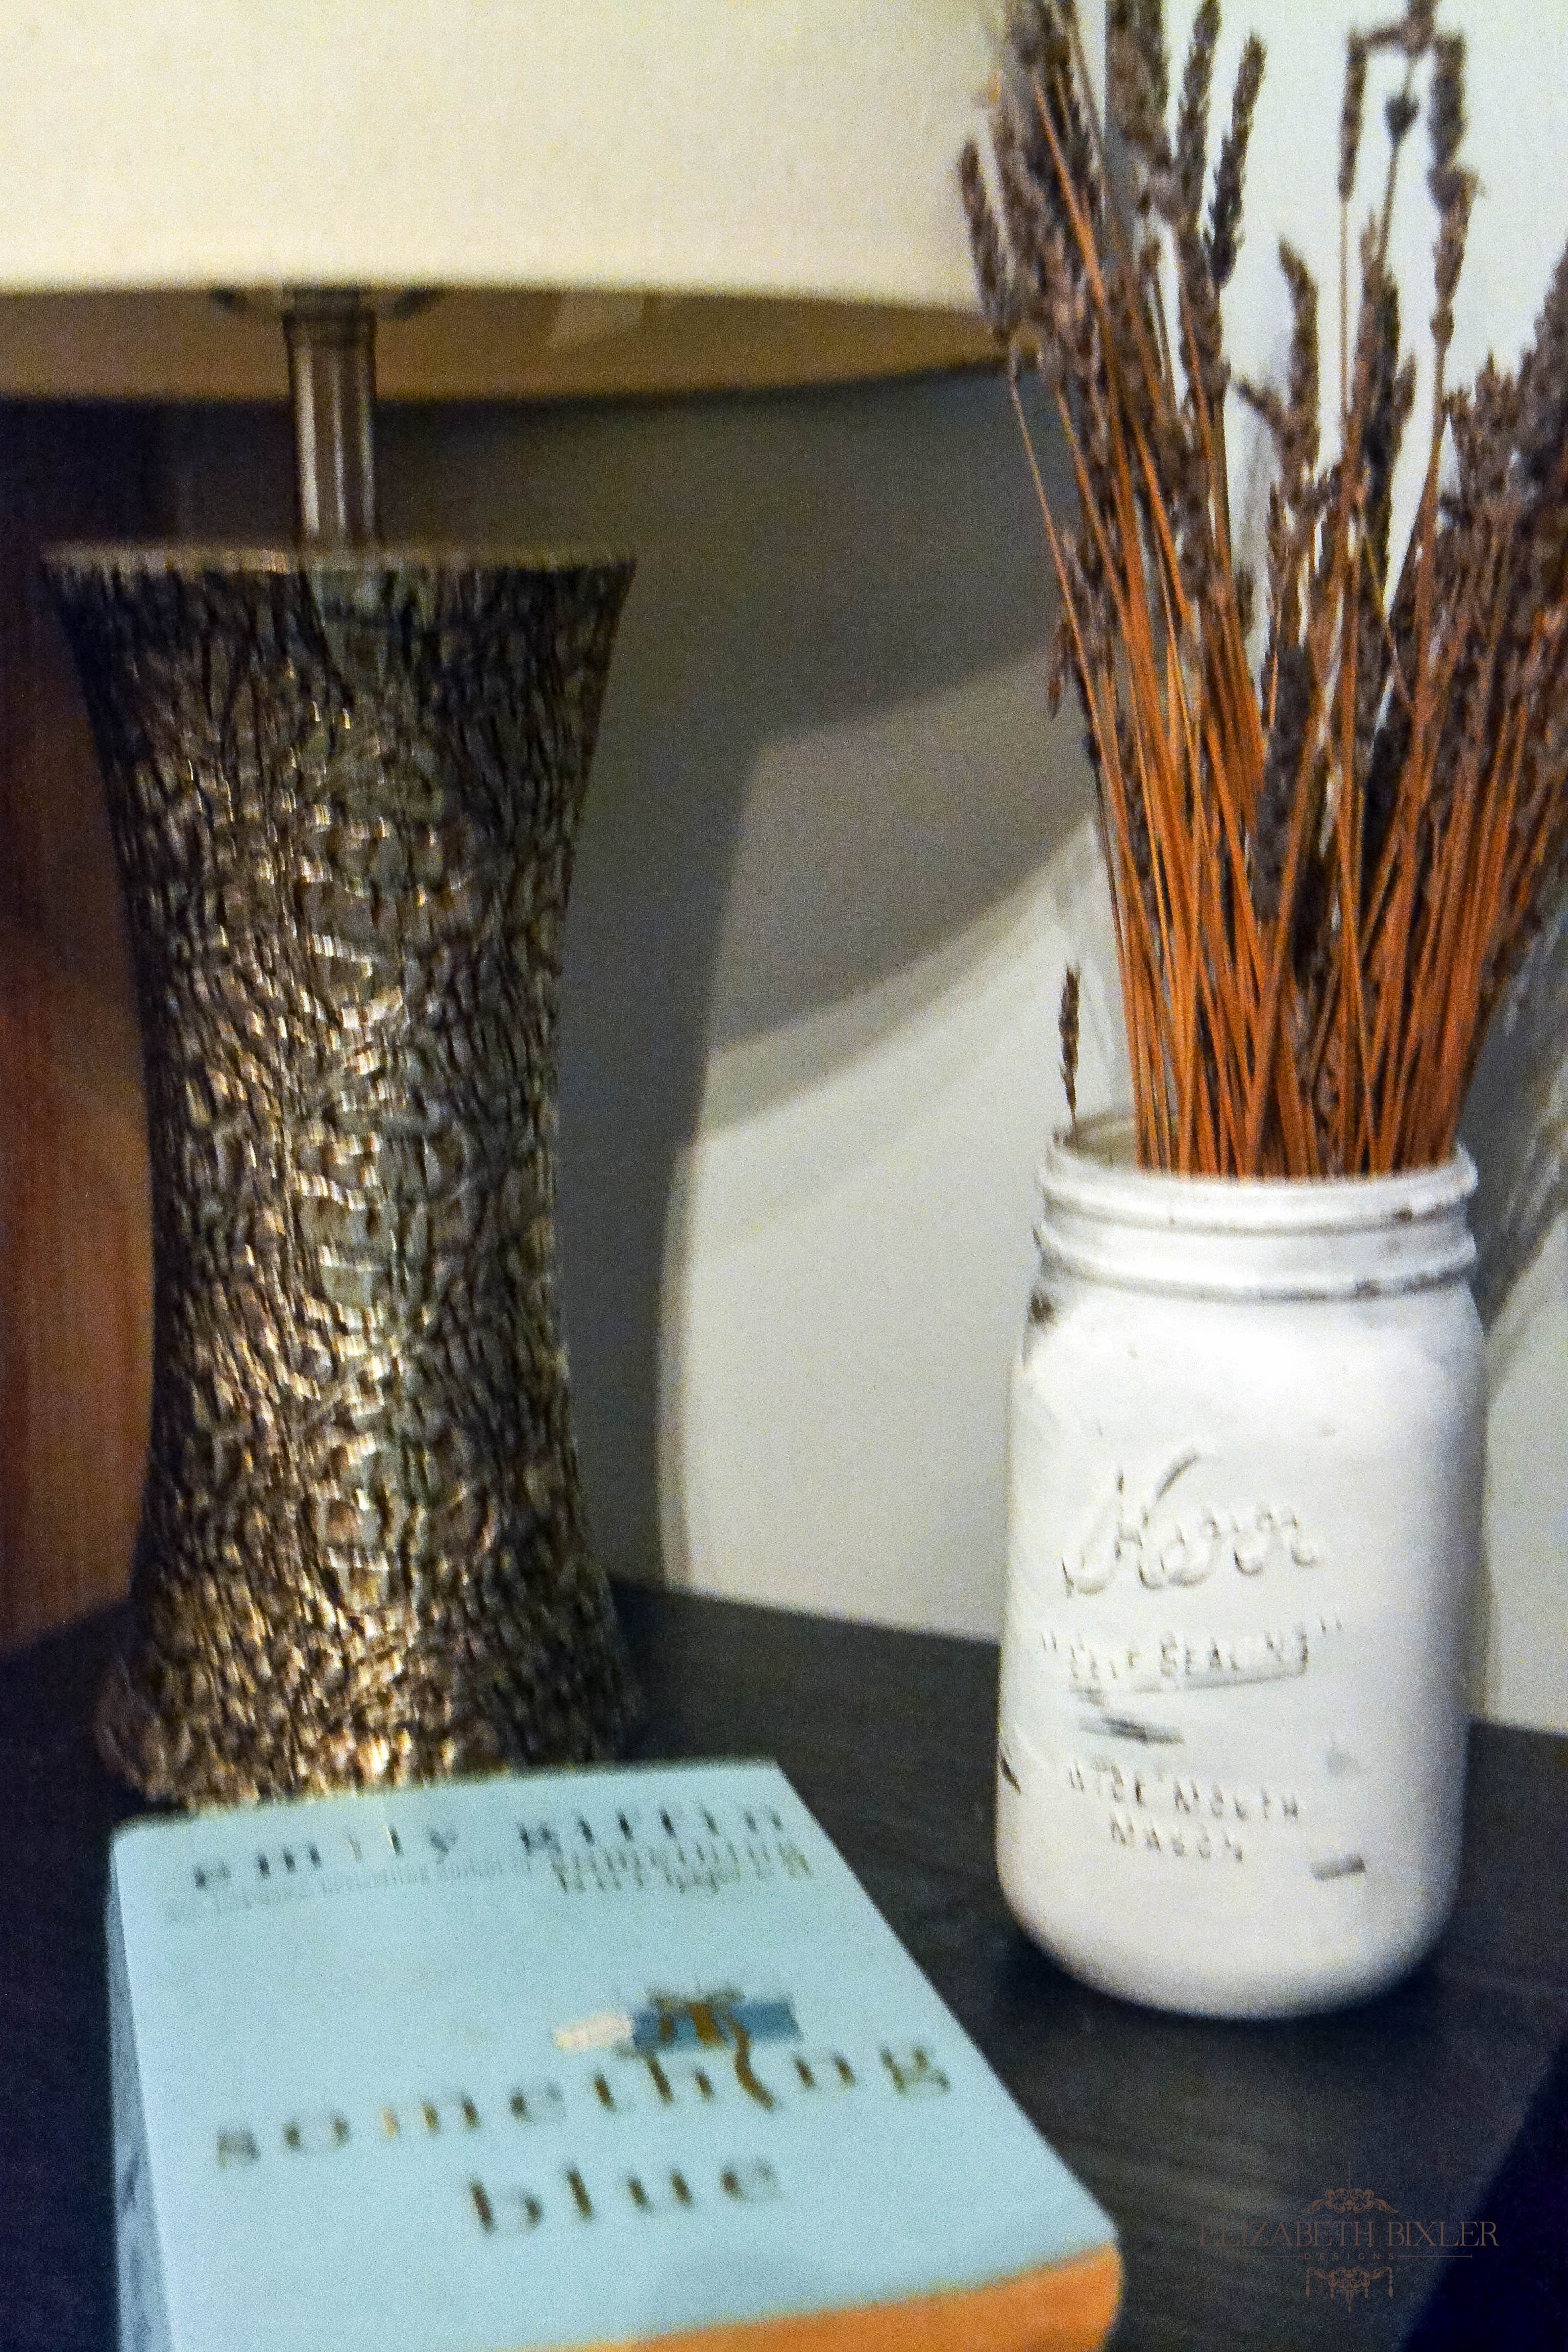
I haven’t mentioned my massive collection of mason jars which I use for everything. Well, I needed to change it up without having to buy all new ones. I wanted this one in particular to use in our bathroom for toothbrushes so it need to be waterproof. I also like the vintage look and loved how my chalkboard book covered turned out (a tutorial on that soon) .. so I used the left over chalkboard paint for these.
Cost Approximately: $34
Time: 4 hours
Pre Paint Items
Some items listed are substitutes that work just as well.
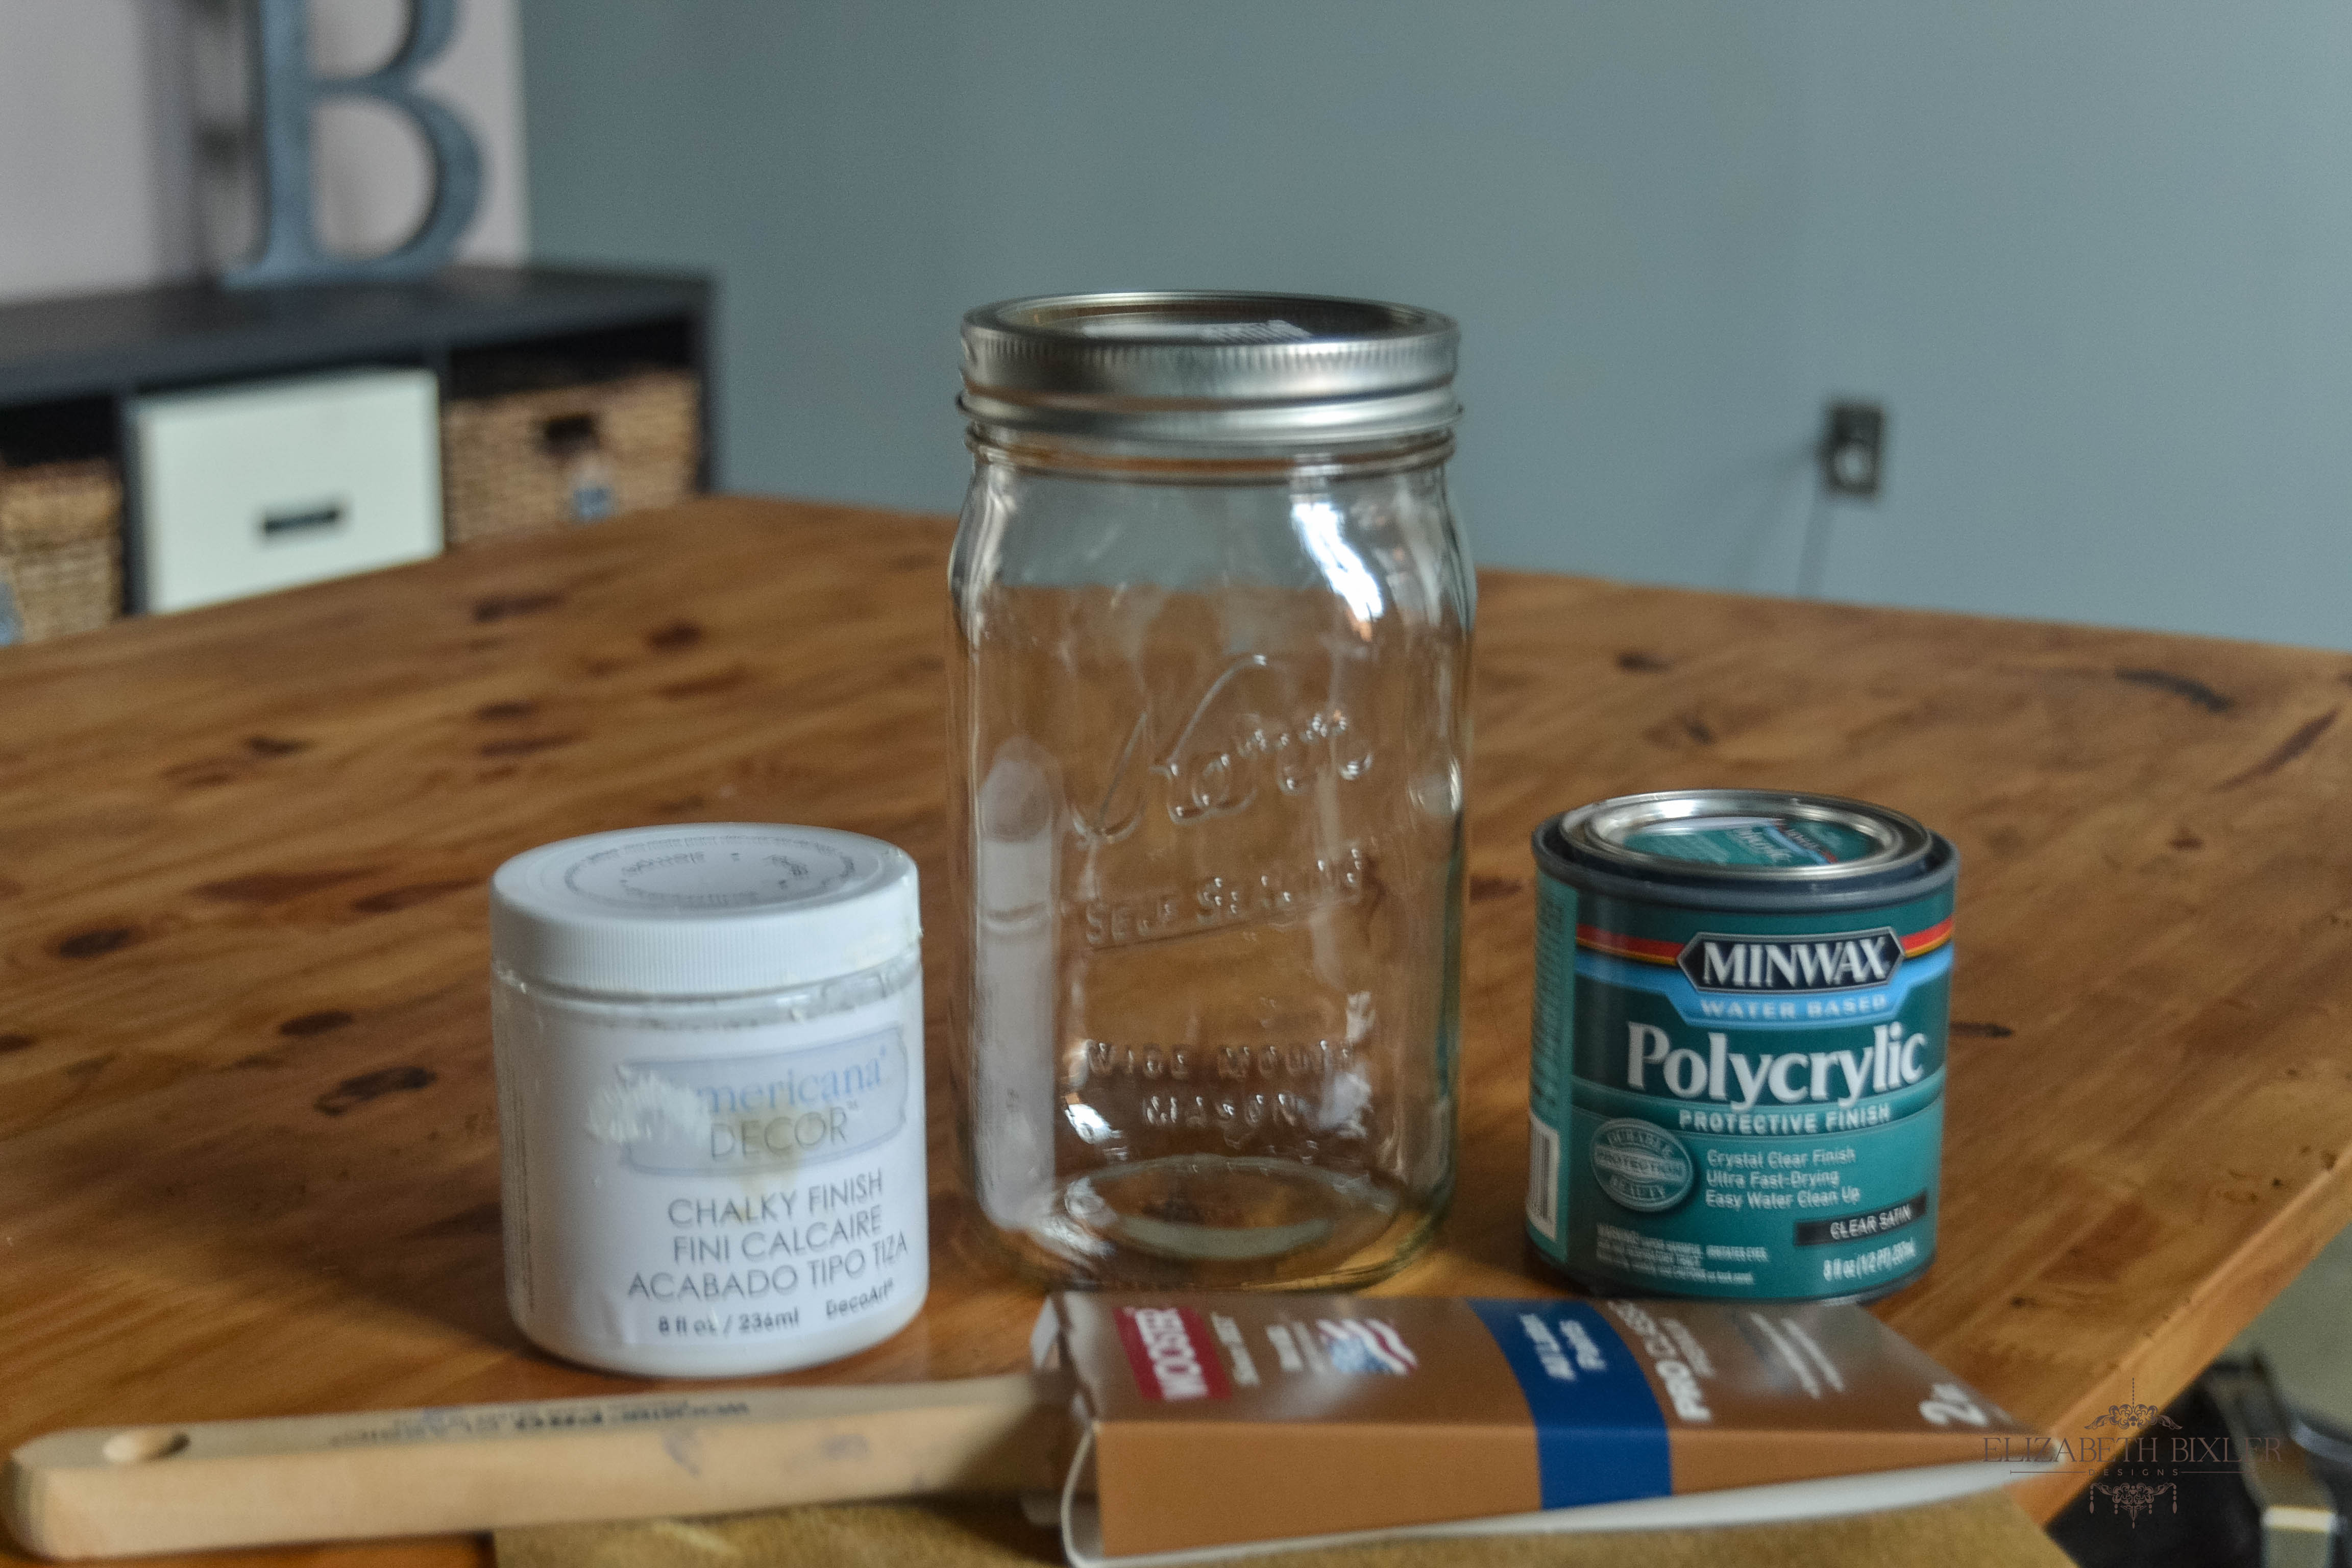
- Wide Mouth Kerr Quart Mason Jar (use your coupon apps for even more savings)- $2.49
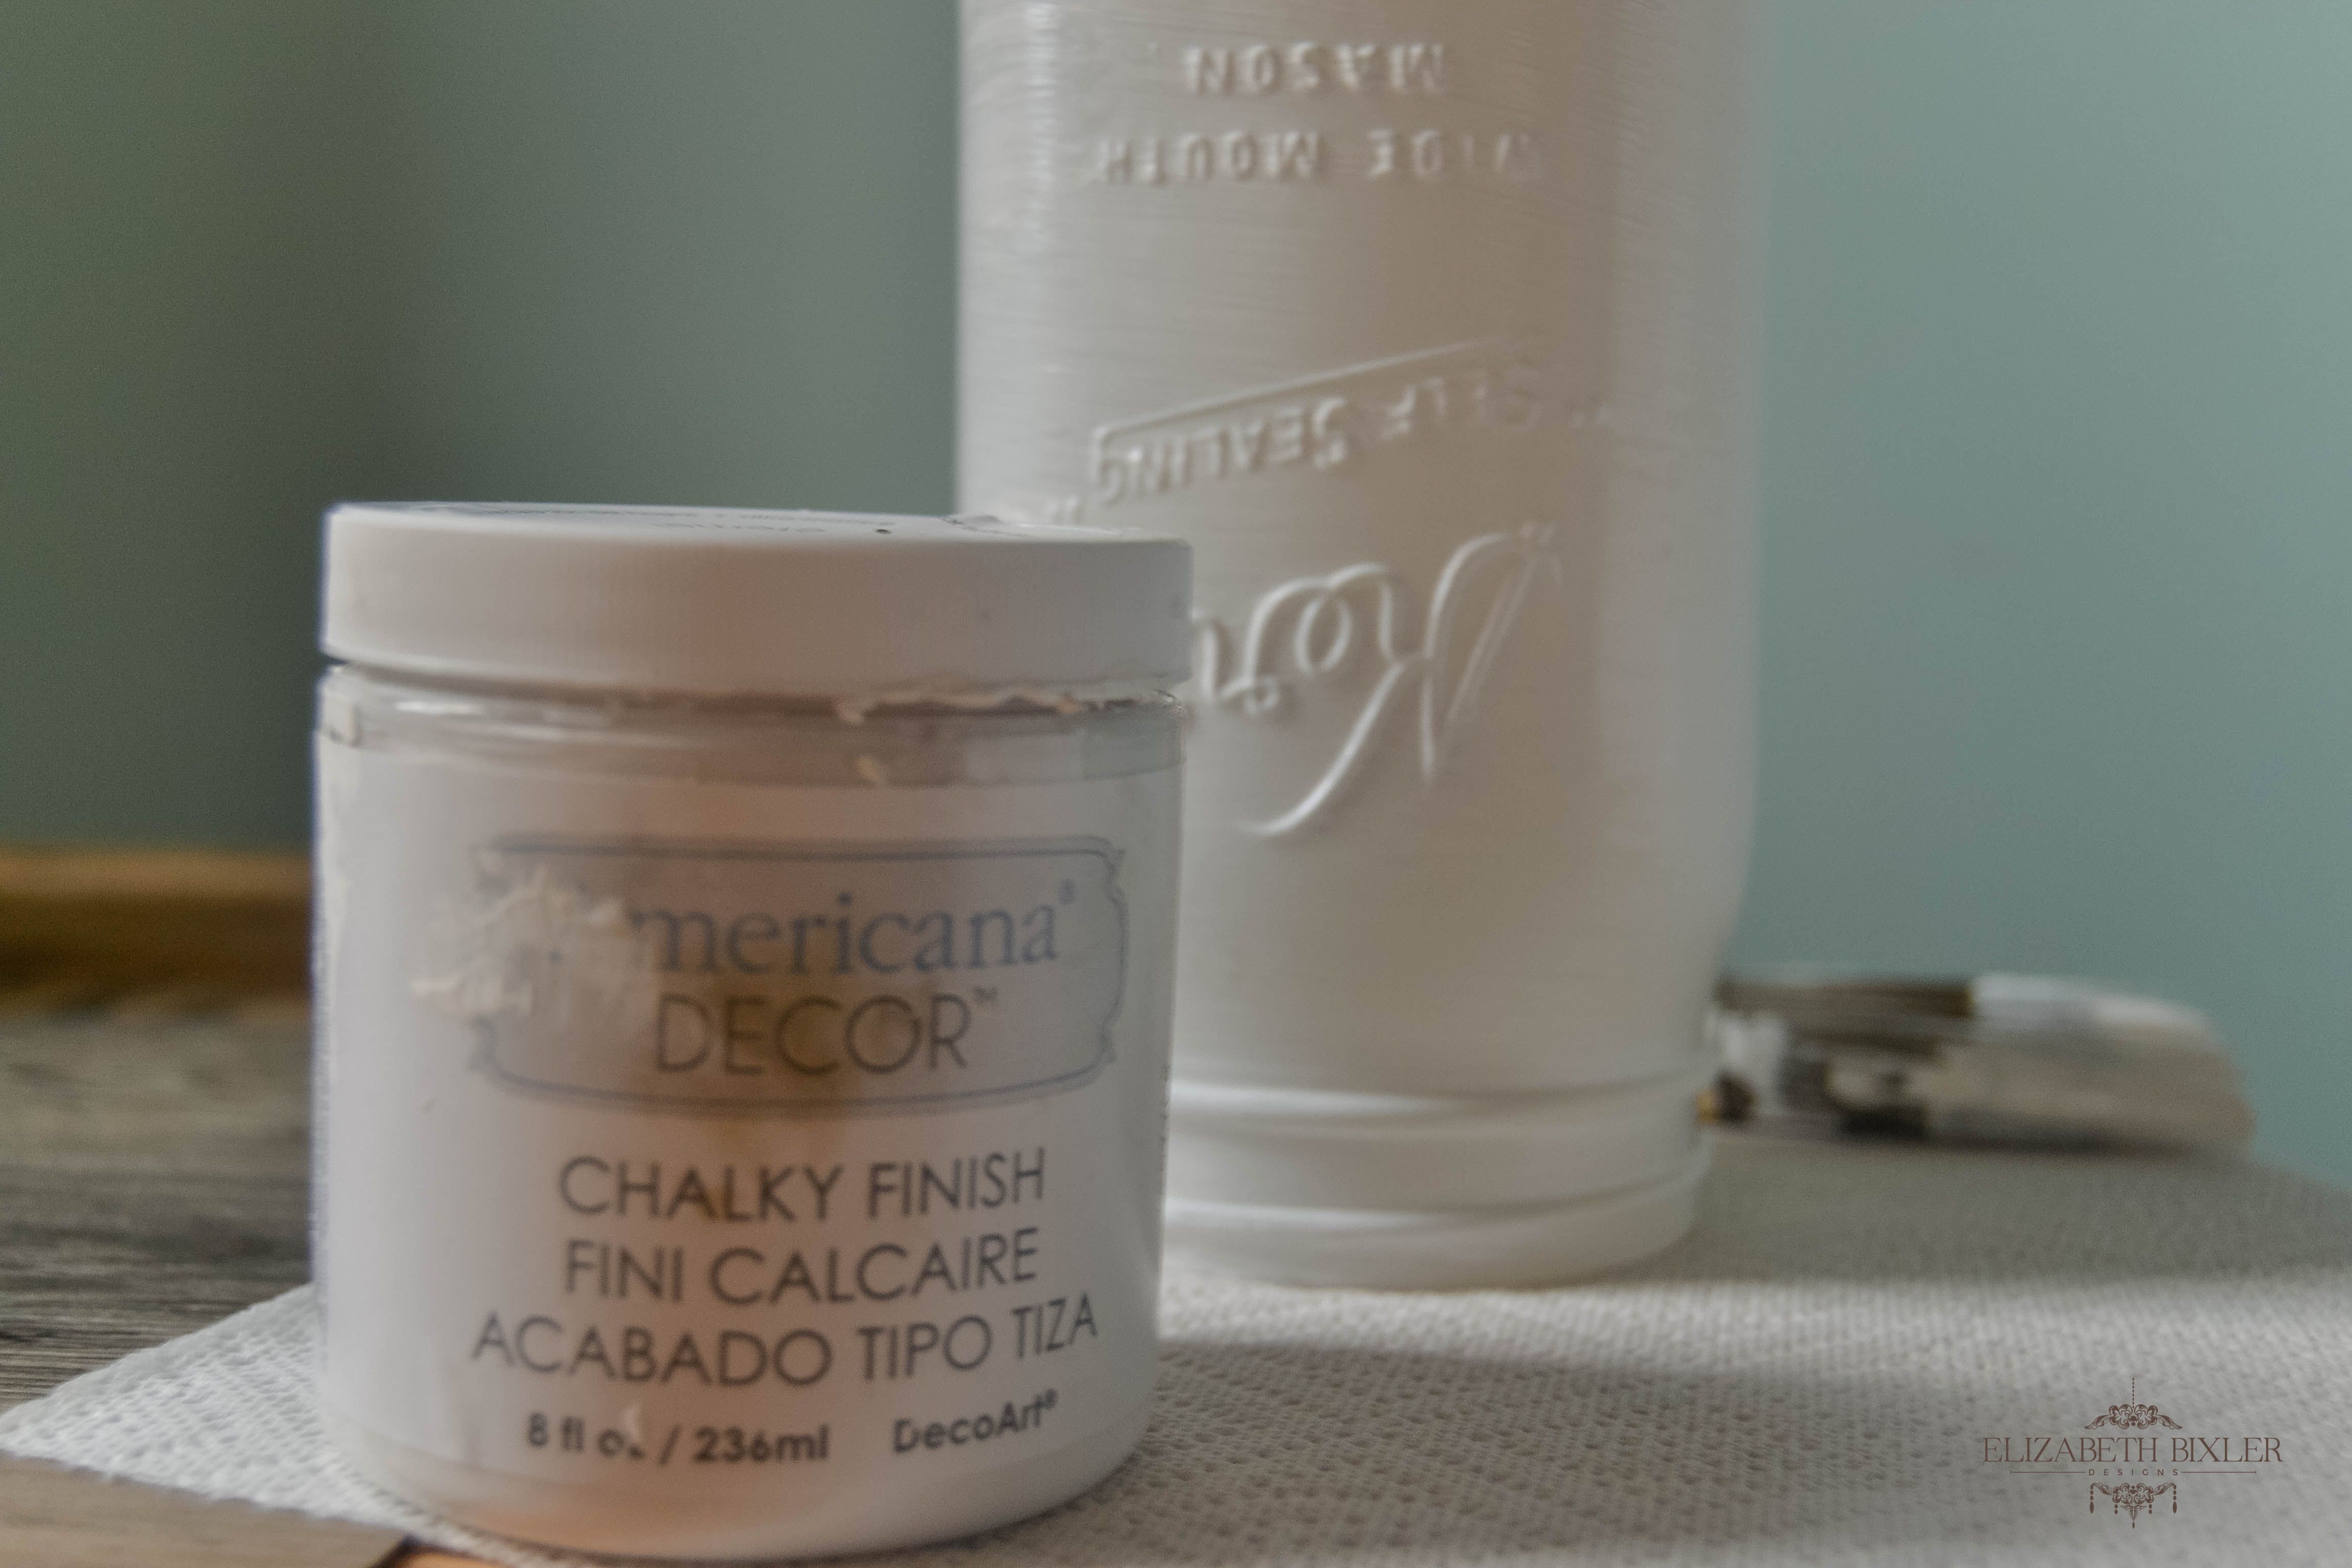
- Americana Decor Everlasting Chalky Finish Paint in Everlasting – $8.48
- Wooster Pro 1 1/2 inch Brush – $8.75
- 3M Pro Grade 220 grit Fine Sanding Block – $4.67
- Polycrylic Satin Finish in Clear Satin – $8.98
- Paper towel – to lay on
Step 1:
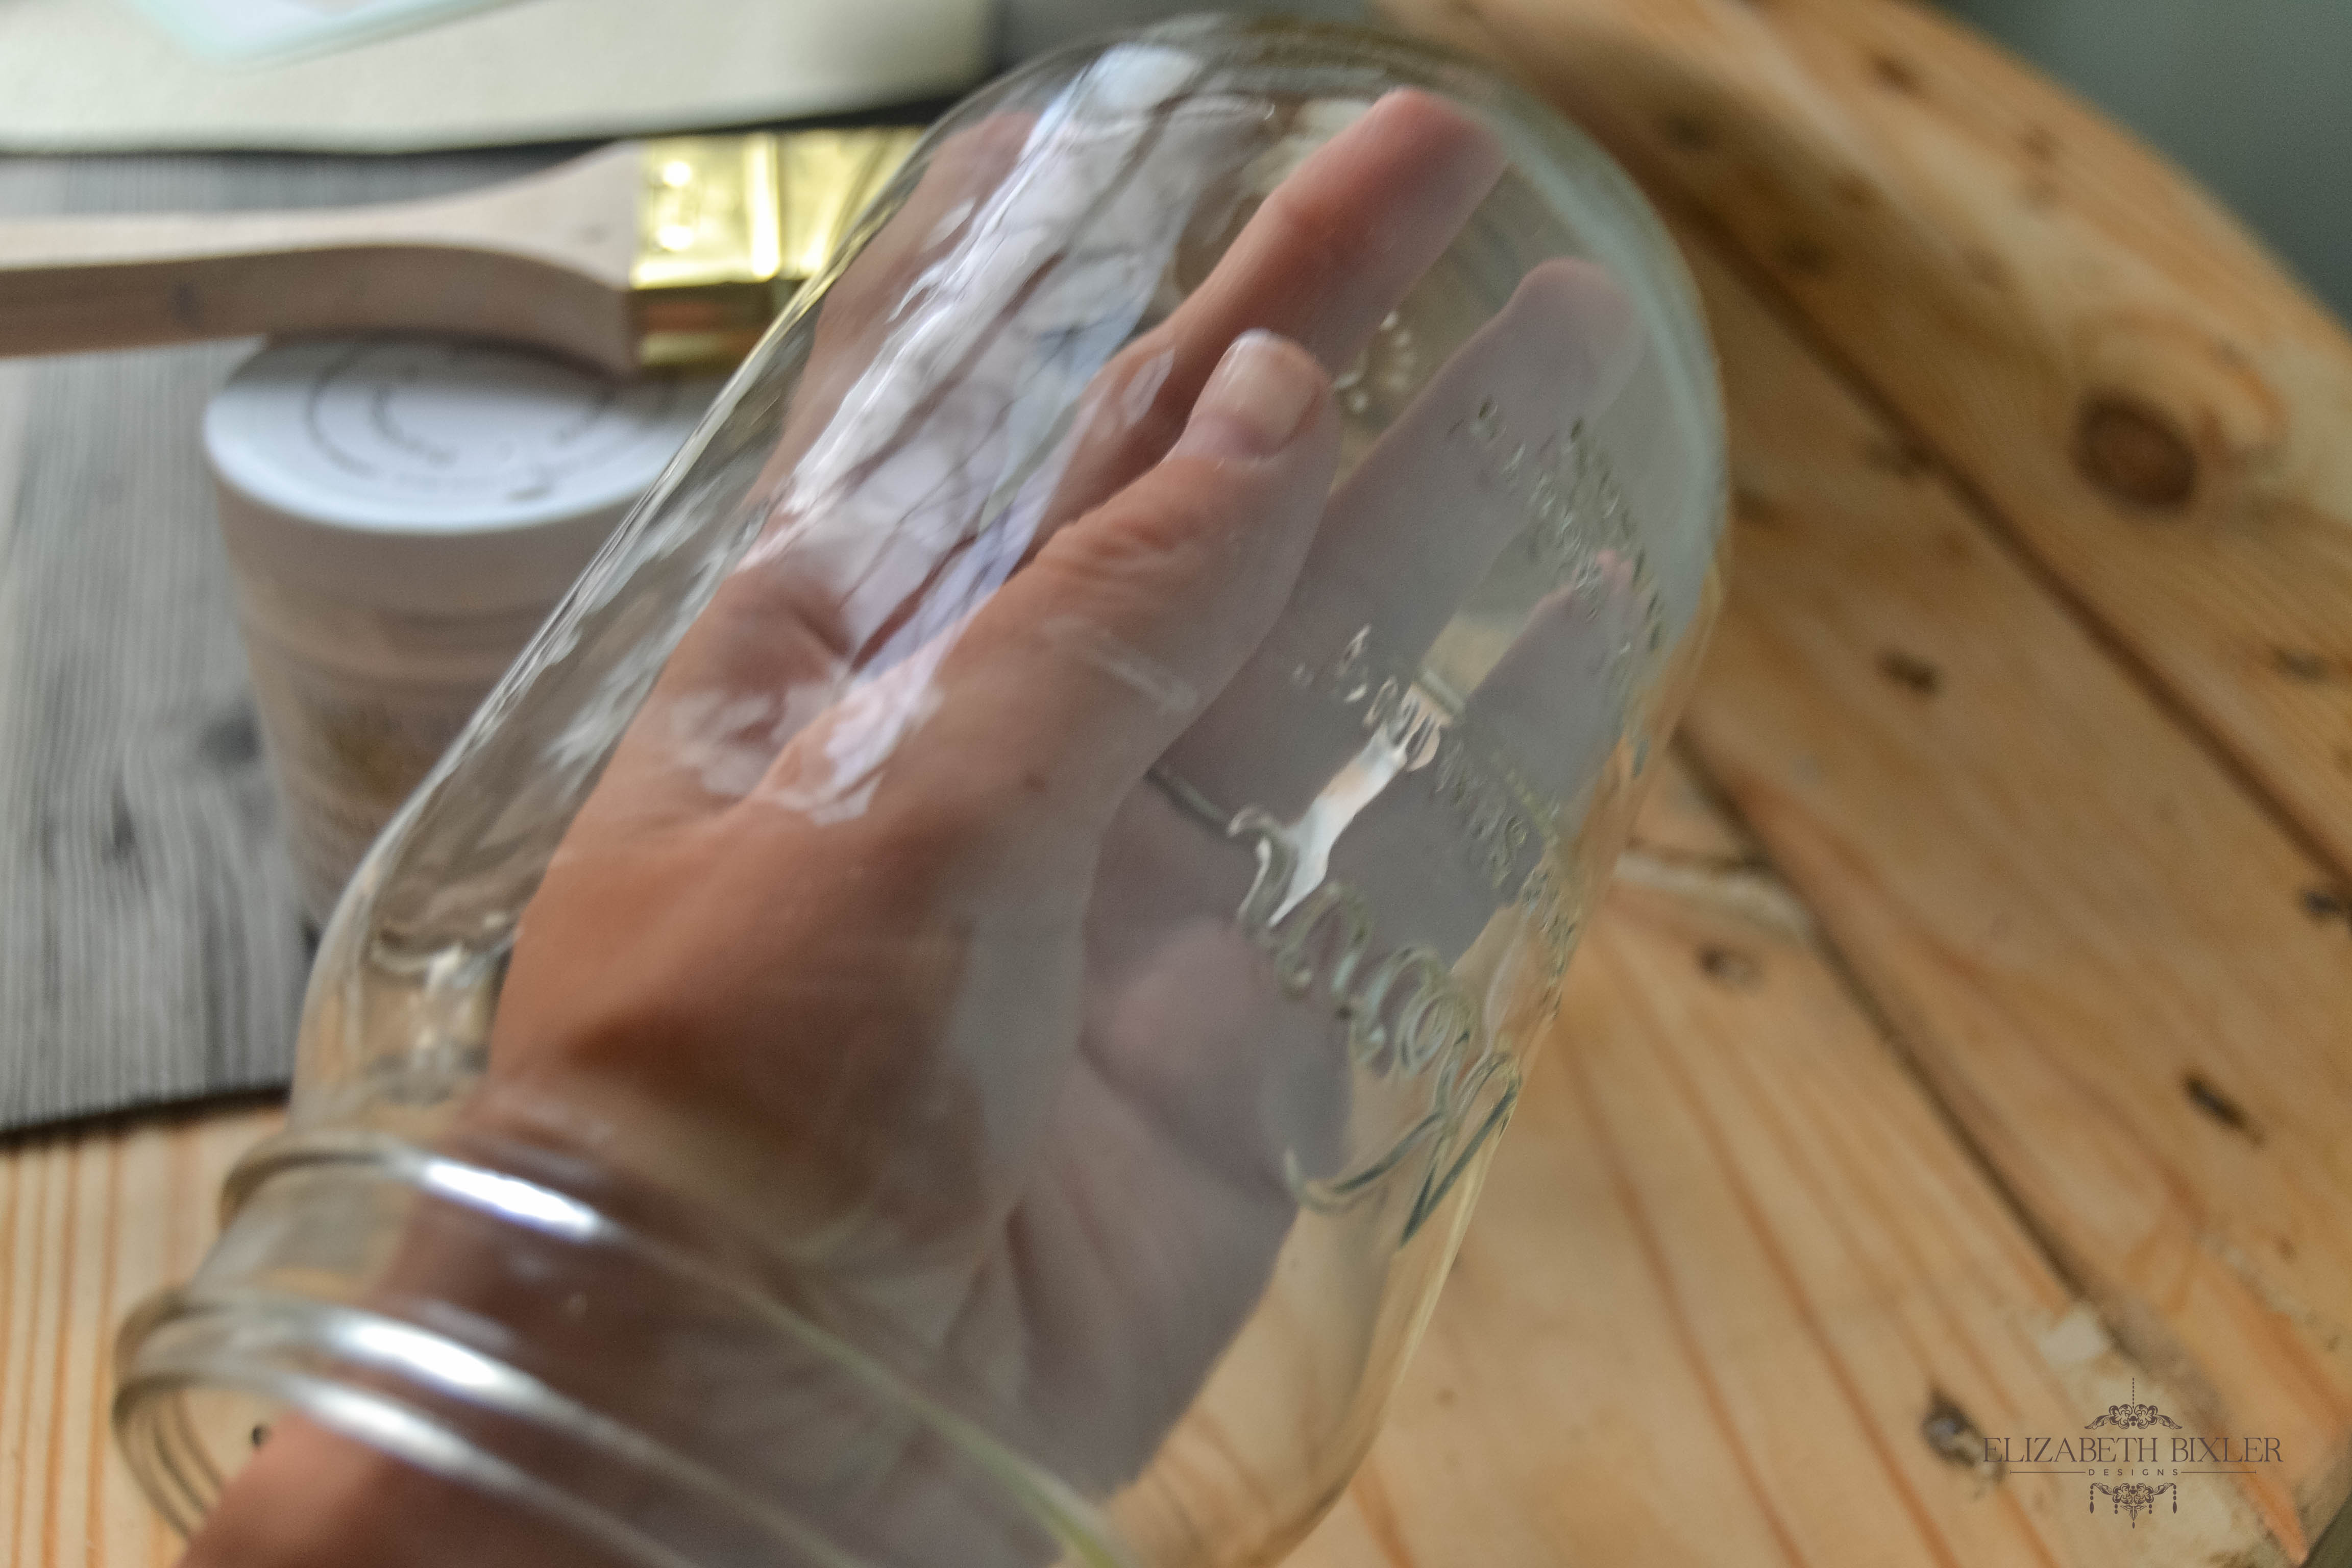
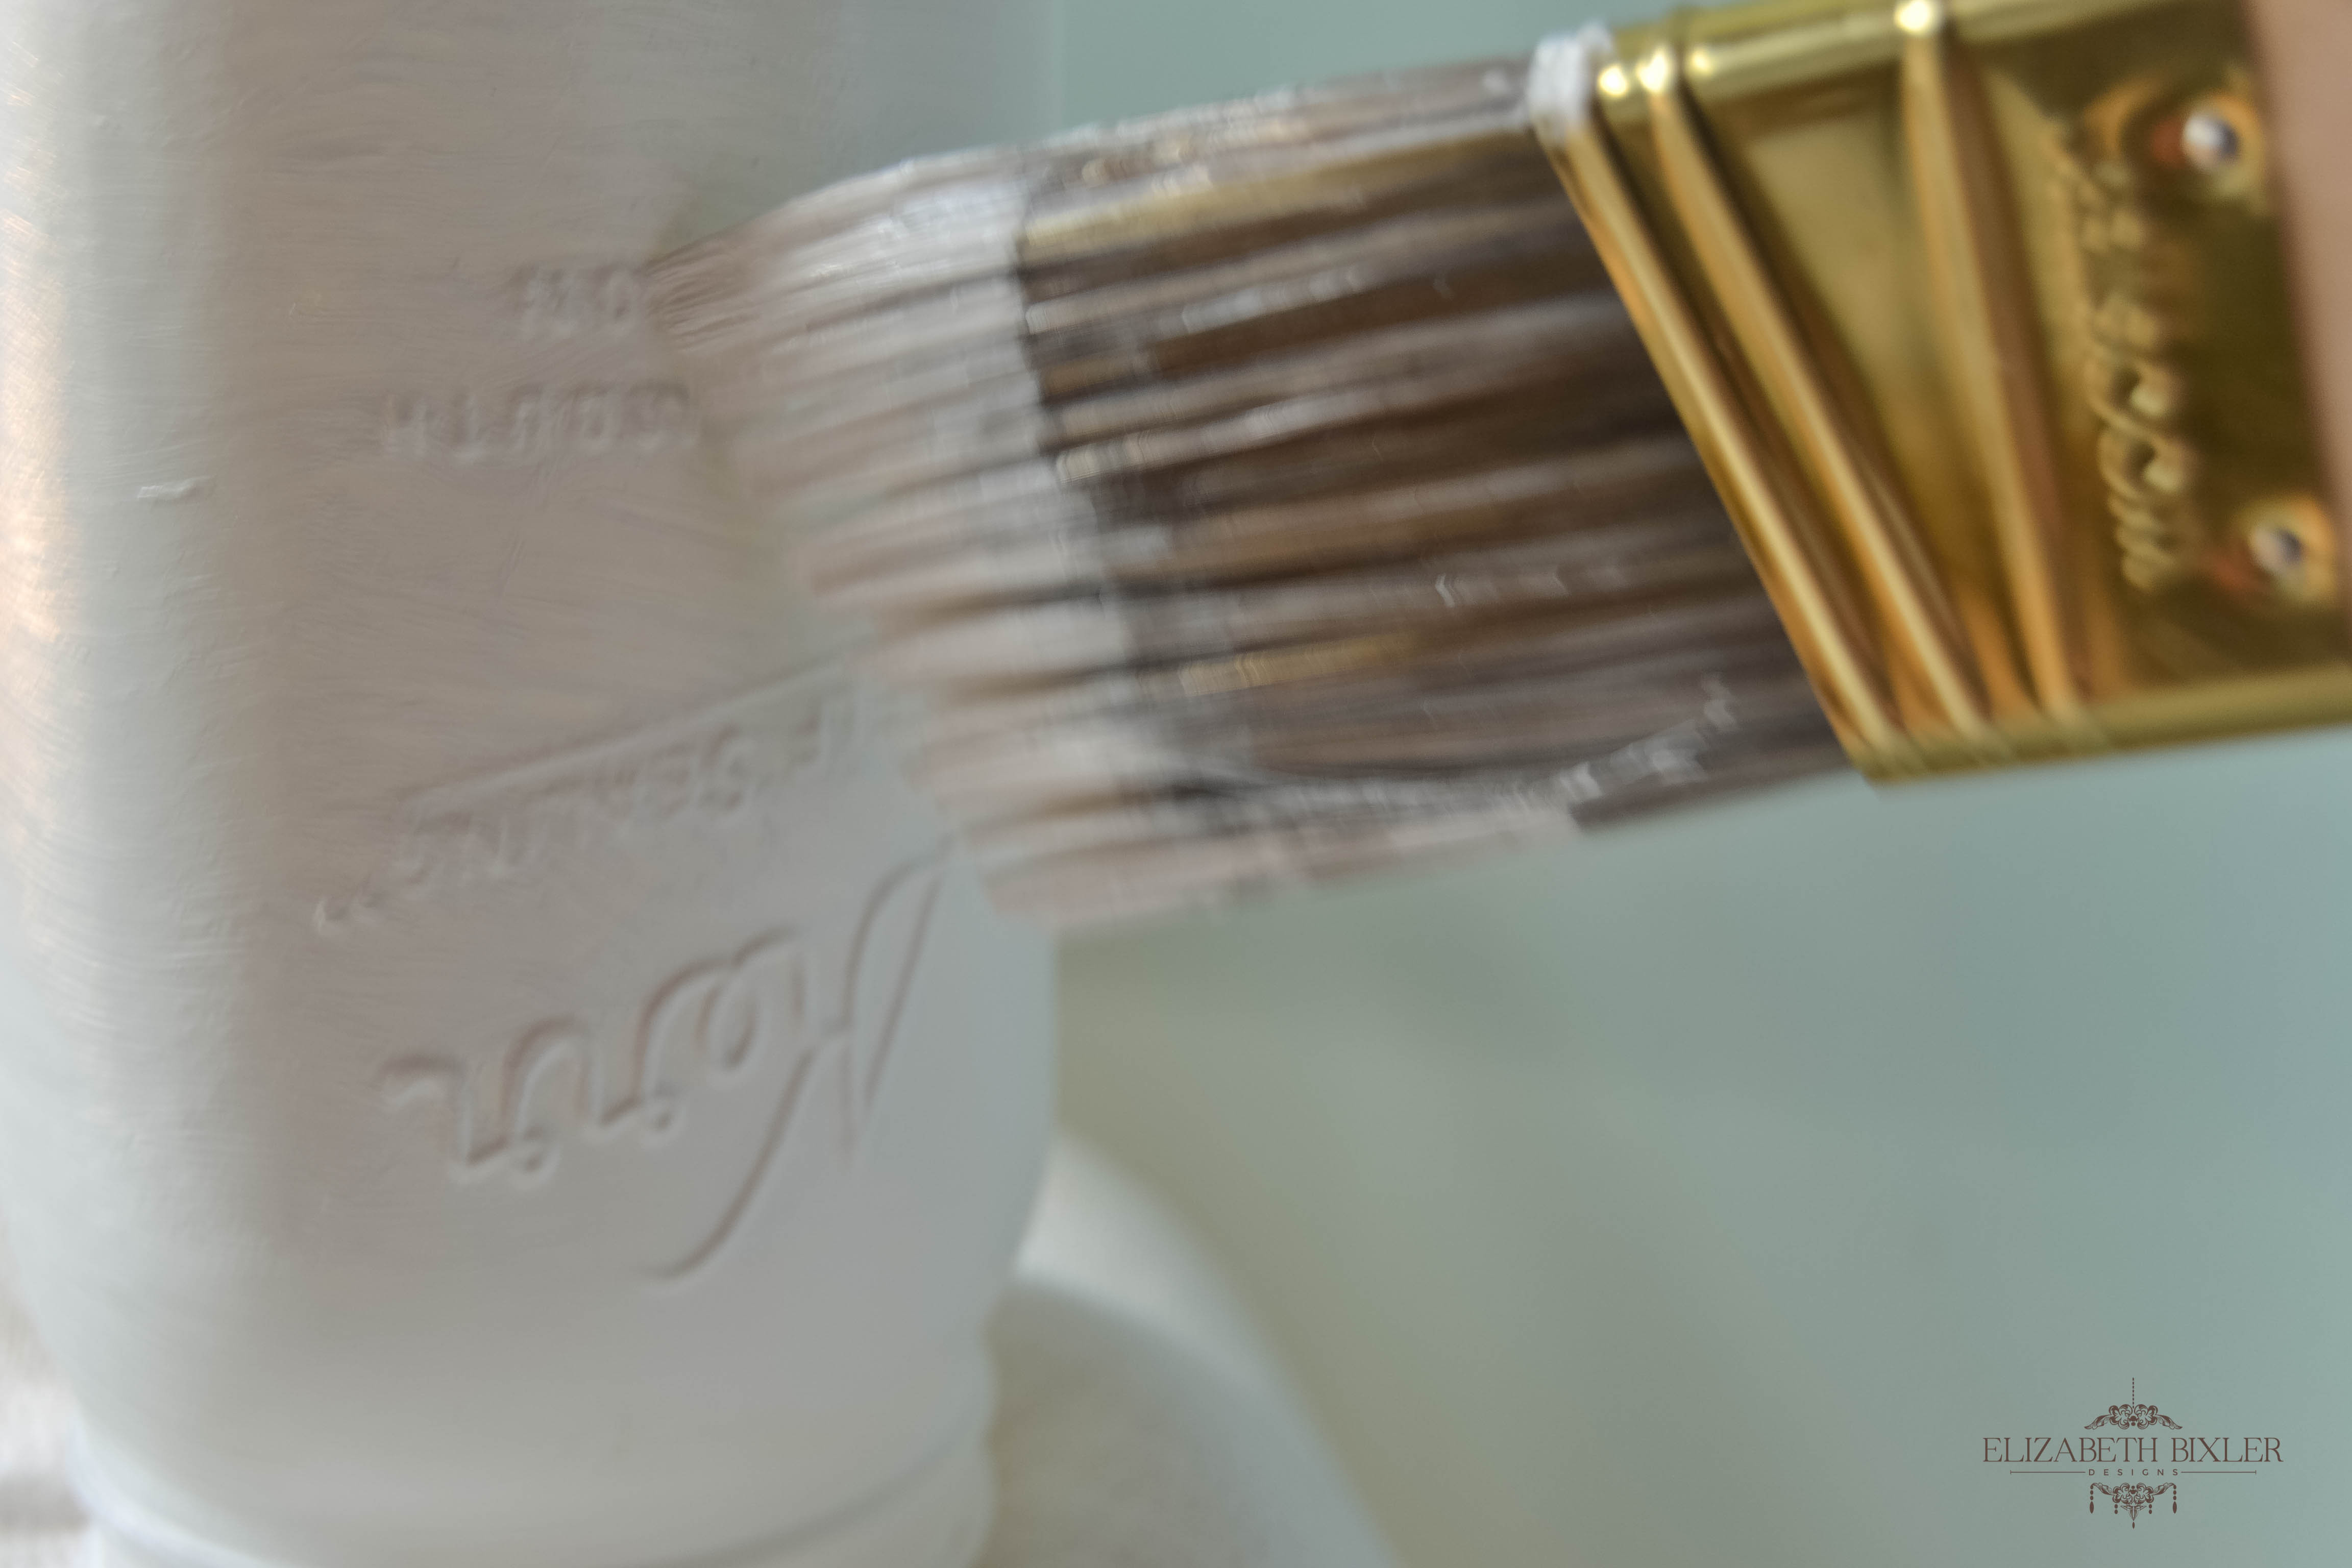
Place one hand inside jar and dip your brush into the chalk paint making sure to drag excess paint off side.
Step 2:
Paint the opening of the glass first, then paint the rest. Wait for this to dry upside down on paper towel for 1 hour. I also lifted the jar after 30 minutes to make sure it was not stuck to the paper towel.
Step 3:
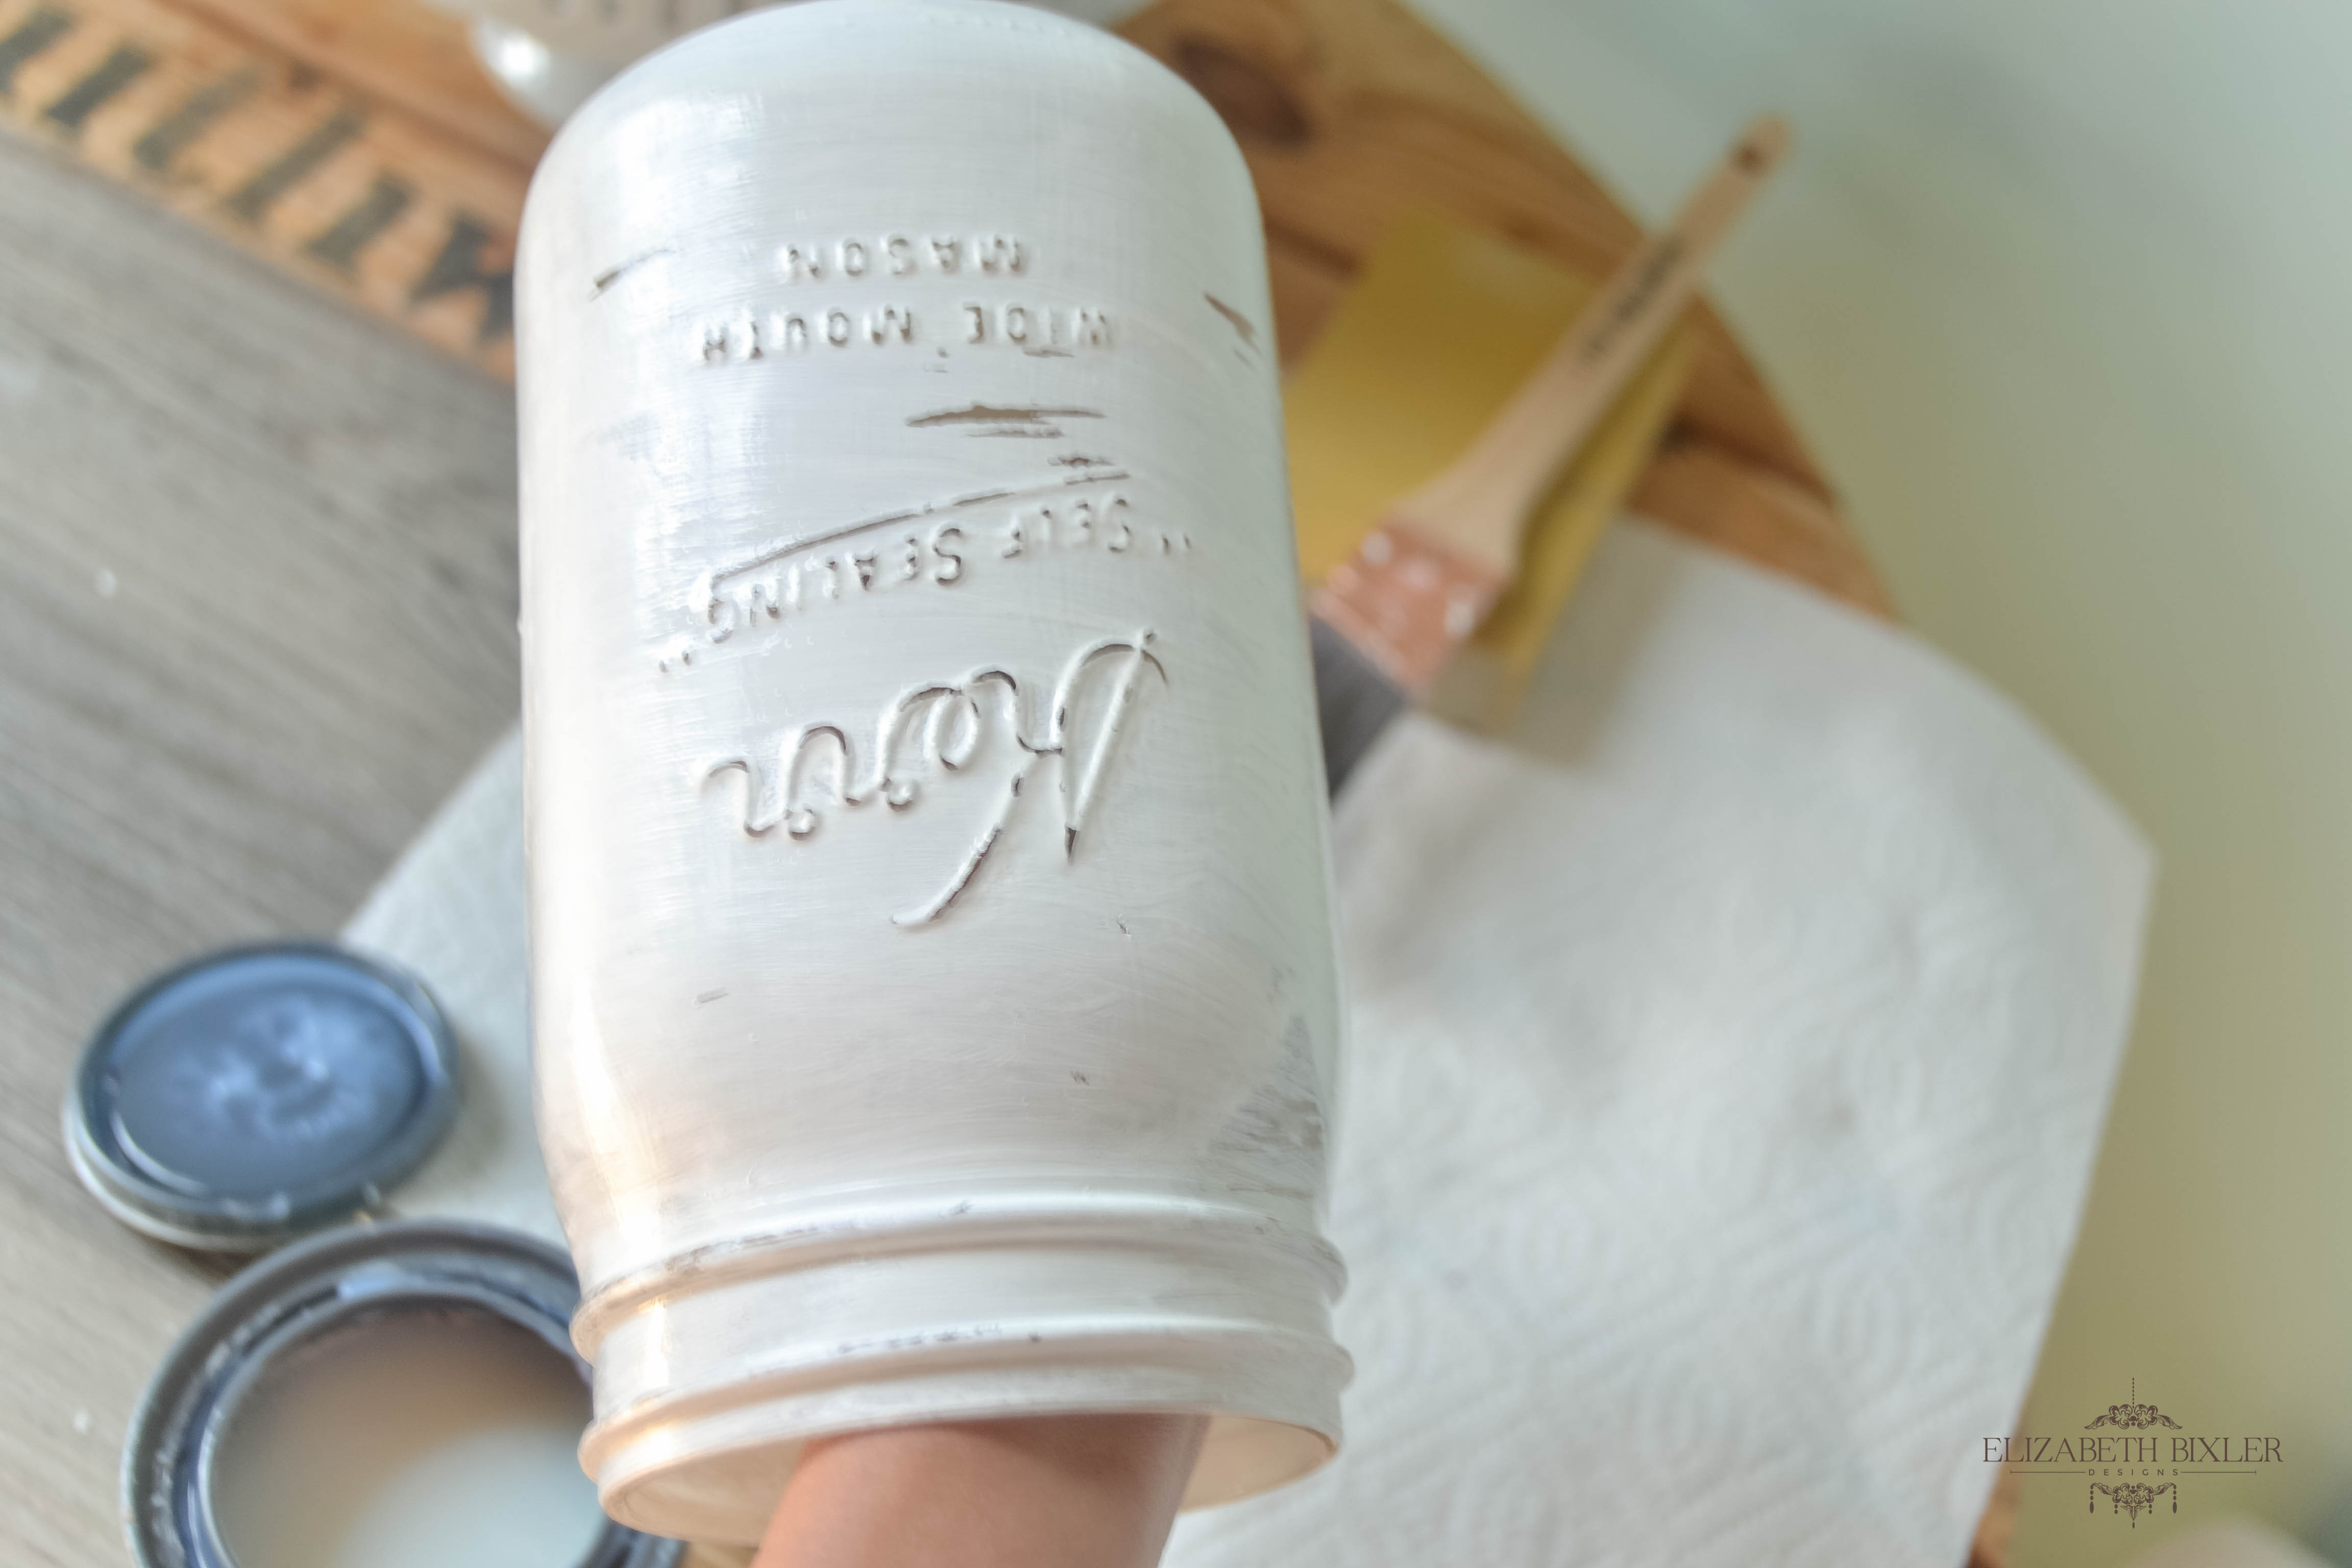
Add second coat of paint and wait for this to dry for 1 hour. While this is drying, wash your paint brush out and let dry for the Polycrylic.
Step 4:
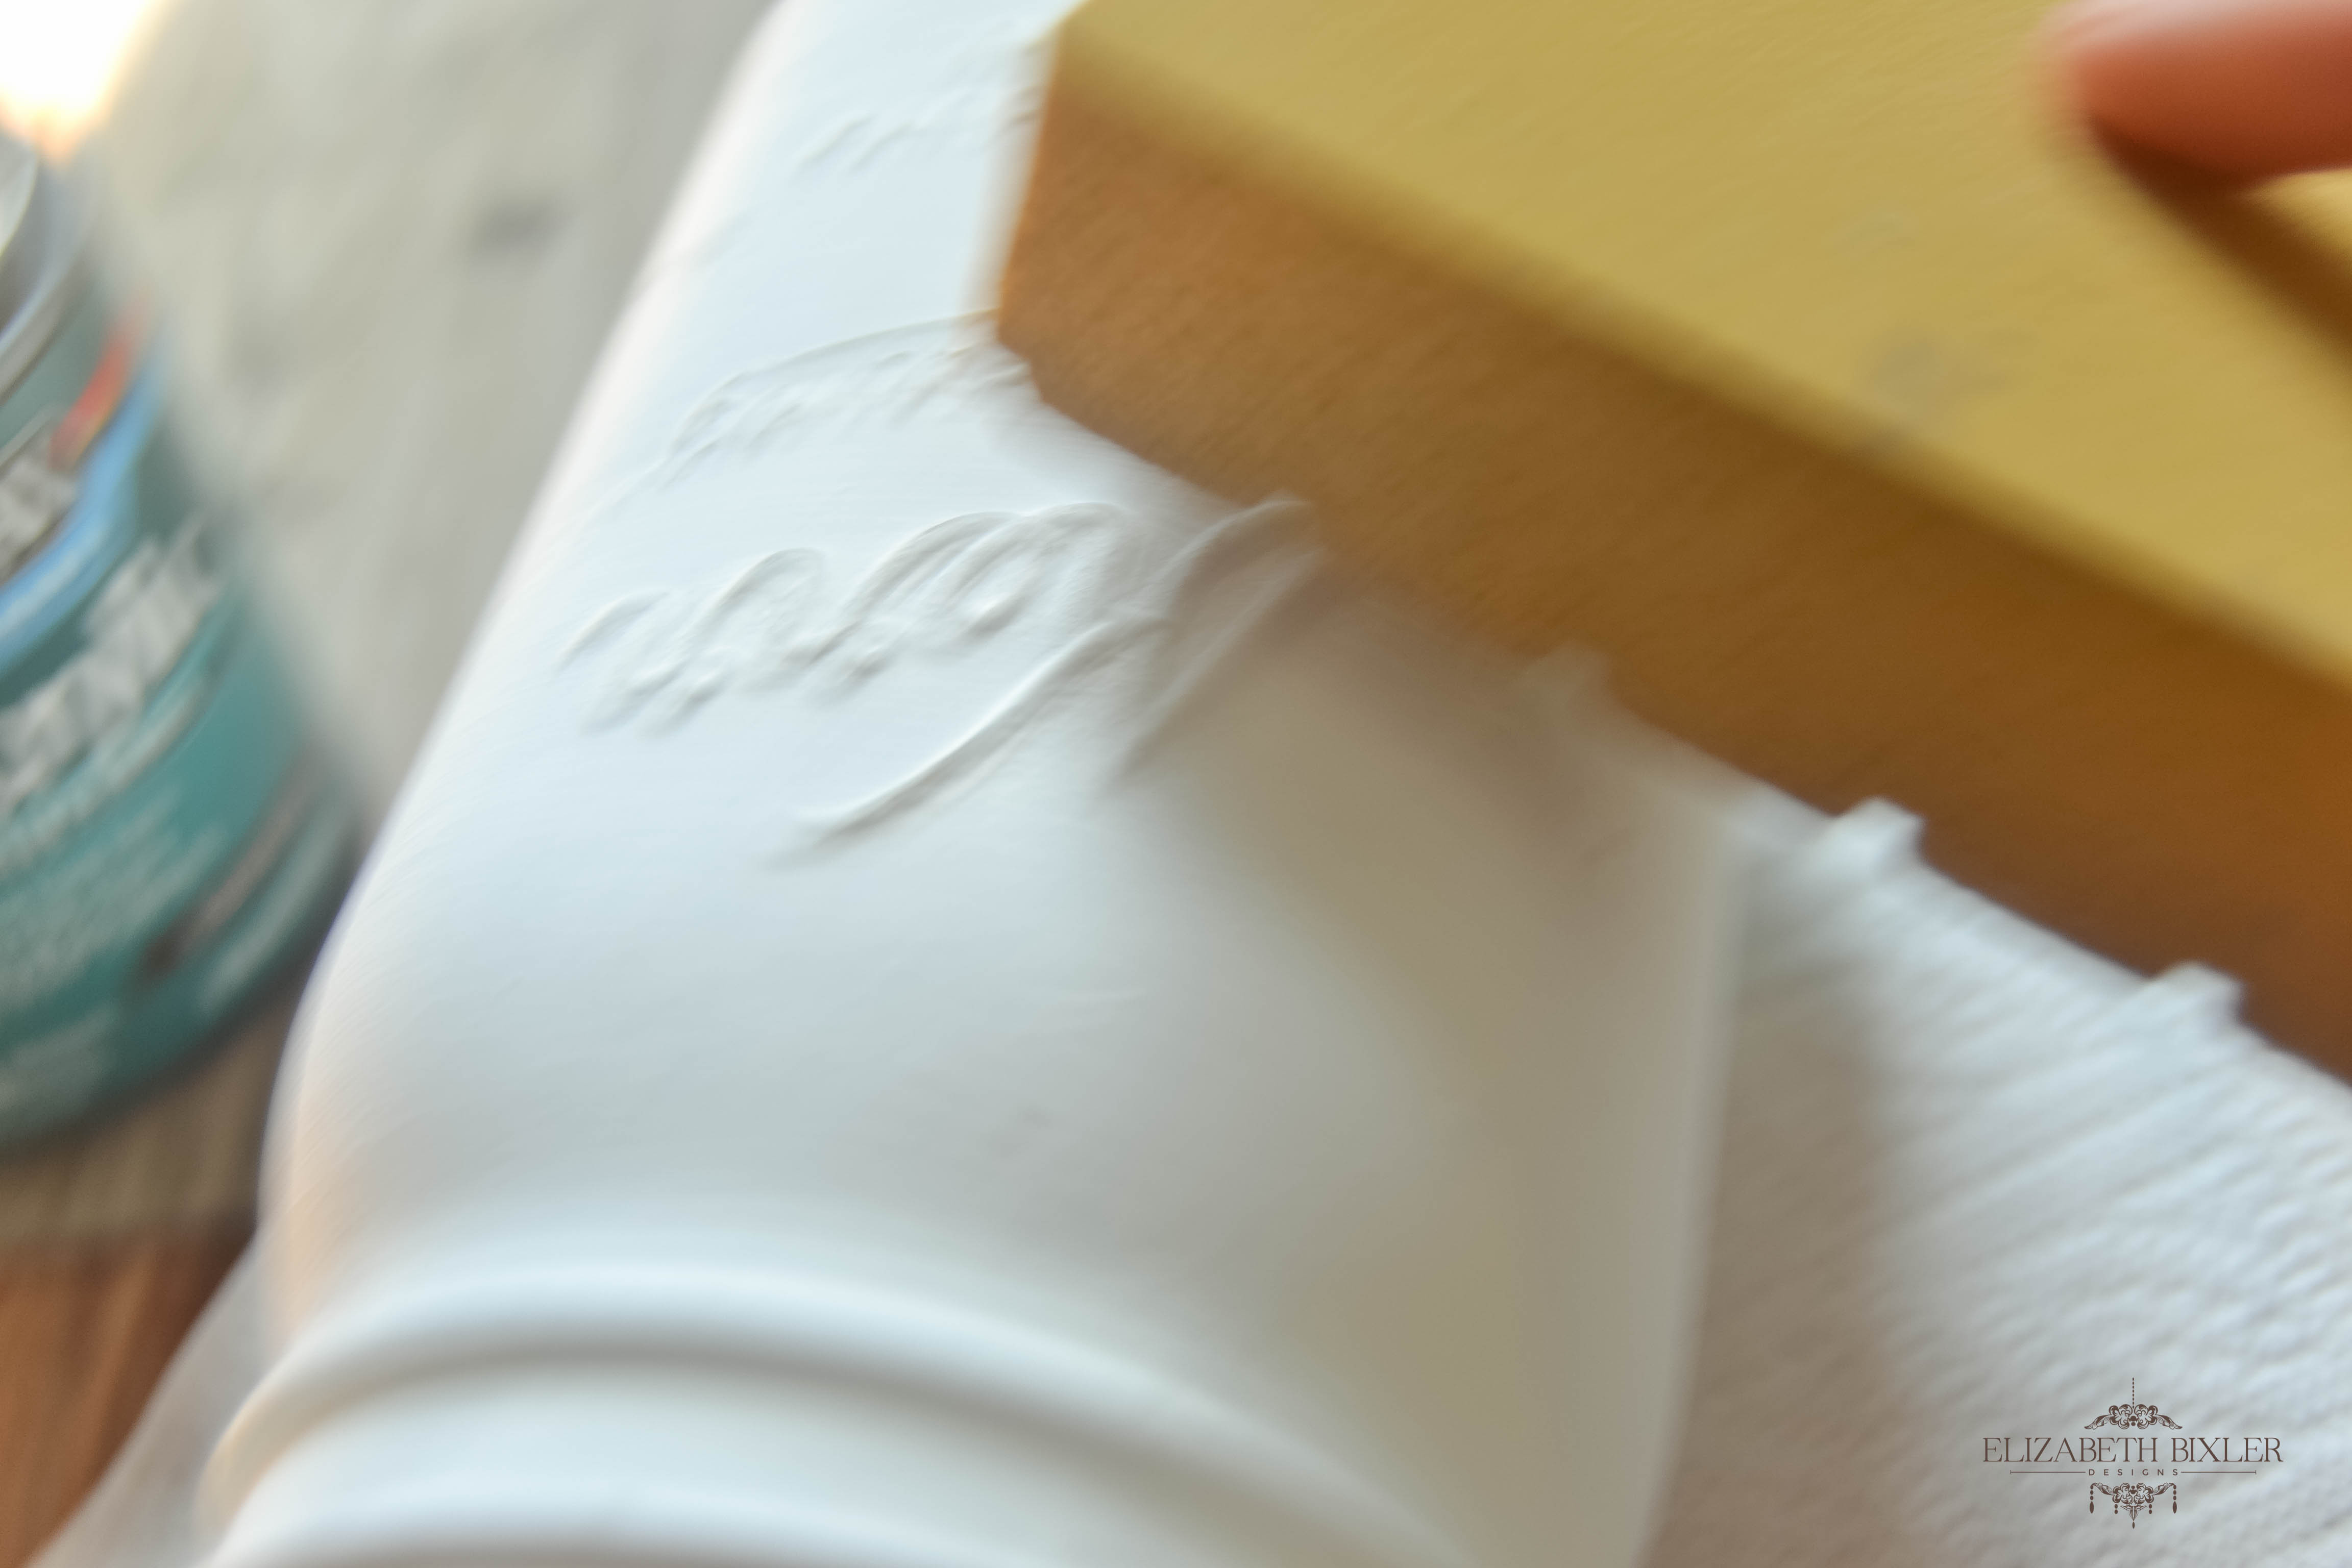
Use the 220 fine grit sander (paper or block) and rub lightly where you want to distress your jar. I concentrated on the lettering , rim, and sides brushing on way .
Step 5:
Using your “hand in the jar” method, polycrylic (you can use the polycrylic spray or the paint) your mason jar. I let it dry for 2 hours then reapplied another coat,but you don’t really have to do two coats.
Finished!!
For the Bathroom:
For the Paint Supplies:
For the Kitchen:
For the Bedroom:
Recap