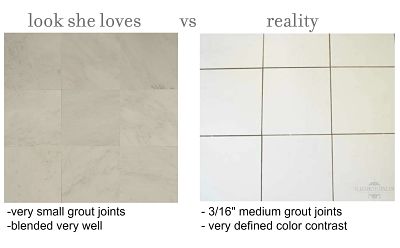
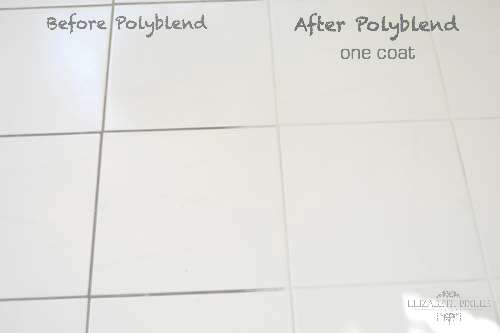
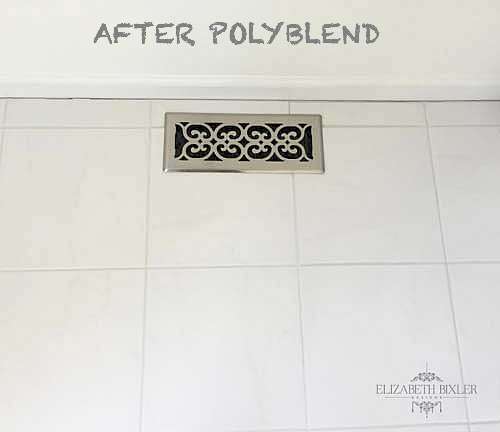
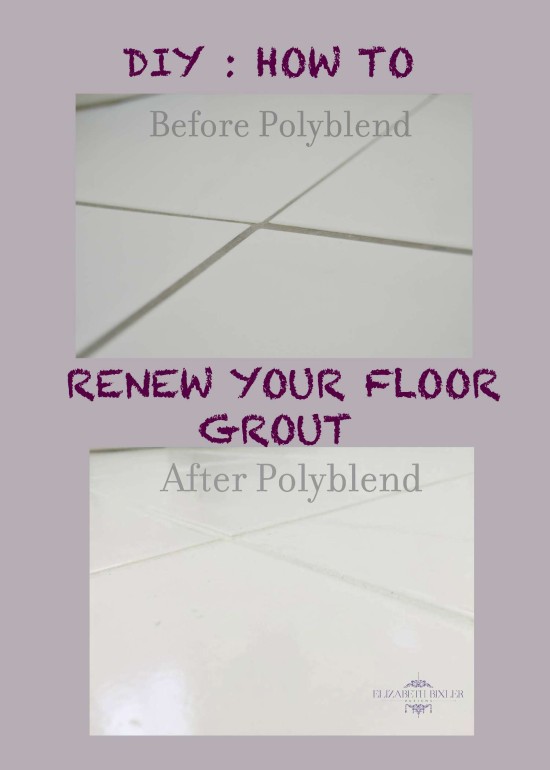
We have had a great feeling of accomplishment during the master bathroom update (for the link, click here) . We changed a few accessories and had a major plumbing blowout, but it still did not look quite updated enough. We were already updating the tile in the laundry and kitchen so we thought maybe this would help in their master. Only two negatives holding us back: my mom already liked the color of tile she had and cost. The bathroom was only 72 square feet. Our makeover budget was $500, and we were starting to push it. The grout was yucky and looked old! It was time for an update. Time to renew tile grout! I LOVE small grout joints or lines (1/16″ – usually looks best with bigger tiles) , and if you are not aware of the difference, here is a great example by fireclay tile :
[Best_Wordpress_Gallery id=”19″ gal_title=”Tile Grout Joint Sizes”]
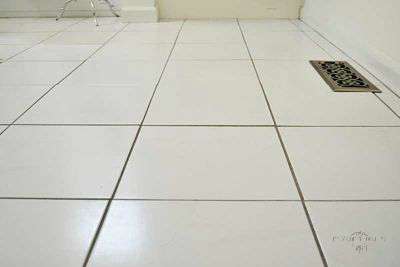
Less grout equals less cleaning the grout which is awesome to me! Unfortunately, I can not change the past and the grout line in this particular tile pattern is 3/16″ . My mom likes her tile to appear blended meaning no grout lines. This will be a challenge!
I swept and used a few cleaning products. It did not help much, and if you just use the Polyblend, you don’t need to clean anyway.
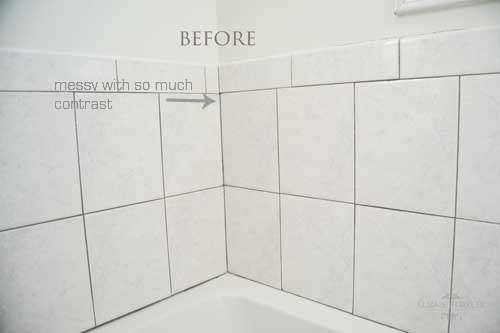
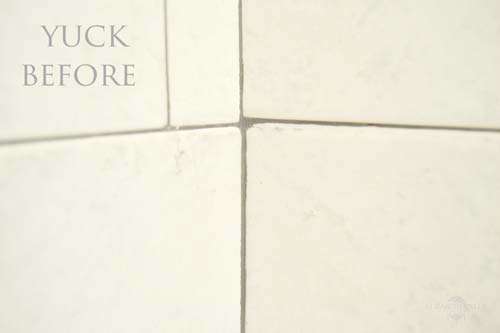
TOO MUCH CONTRAST!
DIRTY WALL!!
WHAT IS UP WITH THIS?!?
Here is what I used to clean /color the grout:
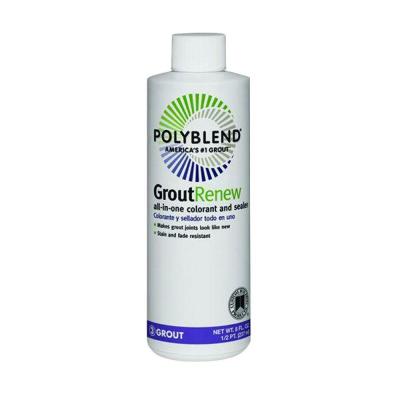
Custom Building Polyblend #11 Snow White 8 oz. Grout Renew Colorant
It is stain and sealer all in one! It comes in many colors (I was debating between the Platinum and Snow White) . The main bonus to me is that it looks clean. FIY : I did use this product on a ceramic glazed tile. I would not leave the Polyblend on a more porous tile like unpolished marble or travertine.
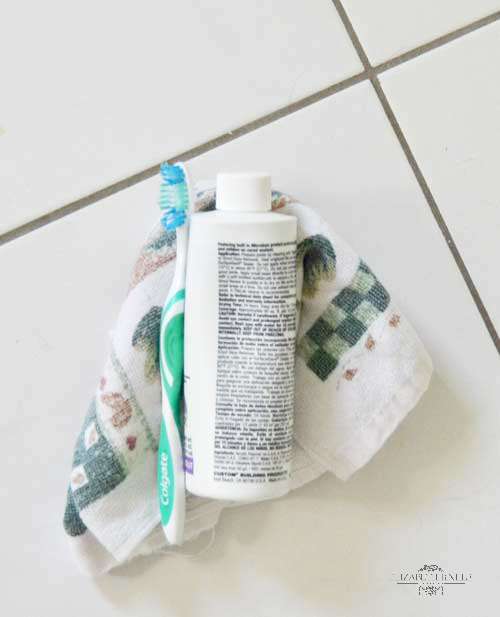
ITEMS NEEDED
Toothbrush (2 if waiting for the Polyblend to dry before removing)
Custom Building Polyblend #11 Snow White 8 oz. Grout Renew Colorant
Damp Paper Towel or Rag to Wipe Off Excess Colorant
Tape (you may want this for side of wall if you are messy like me)
Total Time: 4 hours for 72 square feet (used half the bottle)
Directions:
I followed part of the directions but made some of my own.
1. Shake Well. Add tape to trim.
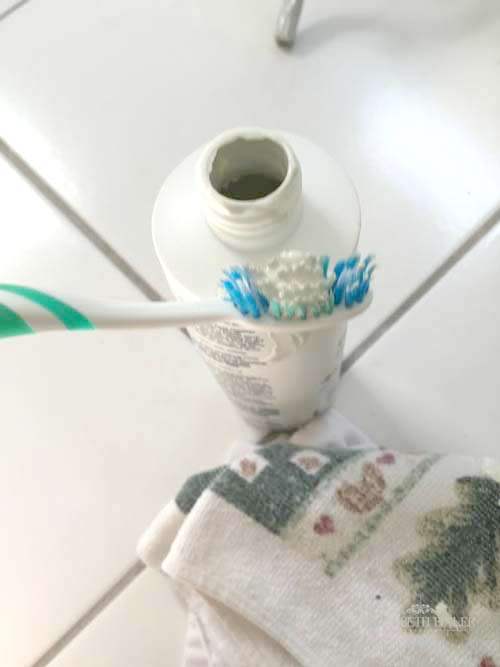
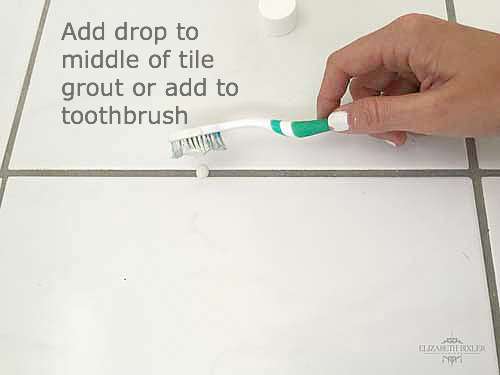
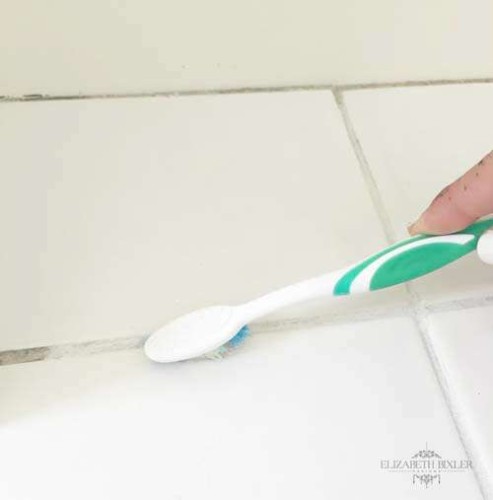
2. Add one drop on a toothbrush and apply to middle of tile grout. Scrub back and forth (kind of like brushing your teeth). Make sure you don’t add to much in the corners. It starts to look uneven if you do.
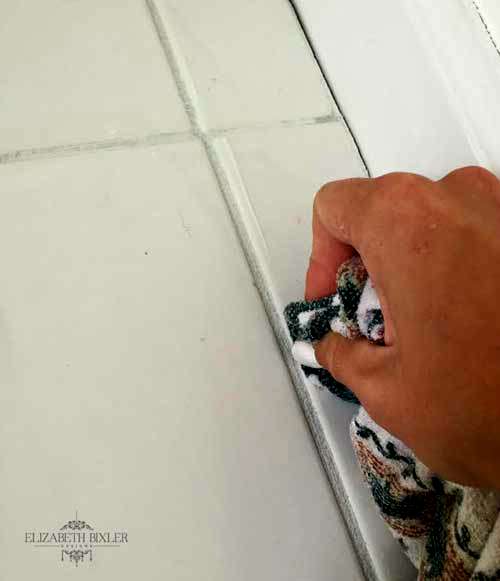
3. Use damp cloth the scrub off tile – the directions on the bottle say to do this immediately but I waited until I applied all the tile colorant because it was so thin. With the color of my tile (white), it was easier to see if I just waited until after I applied anyway.
This is when I tried using the directions of the bottle to wipe right after application. It was way too thin:
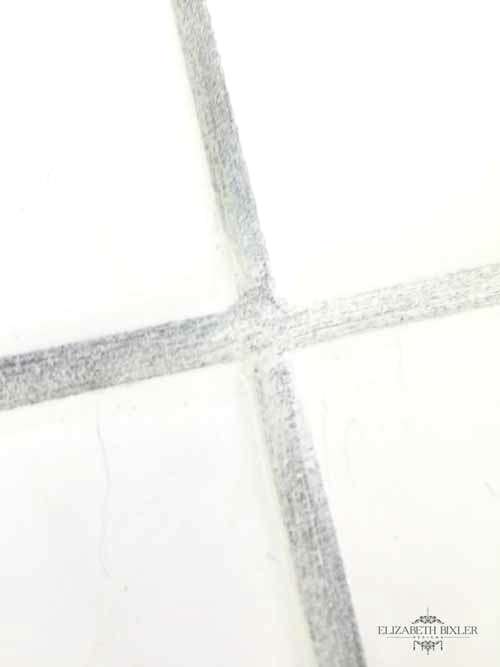
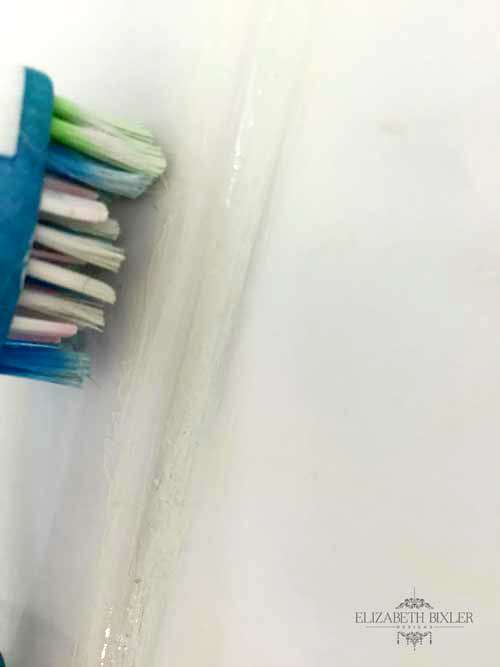
I used a wet toothbrush to loosen up the grout on the tile before wiping with a rag
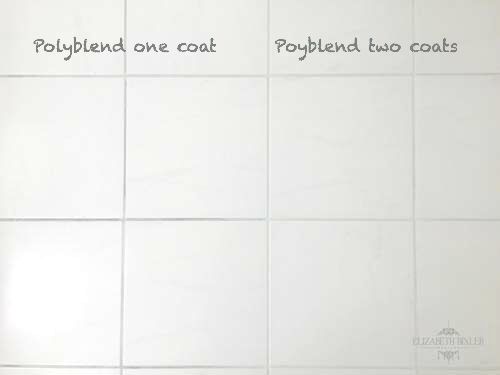
4. Apply a second coat, and repeat steps 2 and 3.
Stain dries in no time!!
