Happy April everyone! We have officially started spring in Georgia and dying to get on the porch. Too bad the pollen count is killing us, but that doesn’t stop us from buying furniture. We loved the style Aegean Teak Coffee Table from Restoration Hardware, but it wasn’t exactly affordable at $1395. We also wanted a coffee table with a little more bulk so we created an outdoor wood coffee table for less!
For reference, here is their version:

Lovely piece of furniture! We bought this gorgeous sofa from Joss and Main. It is so similar to the Restoration Hardware sofa in size and style!

We were thinking about doing a wicker ottoman as a coffee table but decide we wanted to change-up materials . We plan on adding wicker chairs once the pollen settles down. For now, let me show you how to easily make this table for less than $100!
Supply list:
Wood boards –
Qty: 4: 4″ x 8′ boards (for legs and side pieces)
Qty: 10: 6″ x 8′ boards (for top pieces)
Qty: 1: 8″ x 4′ board (for feet)
- Minwax Special Walnut Stain
- Minwax Classic Grey Stain
- Minwax Weathered Oak Stain
- Dixie Belle Chalk paint in Fluff
- a few paint brushes
- wet shirts or paper towels (I like using old shirt)
- electric drill
- measuring tape
- wood filler
- a lot of wood screw (2 1/2″)
- square tool
- 220 Grit Sand Paper
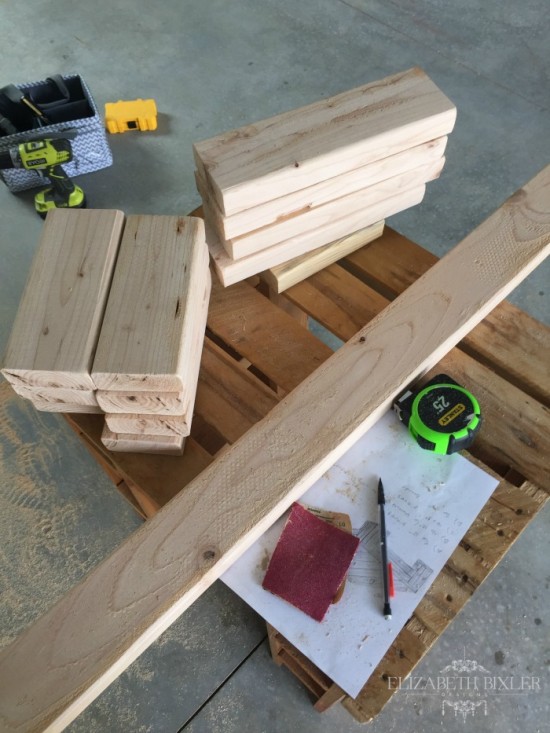
To make:
I started by cutting all the wood for the legs. This involved cutting the 4″x8′ beams into four, 12″ pieces, and eight “roughly” 8″ pieces. I say “roughly, because you basically want the smaller pieces to be the difference between the 12″ pieces and the width of the 4″ beams that will sit on the 8″ legs horizontally. no 4″ beam is actually 4″ (more like 3 1/2”, so you have to measure to be sure the cuts on the eight smaller legs. This will all make more sense when you scroll down.
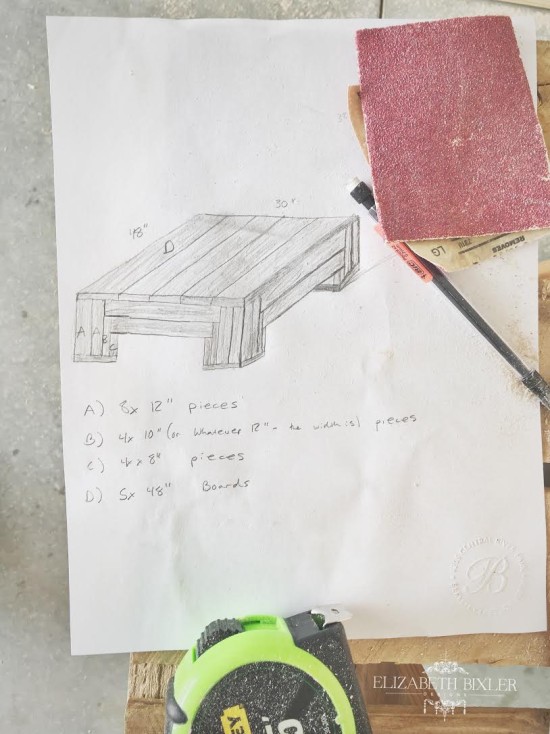
This is the cut list I came up with to help me keep track of my cuts and be able to do them all at one time. I also cut my 8″x8′ board into four, 8″ pieces to make the square feet for the base of the coffee table. At this time I also cut the top pieces, which were four 6″ beams and one 8″ beam (made from the same beam the feet were cut from), cut to 48″ in length. Time to sand every cut!
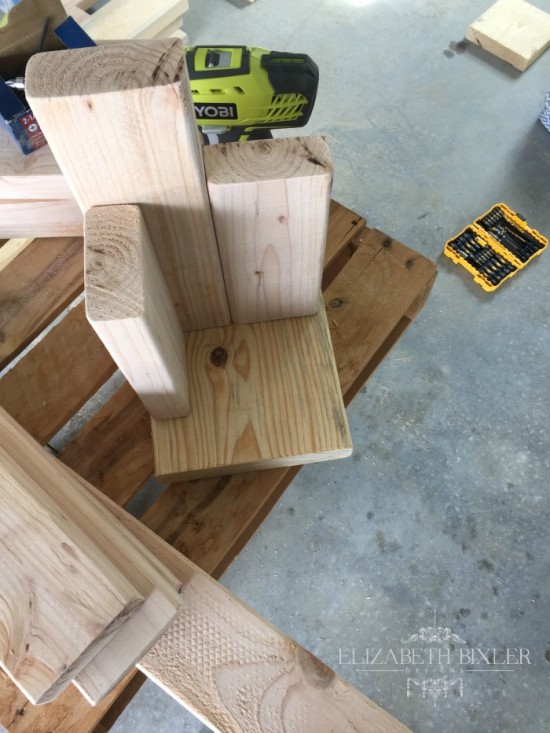
After all the cuts were made for the feet, I arranged the 12″ and 8″ (roughly, remember) pieces as shown above, and secured them by screwing two 2 1/4″ wood finishing nails through the bottom of the foot. The easiest way to do this is by drilling small pilot holes through the bottom before screwing the screws all the way in. This helps you line up the screws evenly, and makes it easier to counter-sink the screws into the wood so they are below the flush-line.
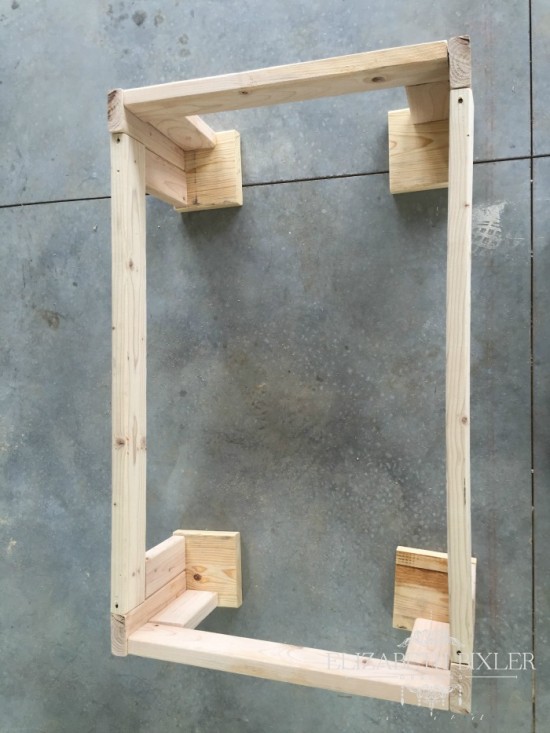
Once all four feet were constructed, I arranged them so they were exactly 4 feet apart length-wise, and 29″ width-wise. “Where did you come up with 29″?? You may ask… well, that is the total of the widths of the five beams that will set on top of the coffee table (one 8″ and four 6″ beams). Again, no beams are the exact width or length they say they are, so you have to measure! Once arranged, I measured the distance between the four feet and cut 4″ beams to length to fit. I secured these by angling a screw in to the 12” post so they were more secure.
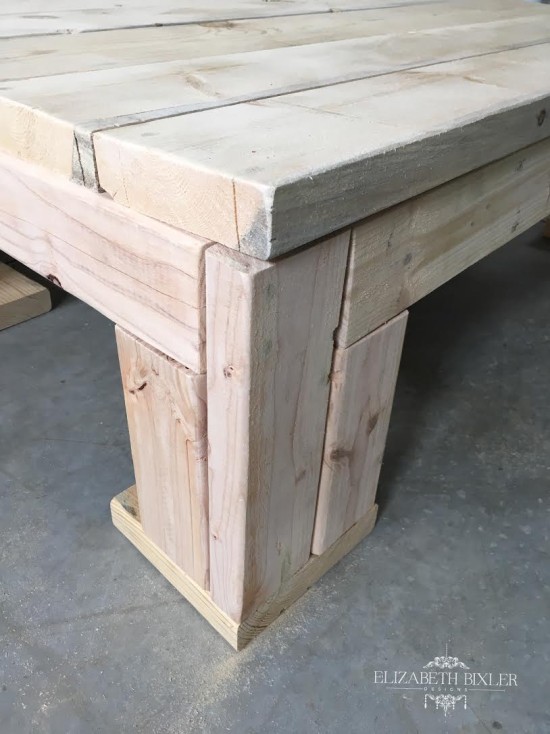
Once all the long beams were securely in place, I arranged the top pieces and counter-sunk four, 2.25″ screws per beam through the top, into the long beams. I tried to keep these pretty equally spaced, because even though we are going to cover them up, you can still see them slightly, and they look better when they are even!
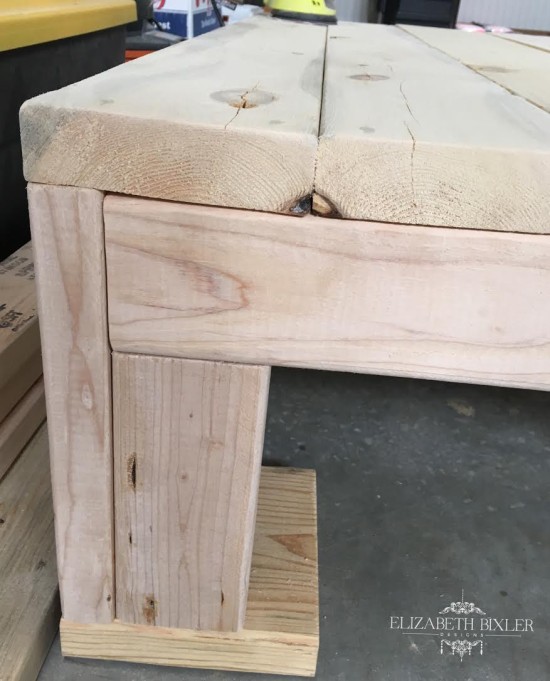
Now I filled in the exposed screw heads (which are counter-sunk if I did my job right) with wood filler and sanded those smooth once dry.
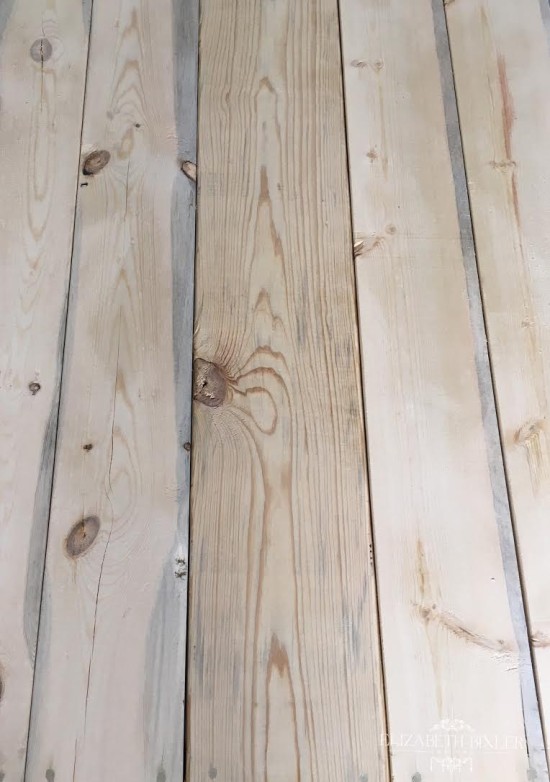
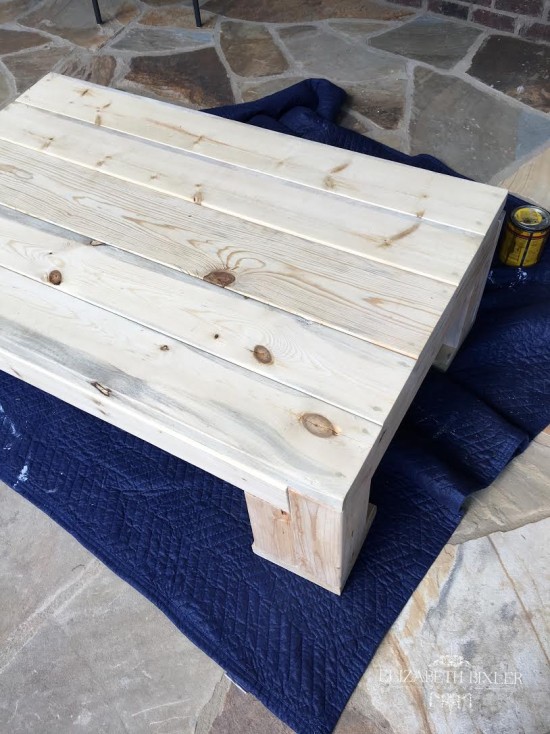
Now Let’s STAIN!!
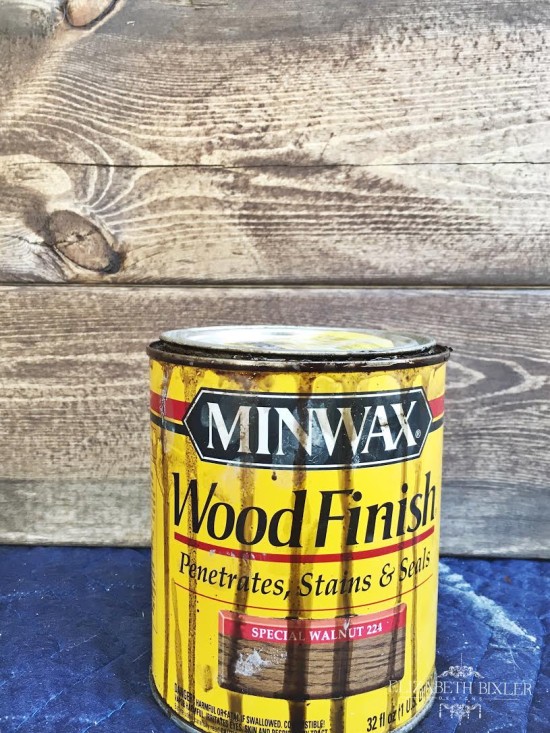
I started with Special Walnut and let it sit over night.
I decided this was too dark and needed a little grey so I tested a few options of just Minwax Classic Grey, just Minwax Weathered Oak, and a combination.
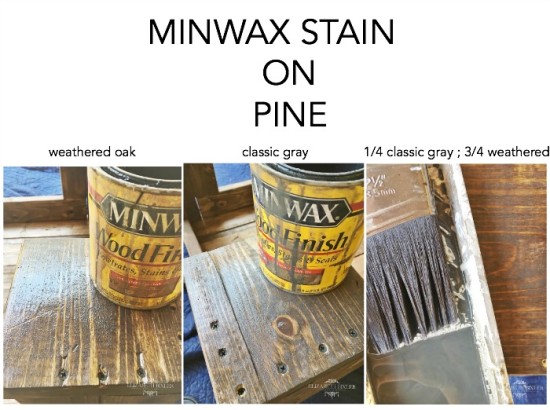
I decided to go with the mix because the gray was too much and the weathered oak was not enough. I let this sit overnight and sanded with a 220 grit sandpaper. I wiped the table clean.
I used a small brush and filled the nail holes with special walnut stain.
I watered down and applied the Dixie Belle Chalk Paint with a wet rag and blended with a dry rag.
This is a pic of a rag on in dire need of blending:
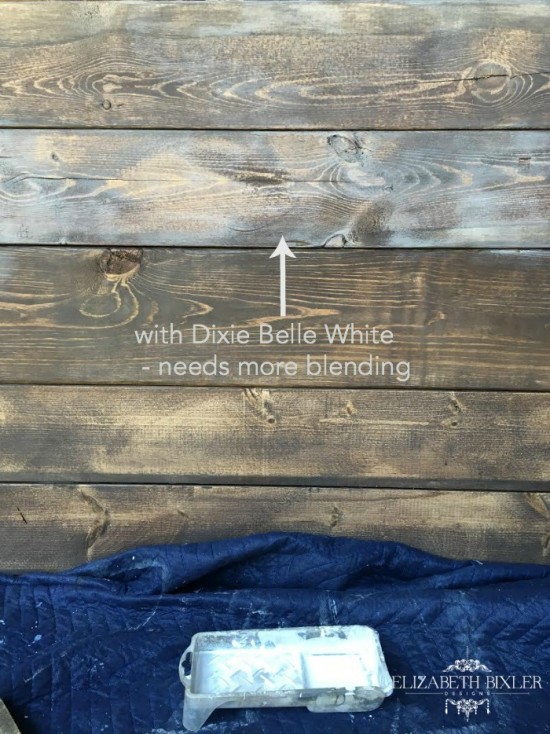
Getting better:
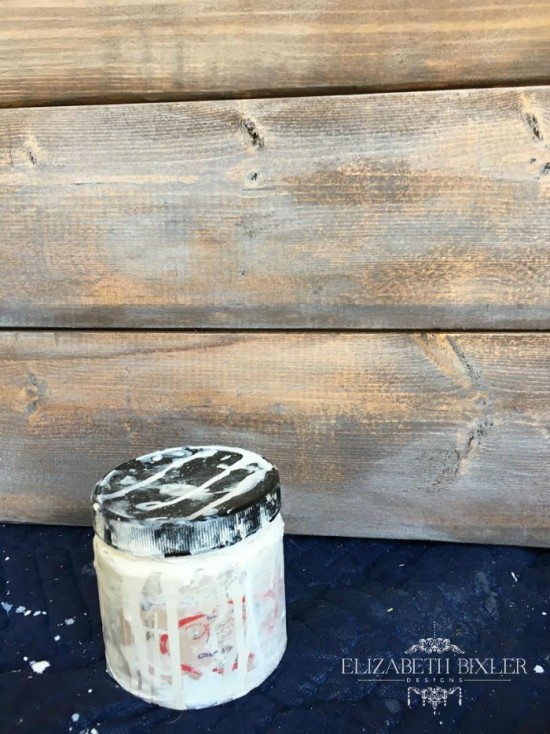
Blended Perfectly!
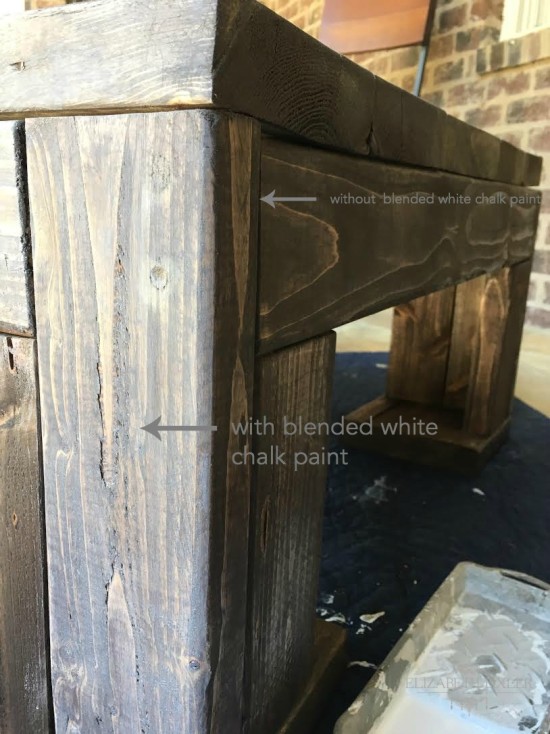
Finished!
The pollen is so bad in Georgia that I didn’t want to remove the plastic covers on the sofa until it was over.
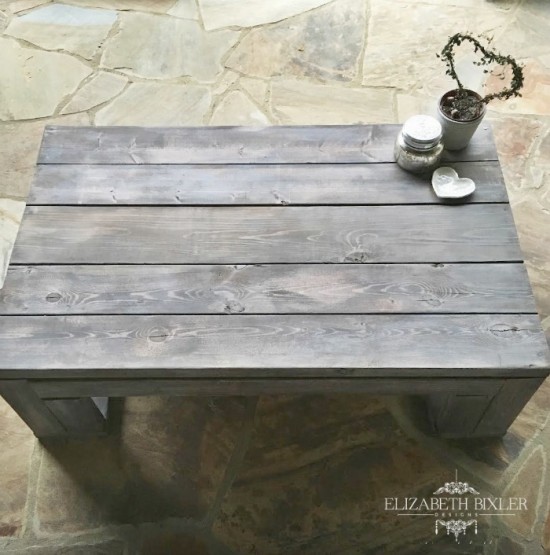
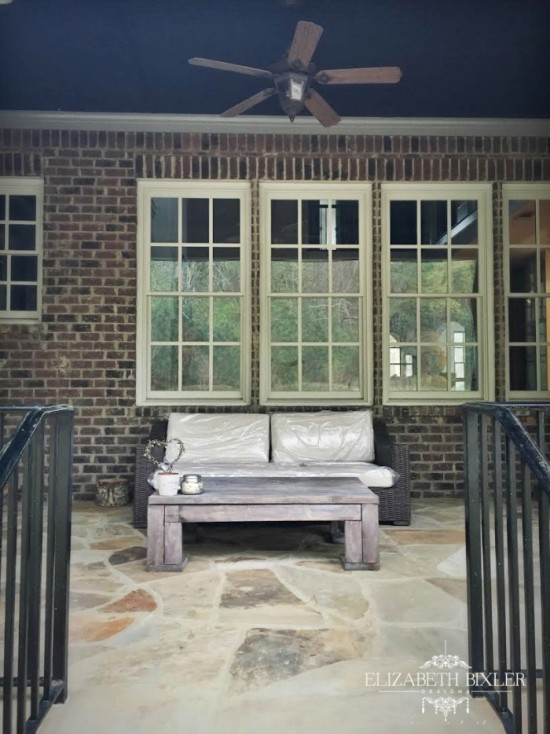
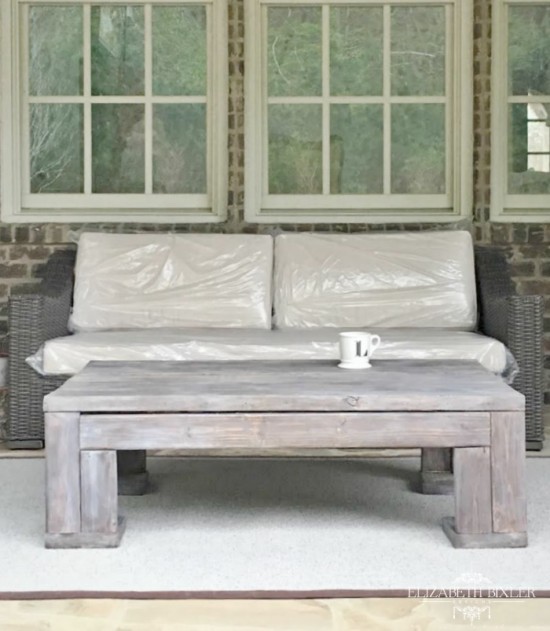
Elizabeth’s favorites:
[…] Elizabeth of Elizabeth Bixler Designs has been eager to spend more time outdoors and recently bought new furniture for her porch. She found a wicker sofa on Joss & Main that looked very similar to one from Restoration Hardware and then built a wood coffee table that was also inspired by RH. While her inspiration piece costs $1,395, Elizabeth DIY version was less than $100! […]